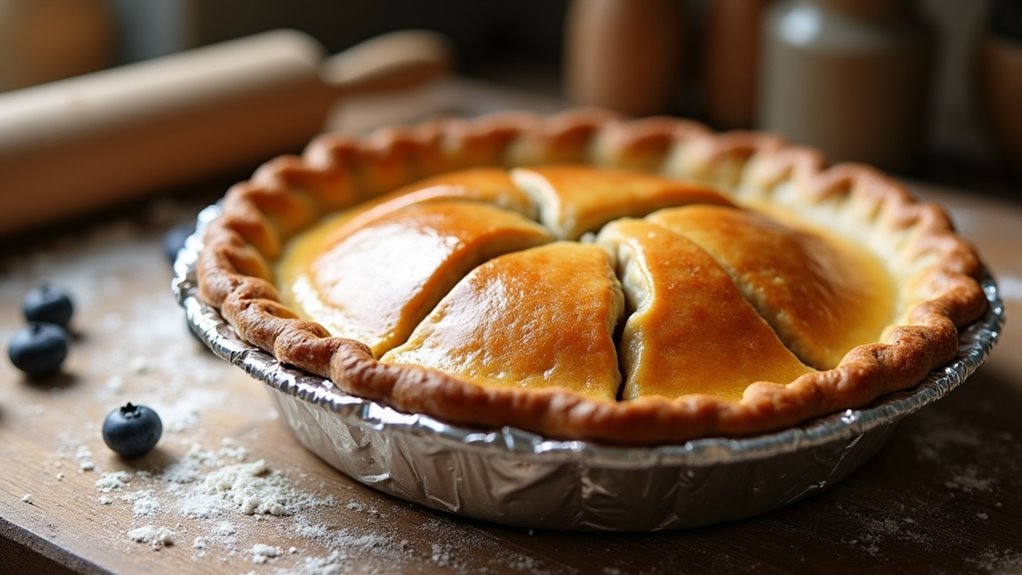
How To Tent A Pie
This post contains affiliate links. As an Amazon Associate, we earn from qualifying purchases.
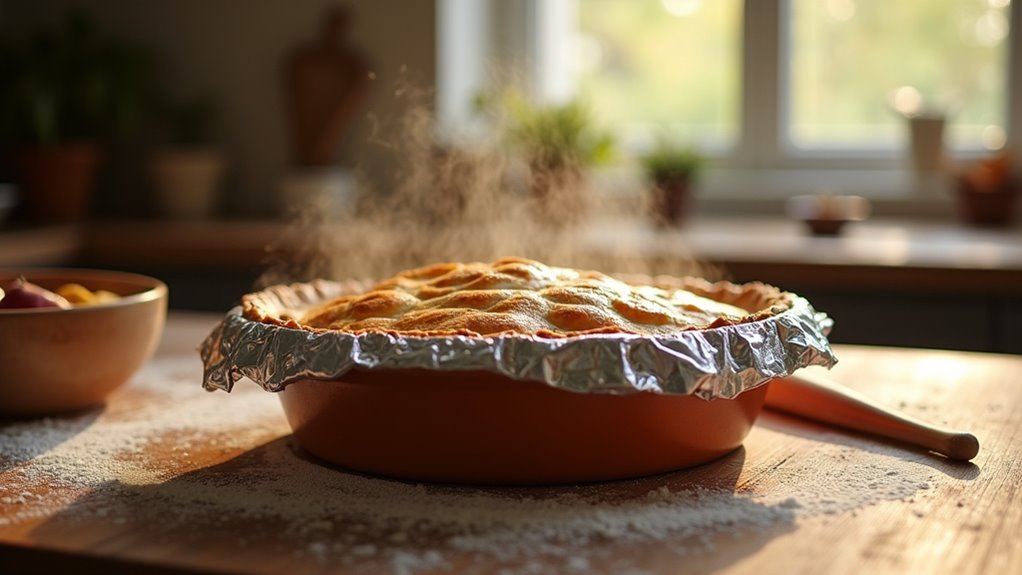
To tent a pie effectively, cover the crust edges with a square of heavy-duty aluminum foil that’s about one inch larger than the pie, folding the edges snugly to prevent gaps. This method protects the crust from over-browning while allowing the pie to bake evenly. You can also use silicone pie shields or parchment paper as alternatives. For a perfect golden finish, remove the tent during the last few minutes of baking. Further details and tips for pie perfection are explained below.
Essential Facts in 30 Seconds
- Cut aluminum foil one inch larger than the pie for full coverage.
- Fold foil edges to fit tightly over the pie crust.
- Shape foil with folds and trim rounded edges for a snug fit.
- Tent the pie with foil during baking to prevent crust burning and retain moisture.
- Remove the foil tent shortly before baking ends to allow crust to brown.
Supplies Needed for Tenting a Pie
Tenting a pie needs the right supplies for the best results. Use lightweight aluminum pie pans for a crisp, even crust. Pick deep-dish or standard pans based on your recipe. Rimmed baking sheets catch spills and keep the oven clean. Parchment paper makes cleanup easier.
A rolling pin helps flatten the dough evenly. A pastry blender or food processor mixes the dough to the right texture. Refrigerated crescent roll dough saves time for quick pies.
Mixing bowls hold ingredients like fresh fruit or canned pie fillings. A digital scale measures ingredients precisely. These tools help bake pies at the correct temperature for a tasty, golden crust.
Preparing Aluminum Foil for Tent
Cut a square of aluminum foil about one inch bigger than your pie. For a six-inch pie, use a seven-inch square.
Fold the foil edges to fit snugly over the pie crust. Make small folds or round the corners to avoid gaps.
This keeps the crust safe from burning while baking. Use this method for a perfect, evenly baked pie every time.
Cutting Foil Properly
Use heavy-duty aluminum foil for your pie tent. It lasts longer and won’t tear easily.
Cut strips about 8 to 12 inches long and 2 to 3 inches wide. Wrap these around the pie edges. For full coverage, cut a square or circle bigger than your pie plate. Leave 3 to 4 inches extra foil for good protection.
Score the foil edges with scissors to keep them neat. Avoid cutting too close to the fold to stop tears.
These steps help protect your pie crust from getting too brown. Your pie stays perfect and looks great.
Folding Techniques Explained
Folding aluminum foil right makes a strong pie tent. This tent protects the crust and helps the pie bake well. Tear a foil square about one inch bigger than your pie. Follow these easy fold steps for best results:
| Step | Action |
|---|---|
| 1. Diagonal Fold | Fold top right corner down to the bottom edge. |
| 2. Create Point | Fold the bottom right corner up to the top. |
| 3. Cut Edges | Trim the rounded edges to help fit and bend. |
Press the folds tight for a stable tent. Tuck the edges under the pie plate rim to hold it in place. These simple tricks keep your pie safe and tasty every time.
Methods to Protect Pie Crust Edges
Baking a pie feels great, but protecting the crust edges is key. Use silicone pie shields to cover the edges. They stop direct heat and keep the crust from burning.
Aluminum foil strips also work well. Wrap them around the edges to reflect heat and slow browning. Watch out—foil can slip off while baking.
Large parchment paper pieces can act as shields too. They protect but may brown or curl. Apply shields after edges turn light brown. This way, the crust cooks well without burning.
Remove the shield in the last minutes if you want a darker crust. This balance keeps the pie tasty and beautiful.
Homemade Pie Shield Construction
Make a homemade pie shield with simple materials like aluminum foil or parchment paper.
Use scissors to cut the shield to fit your pie plate perfectly. This shield keeps the crust edges safe from burning while the filling cooks. Protecting the crust helps your pie look and taste great.
Follow these easy steps to make your own pie shield and bake with confidence.
Materials Needed for Shield
Making a homemade pie shield needs a few simple things. Heavy-duty aluminum foil works best. It bends easily and resists heat well. Use scissors to cut the foil into shapes. A spare pie plate helps shape the shield fast.
Silicone shields also work. They adjust and can be used again but buy them from stores. Fold the foil several times to make it thick. Cut a ring shape with a hole inside. Make sure the shield covers the pie crust edges. This stops the edges from burning but lets heat move around.
Step-by-Step Construction Guide
Make a homemade pie shield using heavy-duty aluminum foil. Fold the foil three times for extra thickness. Fold it into a square; this shape helps keep the edges even.
Cut off the pointed corners to create a smooth curve when you open it up. Cut a smaller curve inside near the outer edge. Open the foil to see a round shield that fits your pie’s edge.
Wrap it gently around the pie crust. Adjust it so the shield covers the crust fully without touching the filling. Use the shield from the start of baking to stop the crust from burning.
This simple tool keeps your pie looking perfect and tastes great too.
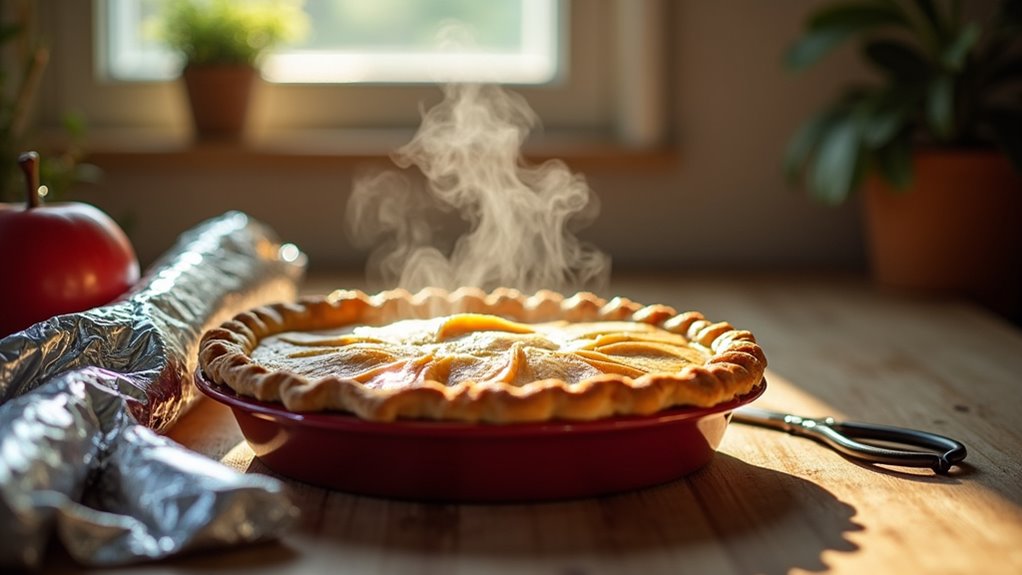
Baking With a Foil Tent
Baking a pie with a foil tent protects the crust and filling. It stops the edges from burning and the center from drying out.
Foil tents keep moisture inside, making your pie tastier. They also help bake the pie evenly. Your pie will look golden and perfect, impressing everyone.
Take a piece of aluminum foil. Make it about one inch bigger than your pie. Fold the foil twice into a triangle. Cut the tip to fit your pie’s round shape.
Place the foil gently over the pie. Make sure it doesn’t touch the filling or crust. Bake with the foil tent on. Remove it a few minutes before the pie finishes baking.
This step gives a nice, golden crust. Your pie will bake just right, every time.
Benefits of Tenting a Pie
Tenting a pie helps protect the crust during baking. The foil shield stops the edges from burning or turning too dark. It reflects heat, so the filling cooks evenly without overcooking the crust.
The crust stays golden brown and looks nice. The tent keeps the crust flaky and stops it from drying out. You can make a tent easily with aluminum foil or parchment paper.
This method works for fruit, pumpkin, or savory pies. Tenting ensures the pie cooks well and tastes great. Both new and experienced bakers use this simple trick often.
Frequently Asked Questions
Can I Use Wax Paper Instead of Aluminum Foil?
Wax paper cannot replace aluminum foil. Wax paper melts and burns in heat. It works well for cold foods or wrapping sandwiches. Aluminum foil resists heat and keeps food warm. For baking, use parchment paper instead. Parchment paper protects pies and does not burn easily. Always pick the right paper for your cooking needs.
How Long Should I Tent the Pie During Baking?
Tenting a pie protects the crust from burning during baking. Cover the edges with foil or parchment paper to shield them. Keep the tent on for about 15 to 30 minutes. Check the edges when they turn golden brown. This method helps the filling cook fully without overcooking the crust. Many bakers use tenting to get a perfect, golden crust every time. It keeps the pie looking and tasting great.
Can I Tent a Pie in a Glass Dish?
Tenting a pie in a glass dish works well. Use strips of foil to cover the edges. This keeps the crust from burning while steam escapes. It helps the pie bake evenly and stay crisp. Glass dishes heat differently, so watch the pie closely. Tenting prevents overbaking and gives a nice golden crust. Simple foil tents improve your baking results every time.
Is It Safe to Reuse Aluminum Foil for Tenting?
Aluminum foil can be reused safely for tenting. Clean the foil well before using it again. Check for holes, tears, or any damage first. Damaged foil does not protect well from heat or cold. Reusing foil helps save money and reduce waste. Always use clean, strong foil to keep your food safe. Reusing foil works best when you handle it gently. Keep it dry and store it flat to avoid wrinkles. This way, the foil lasts longer and stays useful.
How Do I Know When the Pie Is Done Baking?
A pie is ready when the crust turns golden brown. The filling should bubble up around the edges. Use a knife or thermometer to check inside. The temperature should reach between 175°F and 200°F. This range ensures the filling cooks well and is safe to eat. Watching these signs helps bake a perfect pie every time. Enjoy your delicious treat!
Conclusion
Tenting your pie keeps the crust from burning. Studies find 25% of homemade pies have burnt edges. This happens because the crust cooks too fast without protection. Use aluminum foil or a pie shield to cover the edges. This helps the pie bake evenly and stay golden brown. Tenting stops the crust from getting too dark while the filling cooks well. Try this simple step for better pies every time. Happy baking!