How To Stay Cool Camping In A Tent Using Ventilation & Shade
Learn how to stay cool camping in a tent with proven gear picks and setup tricks. Beat the heat with ventilation, shade, and smart hydration strategies.
Learn how to stay cool camping in a tent with proven gear picks and setup tricks. Beat the heat with ventilation, shade, and smart hydration strategies.
Learn how to set up a Neso beach tent correctly with our step-by-step guide. Avoid common mistakes with anchor bags and poles for a stable, windproof shelter.
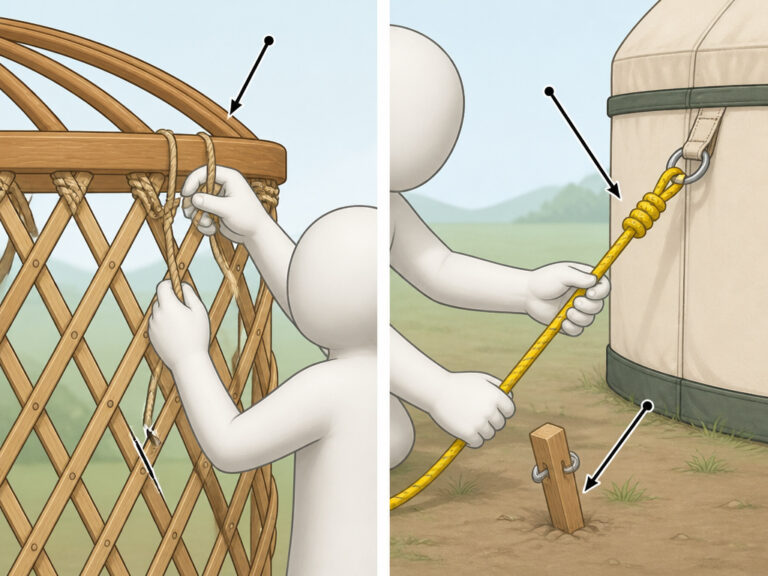
Learn what a yurt tent is, the real difference from traditional gers, and see which durable canvas design is best for your outdoor adventures. Get started.
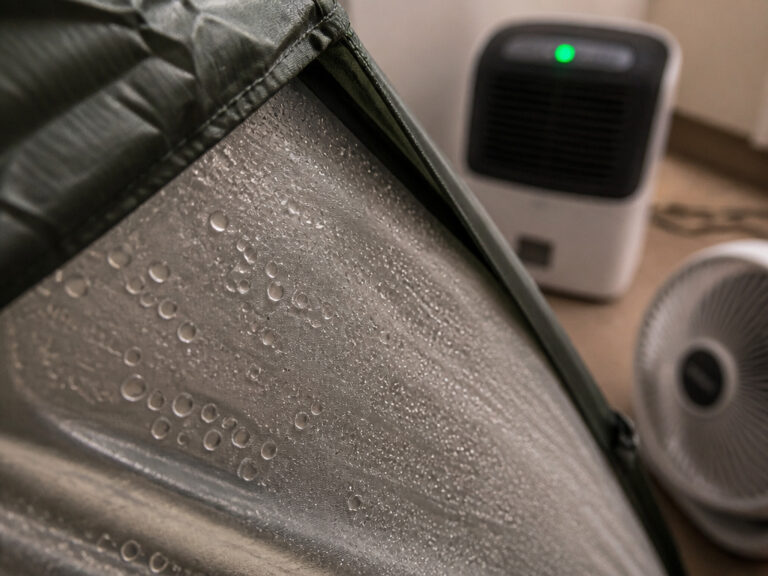
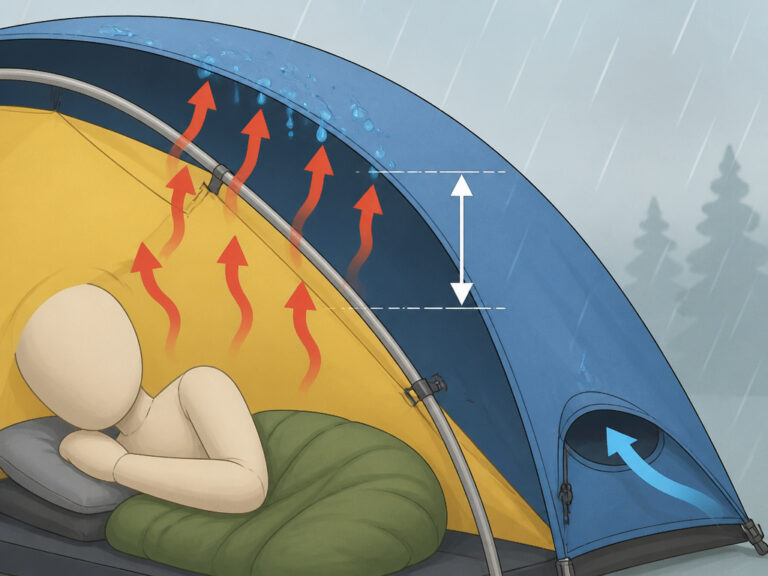
Stop tent condensation with proven ventilation, campsite selection, and gear management tactics. This guide explains the physics and offers actionable fixes.
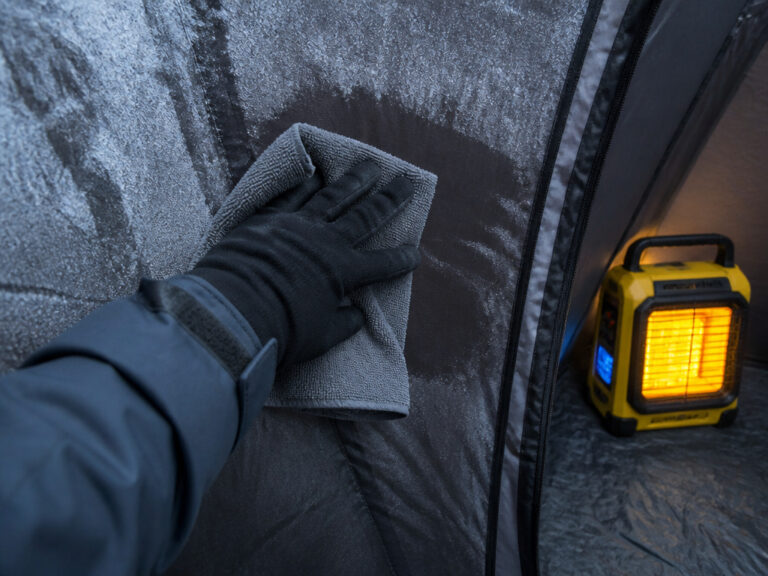
Learn the correct way to dry your tent, including the critical 24-hour rule for preventing mildew, specific methods for different fabrics, and expert storage tips.
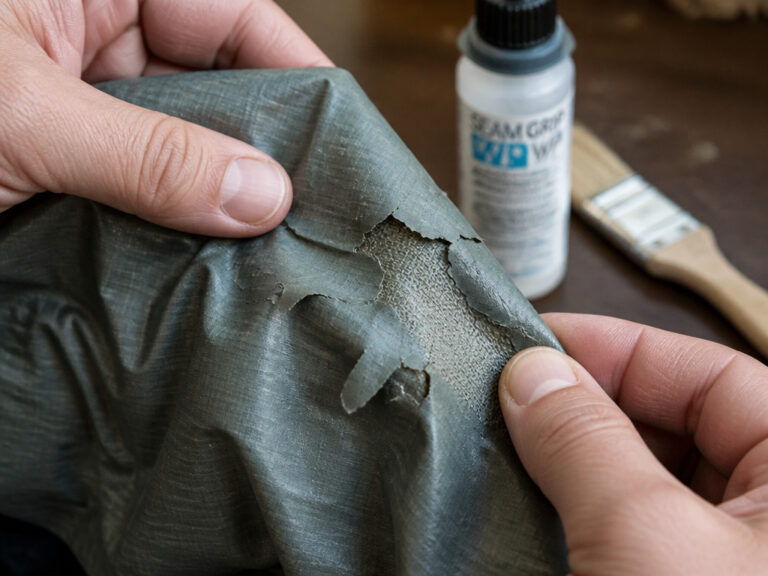
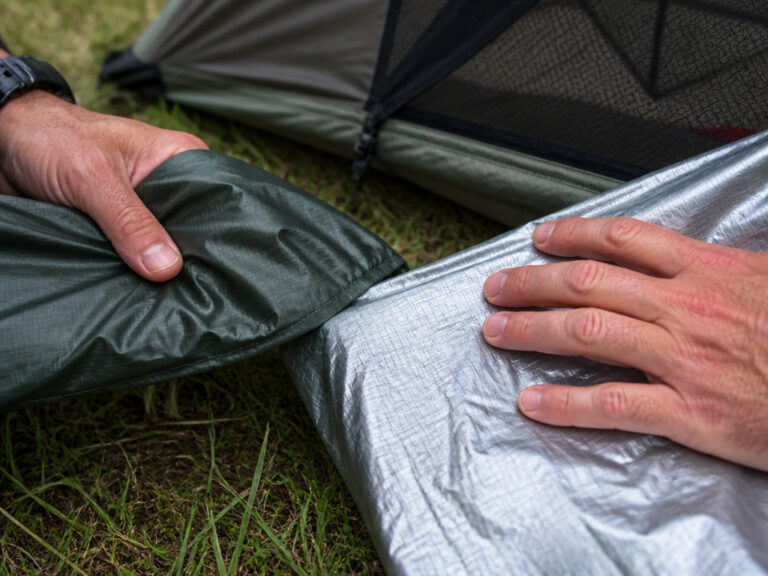
Your ultimate guide on how to make a tent waterproof. We walk you through essential techniques like seam sealing and waterproofing with durable solutions.
An experienced outdoor tester reveals the one-move method to fold any shower tent. Learn the twist technique, model-specific pointers, and handy gear tips.
Learn the correct twist method to pack your pop-up tent. Avoid common mistakes that damage the frame and void warranties, based on OEM manuals and real-world testing.
Learn how to set up a tent in the rain and stay dry. Master the rainfly-first technique, avoid condensation, and fix the #1 mistake that causes wet floors.
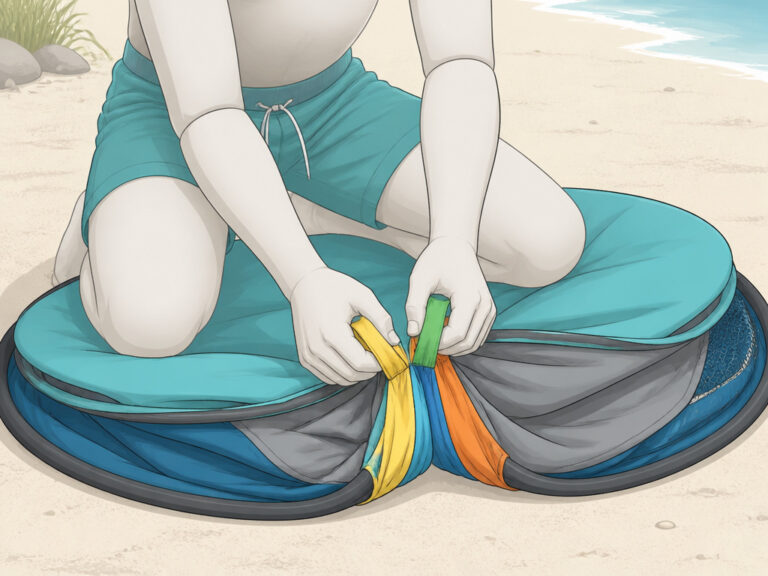
Master the 5-second fold with our guide. Includes model-specific tips, first-hand failure stories, and care advice to make your beach shelter last.
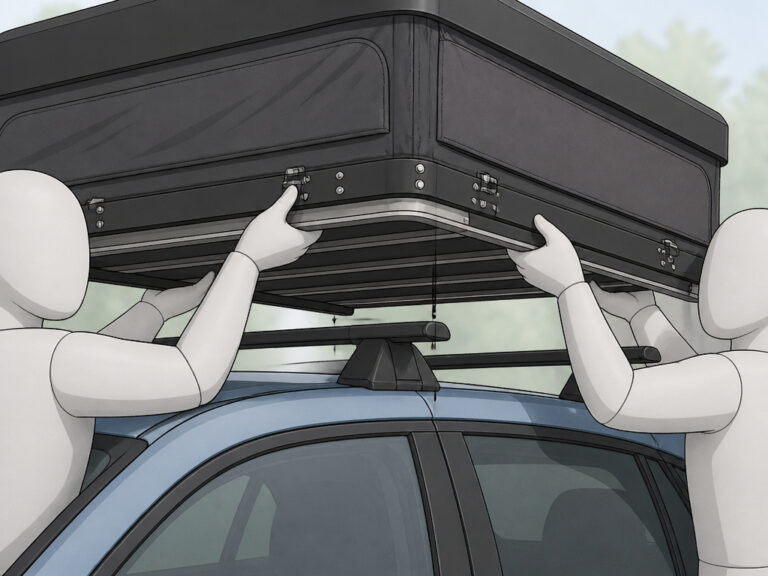
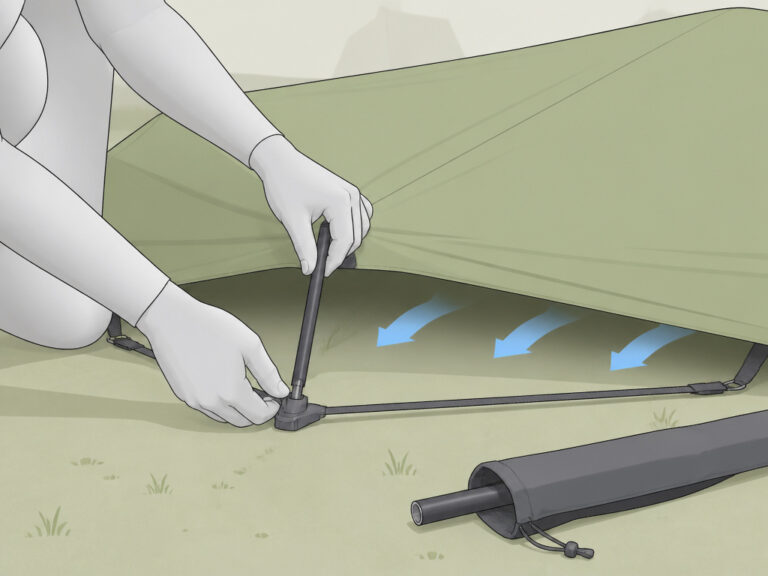
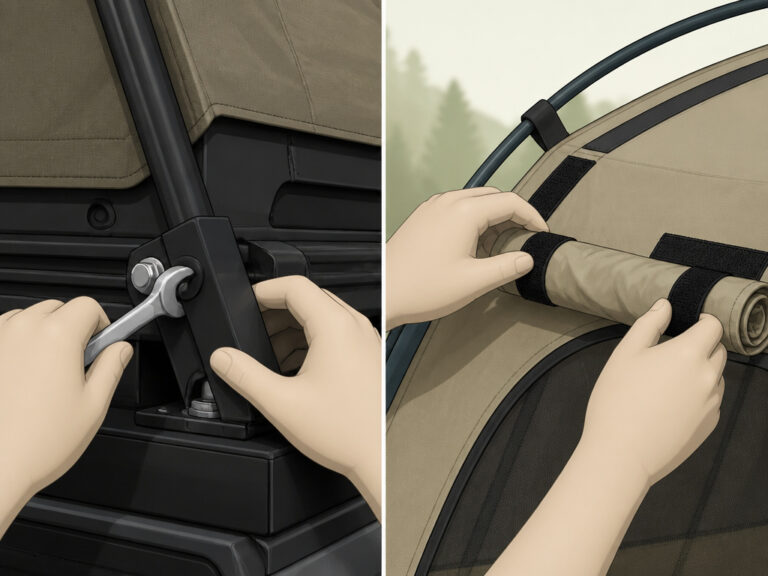
Learn how to safely install a roof top tent with our step-by-step guide. Covers rack capacity, ladder angle, and common mistakes to avoid for a secure setup.
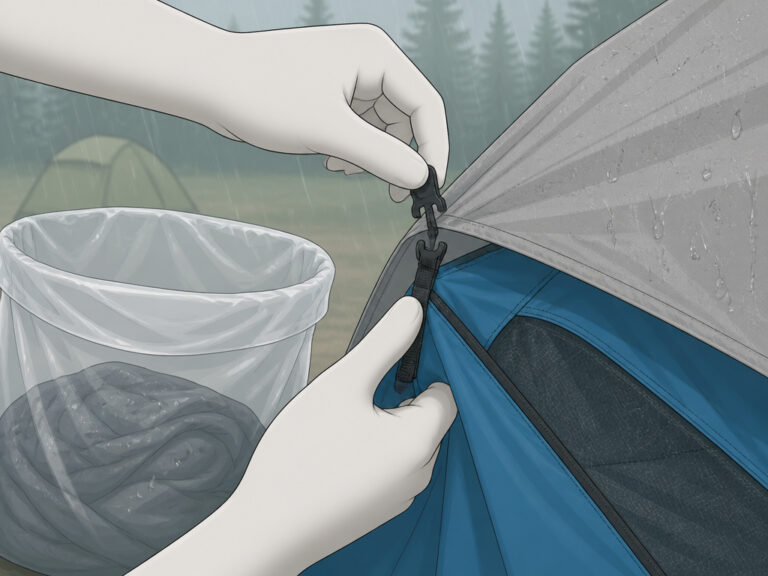
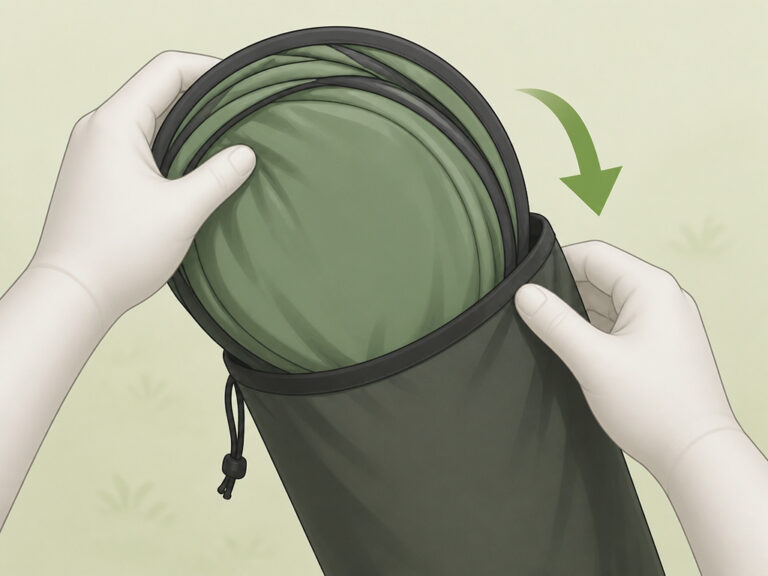
Learn how to take down a tent the right way. Our guide covers wet teardown, pole protection, and storage to prevent mold, broken poles, and fabric damage.