How To Tent Windows
This post contains affiliate links. As an Amazon Associate, we earn from qualifying purchases.
To tint your windows effectively, begin by thoroughly cleaning the glass, then measure and cut the tint film with some extra margin. Apply soapy water to the adhesive side, position the film carefully, and use a squeegee to remove bubbles from the center outward. Trim the edges neatly with a sharp blade for a clean finish. Later in the article, you’ll find more detailed steps, tips, and considerations including legal guidelines to ensure a successful tinting job.
Essential Facts in 30 Seconds
- Clean the window thoroughly with soap, water, and ammonia-free glass cleaner before tinting.
- Measure window dimensions accurately, adding extra inches for trimming.
- Cut the tint film slowly for precise edges.
- Apply soapy water to the tint’s sticky side and position it on the wet window surface.
- Keep both surfaces wet to allow easy adjustment of the tint film.
- Use a squeegee from the center outward to remove air bubbles and smooth the tint.
- Check local tinting laws, including visible light transmission (VLT) limits and medical exemptions.
Preparing the Surface for Tinting
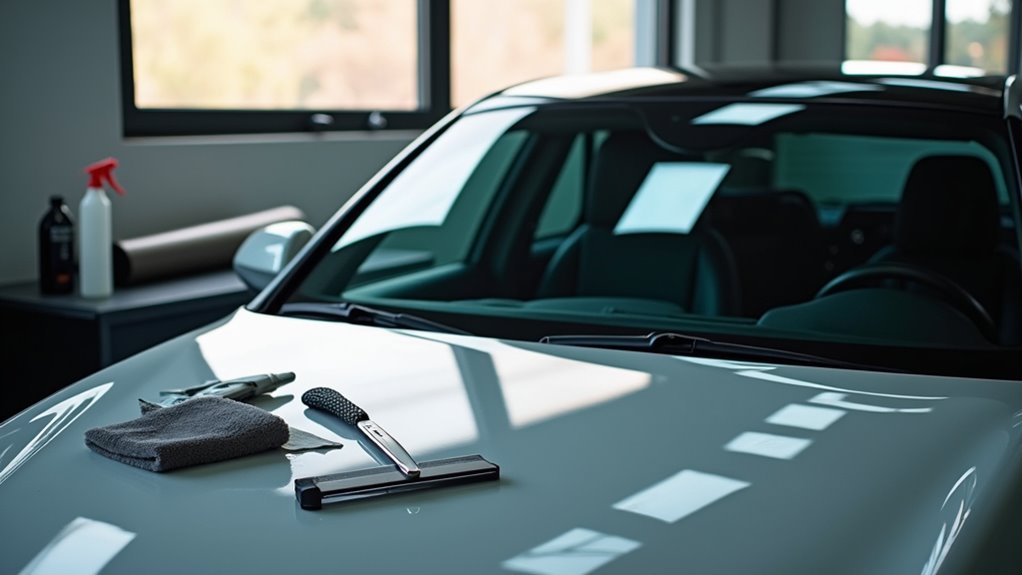
Start by cleaning the window surface carefully for perfect tinting. Work in a clean, dust-free area. Use a spray bottle, sponge, microfiber cloth, and a sharp razor blade.
Clean both sides of the window with soap and water. Scrub gently to remove dirt and grime. Remove old stickers or glue with an adhesive remover if needed.
Dry the window well with a lint-free cloth. Check edges and seals for dirt and clean them thoroughly. Use an ammonia-free glass cleaner for a final wipe. This prevents greasy film from forming.
Roll the window up after cleaning to keep it clean. This step helps the tint stick better and last longer.
Measuring and Cutting the Tint Film
Measure each window carefully for a perfect tint fit. Use a tape measure to check width and height. Take several readings to avoid mistakes.
Add a few extra inches to your measurements for trimming. Cut the tint film slowly and precisely. Make sure the edges stay clean and straight. This helps the tint look neat and last longer.
Accurate Window Measurements
Accurate window measurements ensure a perfect tint fit and save materials. Use a tape measure showing inches and centimeters. Write down every number carefully.
| Measurement Type | How to Measure |
|---|---|
| Width | Measure side to side |
| Height | Measure top to bottom |
| Extra Margin | Add 1 to 3 inches |
Always check the smallest width and height. Measure twice to avoid mistakes. For tricky windows, use a level tool. Use a ladder for high windows to stay safe. These steps help get the right size and a clean tint job.
Cutting Techniques Explained
Cutting tint film needs care and precision for a perfect fit. Hold your blade at a 45-degree angle. Press lightly to avoid tearing the film. Use a sharp stainless steel razor for smooth cuts.
Start cutting from the bottom and move upward to stop creases. Leave about 0.25 to 0.5 inches extra at the edges. This extra part helps when trimming after placing the film. Use a steady sweeping motion to keep edges neat.
Keep the film relaxed to stop it from stretching out. Roll the window down a bit after cutting. This step pushes out trapped air and helps the film stay in place.
Following these tips makes tinting easier and gives better results.
Applying the Tint Film
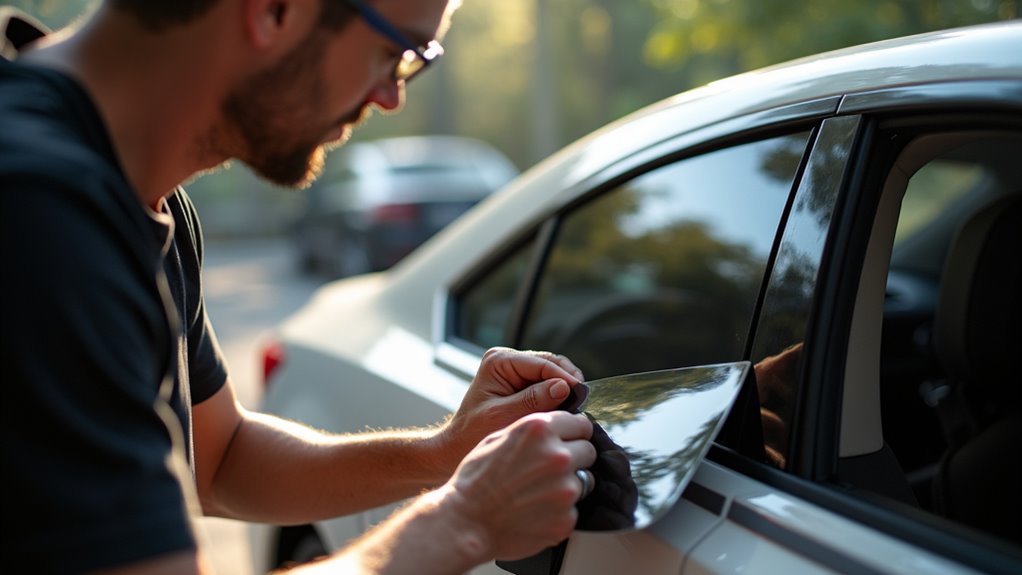
Apply tint film carefully. Remove the backing first.
Spray soapy water on the sticky side. This stops the film from sticking too soon.
Place the film at the top of the window. Keep the glass and film wet. This helps the film move and stick better.
Move the film from top to bottom or bottom to top. Press lightly at first to avoid creases.
Use a squeegee to push bubbles out. Start from the center and go to the edges. The soapy water lets you adjust the film before it sticks firmly.
Handling Curves and Complex Window Shapes
Applying tint film on curved or complex windows needs special care. Use the right methods for the best fit.
The Dry Shrink Method uses heat to shrink the film tightly. The Wet Shrink Method adds a slip solution to help move the film easily. Pull and Stretch combines heat and hand stretching for sharp curves.
Tips for curves: place the film carefully to lower shrinkage and tension. Use a heat gun with a steady, moving angle to avoid damage.
Practice these steps to handle curves smoothly. With time, you’ll get better and achieve a clean, professional look.
Trimming and Finishing
Trimming and finishing window tint takes careful work and sharp focus. Use a fine-tip knife or razor blade to cut along the glass edges. A straight edge helps keep cuts clean, especially on straight parts. Cut the tint just a little bigger than the window. This leaves extra film to tuck under seals, preventing gaps.
Press a squeegee along the edges to smooth them out and push out air bubbles. Round the corners gently to avoid sharp points. Check that the tint fits evenly with no gaps after cutting. Clean the glass and film well for a bright, neat look.
Make sure the window opens and closes without catching the tint edges. Keep your tools safe and sharp for your next project. This care makes the tint last longer and look great.
Legal and Safety Considerations
Know the local laws before tinting your windows. Each state sets rules on how dark and what type of tint you can use.
These laws differ a lot. Check your state’s rules carefully.
Follow safety steps during installation. Poor tinting can cause legal troubles. It can also create dangers while driving.
Stay safe and legal with proper window tinting.
Local Tint Regulations
Local laws about window tinting vary a lot. States and cities set their own rules. Some places require more light to pass through the glass. Others do not allow certain colors or shiny tints. Check with local offices before tinting your vehicle windows.
Here are examples of light rules for windows:
| Window Type | Visible Light Transmission (VLT) Requirements |
|---|---|
| Front Side Windows | Kansas: 35%, California: 70% |
| Back Side Windows | Rules change by state |
| Windshield | Only a small strip at the top is allowed |
| Reflective Tints | Many places limit or ban these |
| Colored Tints | Often not allowed |
Following these rules keeps you safe and avoids fines. Clear windows help drivers see well. Know your local rules to stay safe on the road.
Compliance With Standards
Window tinting rules matter a lot for safety and legal reasons. Each state has different laws. Following these rules can save money and keep you safe.
Here are the main points to know:
- Visible Light Transmission (VLT): Front side windows must let in at least 70% of light. This is a common federal rule.
- Reflective Tints: Some states limit shiny tints to stop glare for other drivers.
- Medical Exemptions: Some states allow darker tints for health reasons. Paperwork is needed.
- Police Checks: Officers use special tools to check tint darkness during stops.
Knowing these facts helps avoid trouble and keeps your car legal and safe.
Installation Safety Precautions
Guaranteeing local law compliance matters.
Safety comes next for best window tint results. Wear gloves and safety glasses. Protect your skin and eyes from sharp tools and chemicals. Open windows or use fans. This keeps fumes from adhesives and cleaners away.
Clean the surface well. Dust or dirt can ruin the film. Follow the tint maker’s instructions. Let the tint cure fully to avoid bubbles or peeling.
Check your work often. Fix small mistakes early. Safety and care make the tint job a success.
Frequently Asked Questions
How Long Does Window Tint Installation Typically Take?
Window tint installation usually takes 2 to 4 hours. The time depends on the car size and window shapes. Experts apply the tint carefully to avoid bubbles. They also let the tint dry well for a smooth finish. Quality work needs patience. Rushing can cause mistakes and poor results. Most shops finish the job in one visit. Plan your day with enough time for the process. This way, your car gets the best tint job.
Can I Remove Window Tint Myself Later?
You can remove window tint by yourself using simple methods. Steaming the tint softens the glue. Heating with a hairdryer helps peel the film easily. Ammonia can break down the adhesive. Patience is key. Avoid scratching the glass by working slowly. After removing the tint, clean any sticky residue well. This keeps your windows clear and smooth. Many people successfully remove tint at home with these steps.
What Types of Tint Films Are Available?
Window tint films come in many types. Dyed films cost less and block some sunlight. Ceramic films block up to 99% of UV rays and reduce heat well. Metalized films reflect heat and strengthen windows. Carbon films stop fading and look dark. Pick the right tint to keep your car cool and protect your skin. Quality tint lasts longer and saves energy.
Will Window Tint Affect My Visibility at Night?
Window tint can reduce your visibility at night. Dark tints block more light, making it hard to see people and objects. Studies show that tints with less than 35% Visible Light Transmission (VLT) can lower night vision. Use lighter tints with higher VLT to stay safe. Clear windows let in more light, helping you spot hazards faster. Always pick a tint that balances style and safety.
How Do I Clean Tinted Windows Safely?
Cleaning tinted windows is simple and safe. Use cleaning solutions without ammonia. Soft microfiber cloths protect the tint better than paper towels. Avoid harsh chemicals and scrubbing tools. Spray the cleaner on the cloth, not directly on the window. This keeps the tint film strong and clear. Regular gentle cleaning helps the tint last longer.
Conclusion
Follow these steps to turn your windows into stylish, protective surfaces. Preparation makes the process easier. Apply the tint film carefully and patiently. Watch the shiny finish appear and the gentle shade change with light. Enjoy less glare and more privacy. Your effort makes your space look better and stay safe.