
Your Guide on How To Print Table Tents for Perfect Results
This post contains affiliate links. As an Amazon Associate, we earn from qualifying purchases.
To print table tents, you need three things matched before you send the file: the exact document size with bleed, the CMYK color profile, and a paper stock your printer’s scoring machine can handle. Get one wrong and the entire batch is scrap.
Most guides talk about design. They skip the printer’s cutting line. Your beautiful graphic gets sliced in half because you placed text too close to the edge, or the fold cracks because you picked a card stock that’s too thick for their scorer. That first-run reprint cost is the real lesson.
This walks through the specs from Trailhead Printing, Smartpress, and Canva so your file passes their automated checks. We’ll cover the standard sizes, the non-negotiable bleed and safety margins, why CMYK matters more than you think, and how to pick a paper that folds cleanly without cracking.
Key Takeaways
- Set your document size to 5.5″ x 7″ for a final 5″x7″ tent. Add a 0.125″ bleed on all sides and keep text 0.25″ inside the cut line.
- Design in CMYK color mode, not RGB. RGB colors shift on press, turning bright blues into muddy purples.
- Export your final file as a high-resolution PDF (300 DPI minimum). Lower resolution looks pixelated when cut.
- Choose a paper stock your printer’s scoring machine accepts. Smartpress cannot process thicker stock than their listed #150 cover or 12 pt. semigloss.
- For small, frequent updates (like weekly specials), order the minimum run of 5. For static, year-round promotions, volume printing lowers the per-piece cost.
The Printer’s Checklist: What They Need From Your File
Commercial printers run automated pre-flight checks. Fail one, and your file gets kicked back or, worse, prints wrong. The checklist isn’t complicated, but every item is mandatory.
First, size. A “standard” 5″ x 7″ table tent does not mean you design a 5″ x 7″ document. You must account for the bleed. Trailhead Printing specifies a 0.125″ bleed on all sides. Your canvas needs to be 5.5″ x 7″. The extra 0.25″ in each dimension gets trimmed off after printing.
Common mistake: Designing to the final trim size, the cutter’s blade has a tolerance of about 1/32″, and if your color or image stops exactly at the 5″x7″ mark, you’ll get a thin white sliver on one edge. Always extend the background 0.125″ past the intended cut.
The safety margin is separate from the bleed. This is the zone where you keep all your important text and logos safe from the cut. Trailhead Printing recommends a 0.25″ margin from the trim line. Think of it as a second boundary inside your design area. Place your headline, contact info, and key graphics well inside this line.
TL;DR: Your design file is 5.5″x7″. Color and images must fill the bleed zone. All important text must sit 0.25″ inside the trim line.
The 5-Step File Setup That Stops Reprints
Follow this sequence before you even start designing. Missing a step here means redoing the entire layout later.
- Create the canvas at 5.5″ x 7″. Do this first. In Canva, search for “table tent” templates; they default to the correct size with guides. In Adobe software, set it manually.
- Set the color mode to CMYK. This is in the document settings. RGB is for screens. CMYK is for ink on paper. If you design in RGB, that vibrant neon green will print as a dull olive.
- Add bleed guides. Draw non-printing rectangles at 0.125″ from each edge. This visual boundary reminds you to extend backgrounds.
- Add safety margin guides. Draw a second set of rectangles 0.25″ inside the trim line (which is at 5″x7″). Keep all text inside this inner box.
- Set resolution to 300 PPI. Confirm this in your export settings. A 150 PPI image might look okay on screen but will pixelate when printed at full size.
Export your final design as a press-ready PDF with the bleed boxes included. Most printers, like Smartpress, have a PDF preset that handles this automatically. Using their preset avoids 90% of file rejection reasons.
Step 3 is where people rush. They pull in a high-res image, but it only covers the 5″x7″ area. The bleed zone stays white. When the cutter trims, that white sliver appears. Extend every background color, gradient, or full-bleed photo to the very edge of the 5.5″x7″ canvas.
Why CMYK Is Non-Negotiable (And RGB Will Betray You)
Your monitor uses RGB light. A printing press uses CMYK ink. The two color models do not translate directly. A bright, saturated blue (#0066FF) on your screen is produced by mixing light. That same blue in CMYK ink is a mix of cyan and magenta, which often results in a purple or dull navy on paper.
The shift is not subtle. It’s the difference between a crisp, professional brand color and something that looks vaguely wrong.
| Color Seen On Screen (RGB) | Likely CMYK Print Result | Fix Before Export |
|---|---|---|
| Vivid Neon Green | Dull Olive Green | Manually adjust CMYK values in design software |
| Electric Purple | Muted Lavender | Convert to CMYK early and tweak saturation |
| Bright Orange | Muted, Brownish Orange | Boost magenta and yellow channels |
I sent a batch of 500 table tents for a summer festival with a vibrant sunset orange designed in RGB. The printed result looked like burnt squash. We had to eat the cost and rush a second run with corrected CMYK values. Now I convert the color profile before I even choose a palette.
Set your document to CMYK at the start. Some online design tools like Canva handle the conversion on their backend when you select “Print” as the output, but it’s a black box. You get what you get. For absolute color control, use professional desktop software where you can see and adjust the CMYK breakdown.
Paper Stock: The 12-Point vs. 150-Lb. Choice
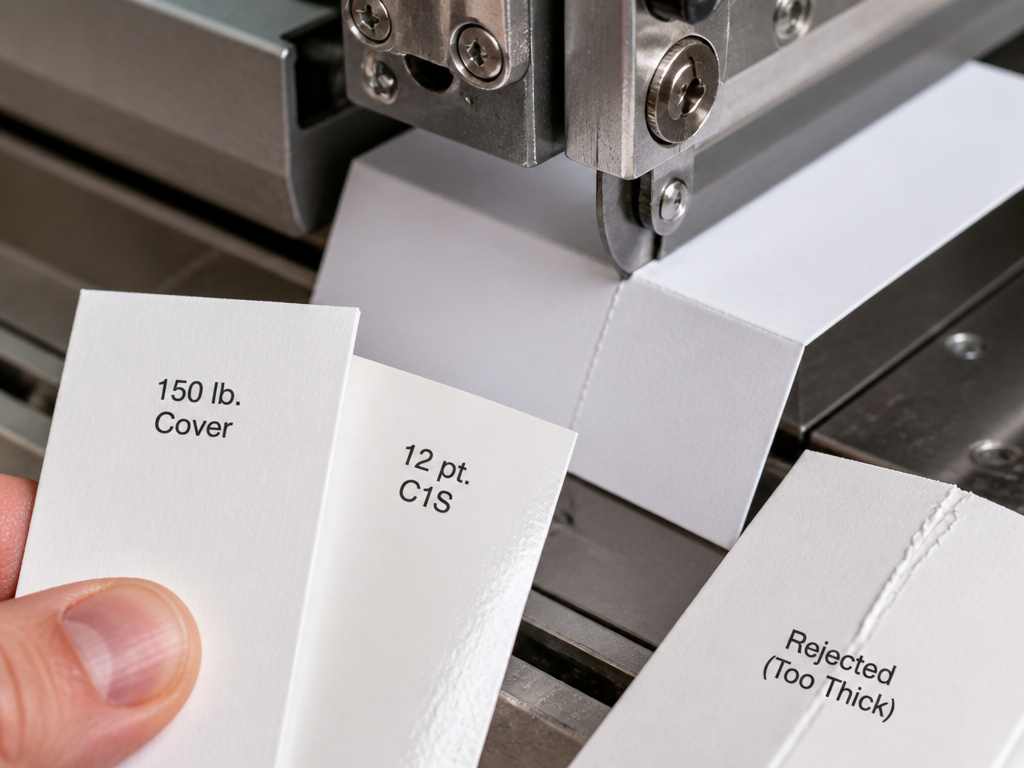
Paper weight confuses everyone. Is 12 pt. heavier than 100 lb.? Not directly. “Point” (pt.) measures thickness. “Pound” (lb.) measures the weight of a ream of paper in a specific size. For table tents, you care about thickness and finish because they dictate how well the tent folds and stands.
Printers offer specific stocks because their scoring machines are calibrated for them. Go outside their list, and the fold cracks or fails to crease cleanly.
Smartpress offers two main options for table tents:
* Coated Matte – White in #150 cover weight. This is a thick, uncoated feel that resists fingerprints.
* Coated Semigloss 1 Side (C1S) in 12 pt. paper weight. This has a glossy finish on one side only, perfect for a vibrant front with a matte, writable back.
PsPrint uses 100 lb. Gloss Cover Stock with UV Coating. The UV coating adds a protective layer that makes colors pop and resists smudges from damp hands, a real factor in a restaurant setting.
Common mistake: Choosing a thicker, “premium” card stock not listed by your printer, the scoring blade cannot penetrate it cleanly, resulting in a ragged, cracked fold line that weakens the entire tent.
Thicker isn’t always better. A tent that’s too stiff is harder to assemble and more likely to tip over in a draft. The standard weights are a compromise between durability and function.
Which paper is right for your project? Glossy (C1S or UV Coated) is for high-impact visuals where the tent is part of the decor. Matte is for a more tactile, premium feel, or if people will be writing on it with a pen. For most promotional uses, the glossy stocks hold up better to handling.
Double-Sided Printing and the “Versions” Trick
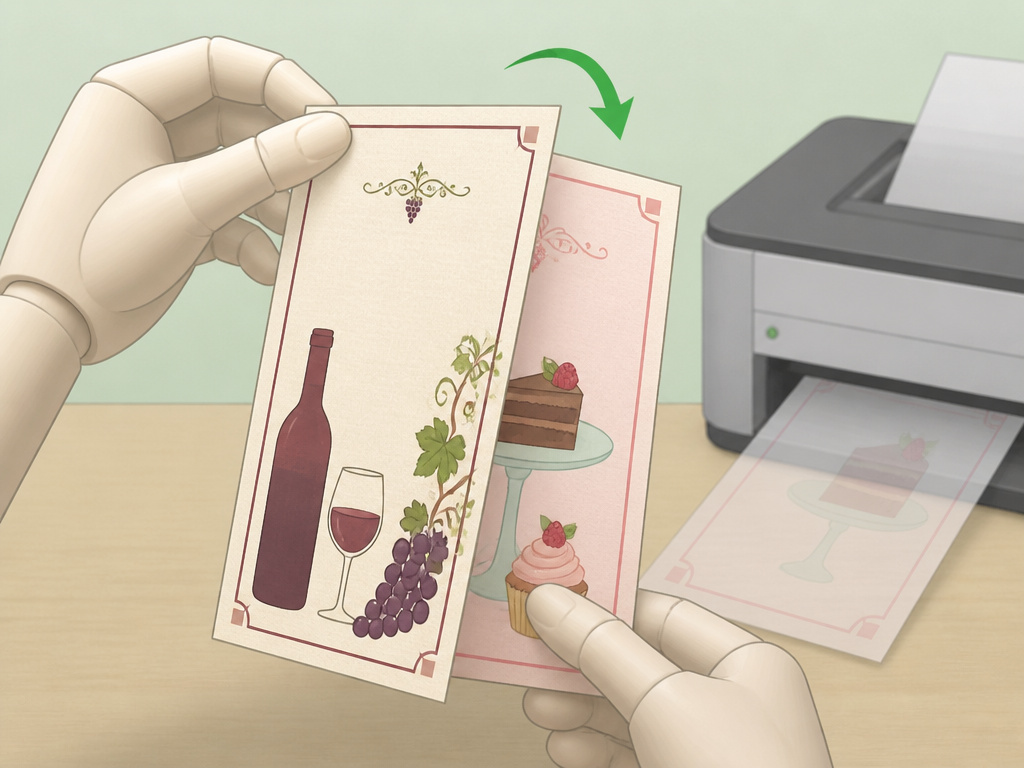
You can print on both sides of the outside of the tent, the front and the back panels. You cannot print on the interior white side that forms the base. The printer runs the sheet through once, prints one side, flips it, and prints the reverse. The inside remains blank.
This is useful for bilingual menus, or front-side promotions with terms & conditions on the back.
Smartpress has a useful feature for running multiple designs in one order: “Versions.” If you need 100 tents for a wine list, 100 for dessert specials, and 100 for cocktail hours, you can upload three different design files within the same order. They must be the same size and finish. This saves on separate setup fees and gets you a volume price break.
For restaurants or venues that change promotions weekly, this is a money-saver. You order a larger quantity of blank tents on a durable stock, then swap out the paper inserts. Or, you use a service like Smartpress’s Versions to print several designs at once at a lower per-unit cost than three separate tiny orders.
When to Print Small vs. When to Go Big
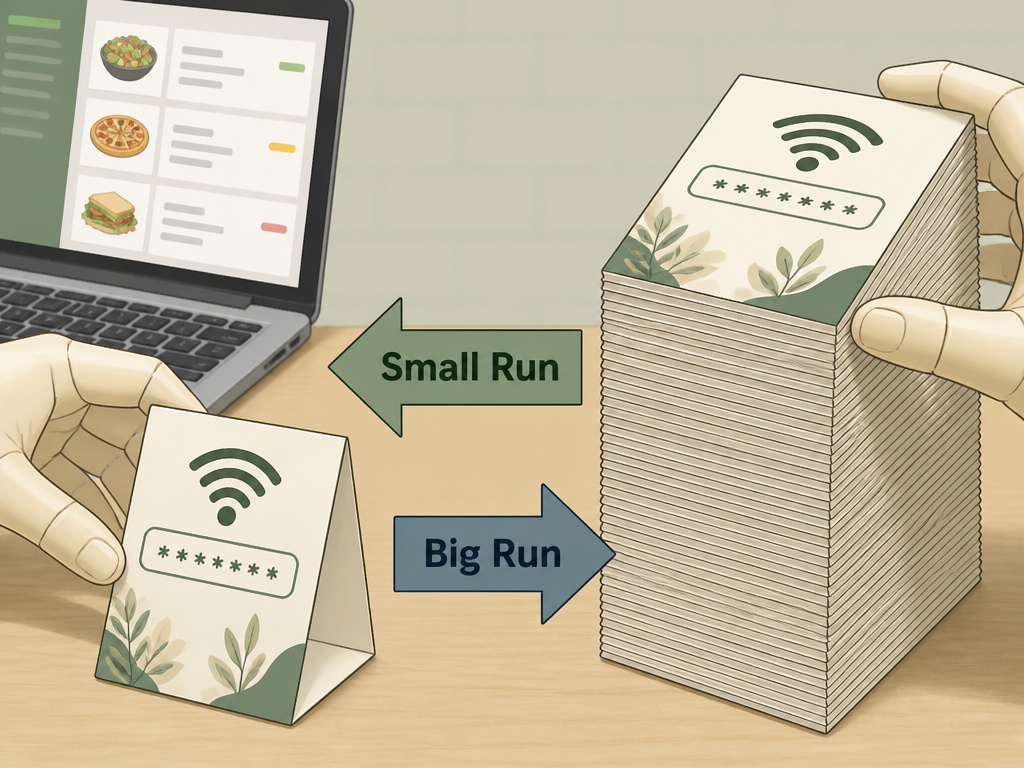
Printing logic splits into two camps: just-in-time and stock-up.
Smartpress has a minimum order quantity of 5 table tents. This is perfect for testing a design, for a one-off event, or for a business that updates its specials constantly. You’re not stuck with 500 outdated tents.
PsPrint notes that volume printing lowers the per-piece cost. If your message is static, a permanent allergy notice, a wifi password, a company motto, printing 1,000 at once is far cheaper per unit than printing 50 twenty times. The price drop between 100 units and 500 units is often 40-50%.
| Use Case | Recommended Quantity | Reason |
|---|---|---|
| Weekly Restaurant Specials | Minimum run (e.g., 5–50) | Menu changes frequently; avoid waste. |
| Annual Festival Guide | 200–500 | Enough for all vendor tables, with some spare; cost per piece drops. |
| Permanent Brand Message | 1000+ | Lowest cost per unit; message won’t change for years. |
| Test Run / Proof | 5–10 | Verify colors, folds, and paper quality before committing to a large run. |
The break-even point depends on your printer’s price tiers. For Smartpress, the per-tent cost might stabilize after 100 pieces. For PsPrint, the bigger savings kick in at 500. Always request a quote at your target quantity and one level higher, you might find that 550 costs the same as 500, giving you free extras.
TL;DR: Order the minimum for designs that change often. For permanent displays, max out the quantity to the upper limit of your need. Smartpress allows up to 5,000, to get the lowest per-piece price.
Assembly: More Than Just Folding
The printer delivers flat sheets. You fold them into tents. It seems simple, but a crisp fold makes the tent stand straight. A sloppy fold makes it lean.
First, identify the printed score lines. These are the faint dashed lines where the paper is meant to fold. Align the fold precisely with these lines. Use the edge of a table or a ruler to create a sharp crease. Don’t just bend it with your hands; that creates a rounded, weak fold.
Second, interlock the tabs. Most table tent designs have two small slits and two corresponding tabs. The tabs slide into the slits from the inside. Push them through until they click into place. If the tabs are too tight, use a pen cap to gently widen the slits before assembling. Forcing them can tear the card stock.
Finally, place the tent on a flat surface and gently press down on the top. This distributes the weight and ensures all four “feet” are touching. A wobbly tent is usually due to one tab not being fully seated or a fold that isn’t square.
A table tent that won’t stand up straight often has one of two problems: the center fold is rounded instead of sharp, or one of the locking tabs isn’t fully engaged. Redo the fold with a ruler, and check the tabs.
Store unused tents flat, under a heavy book if possible, to prevent them from curling. Humidity is the enemy of card stock.
Frequently Asked Questions
What’s the standard size for a table tent?
The most common finished size is 5 inches wide by 7 inches tall. However, your design file must be larger to account for bleed. Start with a 5.5″ x 7″ document.
Can I print table tents at home?
You can, but the quality and durability won’t match commercial printing. Home printers can’t handle heavy card stock, scoring is inconsistent, and edges often look unprofessional. For a handful of tents for a personal event, it’s possible. For business use, commercial printing is worth the cost.
What file format should I use?
Always submit a high-resolution PDF. This format preserves your fonts, colors, and layout across different computer systems. Ensure it’s set to 300 DPI minimum.
Why did my colors print differently than they looked on screen?
You almost certainly designed in RGB color mode, which is for screens. Printers use CMYK inks. Convert your design to CMYK before finalizing it to see a more accurate preview of the final colors.
How many table tents should I order?
For temporary or changing promotions, order the printer’s minimum (often 5-25). For permanent displays, order in bulk (250+) to significantly reduce the cost per tent.
Before You Go
Printing table tents is a collision of graphic design and physical manufacturing. The screen is a lie. The truth is in the cutter’s blade and the scoring machine. Get your document size right (5.5″x7″ with 0.125″ bleed), work in CMYK from the start, and pick a paper stock your printer’s equipment can actually fold. A glossy, UV-coated stock holds up under a cocktail glass’s condensation better than matte. And if your message isn’t changing next week, buy in volume, the price per piece drops fast after the first hundred. Your final check is a simple one: before you upload that PDF, zoom to 400%. If the text edges are still sharp and the colors extend past the trim line, you’ll get a tent that stands up straight and gets read.
