
How to Make a Tent at Home | The 4 Builds That Actually Hold Shape
This post contains affiliate links. As an Amazon Associate, we earn from qualifying purchases.
To make a tent at home, you need a stable frame and a taut cover. The classic blanket‑over‑chairs method works for ten minutes before the sheet slips. A frame built from 1×2 lumber or 1/2‑inch PEX tubing holds its shape for days. The difference is in the joints and the tension. Get those wrong and you have a sagging cave. Get them right and you have a proper shelter.
Most people start with a couch, some chairs, and a big blanket. It looks great for a photo. Then someone brushes against a leg, the blanket drags, and the whole thing folds in on itself like a house of cards. The problem isn’t the idea. It’s the lack of a ridgeline – a single taught cord or pole that takes the weight off the fabric and transfers it to the ground.
This guide walks through four builds, from a five‑minute pillow fort to a backyard tarp shelter that can handle a light rain. Each one solves the sag problem a different way.
Key Takeaways
- A taut ridgeline is non‑negotiable. Run a rope between two anchor points above your covering fabric; every other support hangs from it.
- For indoor frames, 1×2 whitewood molding is strong enough for kids but light enough to move. Drill the 3/4‑inch connection hole six inches from the top, not at the very end.
- Outdoor tarp shelters need a 12×12 or 16×20 foot square tarp and actual tent stakes. Smooth river rocks work once, then tear the grommet.
- Skip bedsheets. They are too thin and rip at the clips. Use a canvas drop cloth, a dedicated camping tarp, or a thick quilt.
- The single biggest stability upgrade is diagonal guylines. One rope from each corner peak to a ground point outside the footprint stops side‑to‑side sway completely.
The 4 Most Stable DIY Tent Designs
The blanket fort is just the start. Each of these designs adds a more rigid frame, moving from furniture you already own to cut‑and‑tie structures that won’t collapse if a kid leans on the wall.
| Design | Best For | Core Materials | Build Time | Failure If Skipped |
|---|---|---|---|---|
| Classic Blanket Fort | Young kids, spontaneous play | Chairs, sofa, blankets, clips | 5‑10 minutes | No ridgeline – sheet slips off in <5 min |
| Wooden A‑Frame | Indoor playhouse, multi‑day use | Four 1x2x48‑inch boards, rope, sheet | 45 minutes | Loose top knot – frame wobbles & falls |
| Dowel Teepee | Decorative corner tent, older kids | Six 6‑ft dowels (3/4‑inch), rope, fabric | 60 minutes | Shallow lashing – poles splay & collapse |
| PEX Pipe Dome | Geometric play space, light‑duty | 1/2‑inch PEX tubing, 1 1/2‑inch coupling, curtain | 90 minutes | Weak coupling joint – dome folds at the hub |
TL;DR: Pick the wooden A‑frame for a weekend indoor fort, the dowel teepee for a decorative corner, or the PEX dome for a playhouse that stores flat. The blanket fort is for an afternoon.
A taut line from one anchor point to another, placed above the fabric, is called a ridgeline. It carries the load so the covering doesn’t sag onto occupants’ heads and maintains air circulation underneath.
The 5‑Minute Blanket Fort (And Why It Fails)
You need four dining chairs, a large blanket or quilt, and some spring‑clamp clothes clips. Place the chairs back‑to‑back in a square, about four feet apart. Drape the blanket over the chair backs so it hangs down to the floor on all sides. Clip the blanket to the chair backs at each corner. Weigh down the bottom edges with pillows or books.
It takes five minutes. It fails in six.
The clips hold, but the blanket’s own weight pulls it off the smooth chair backs. The fix is a ridgeline. Run a piece of twine between two opposite chair backs, above the blanket. Drape the blanket over the string, not the chairs. The string now holds the weight; the clips just keep the sides closed. This small change adds about thirty seconds to the build and extends the fort’s life from one TV episode to an entire afternoon.
Common mistake: Using a top sheet instead of a blanket – the thin fabric stretches under its own weight, sags into the middle, and tears at the clip points within an hour.
If you don’t have clips, safety pins work. Large binder clips from the home office work. A length of rope tied around the blanket and chair leg works. The goal is direct downward tension, not just a loose drape.
The Wooden A‑Frame That Survives the Weekend
This is the first step into real structure. You build a freestanding frame, then drape fabric over it. The frame stays up until you take it down.
You need four pieces of 1‑inch by 2‑inch by 48‑inch whitewood molding, a drill with a 3/4‑inch bit, about ten feet of sturdy rope, and a heavy blanket or canvas drop cloth. The 48‑inch length is key – it gives enough height for a kid to sit up inside without the frame becoming top‑heavy.
- Drill a 3/4‑inch hole through each board, six inches down from the top. This offset is critical. Drilling at the very top creates a weak point that splits after a few hours of play.
- Thread the rope through all four holes. Pull it through so you have two long ends.
- Stand two boards up to form an “A” shape. Cross the tops and tie the rope ends together in a square knot. Repeat with the other two boards to make a second “A”.
- Separate the two A‑frames by about four feet. Lay a long pole or spare board across the tops to form the ridge. Tie it securely to each A‑frame with more rope.
- Drape your fabric over the ridge. Weigh down the corners with books or more rope tied to furniture.
The frame alone is stable. The fabric is just a cover. You can take the cover off for washing and the frame stays put. I used this design for a week‑long “campout” in the living room. On day three, one of the knots loosened. Retying it took two minutes. If I hadn’t, the ridge pole would have slipped and the whole thing would have folded.
TL;DR: Drill the hole six inches down, not at the very top. That six‑inch lever arm keeps the joint from splitting under side load.
The No‑Sew Dowel Teepee
For a conical tent that feels more permanent, gather six 3/4‑inch diameter dowel rods, each six feet long. You also need a drill with a 7/16‑inch bit, a long piece of rope, and a large circular piece of fabric – a canvas drop cloth works perfectly.
I won’t recommend the classic bedsheet teepee. The fabric is never the right shape, it bunches at the poles, and the hem drags on the floor collecting every crumb in the room. A drop cloth is heavy enough to hang straight.
The process is all about the lashing.
1. Drill a hole through each dowel, about eight inches from the top. The hole must be big enough for your rope to pass through easily.
2. Line up the dowels so the holes align. Thread the rope through all six holes.
3. Pull the dowels into a circle, spacing them evenly. Tie the rope ends together tightly – this is the lashing knot that holds everything.
4. Spread the bottom of the dowels out to form a wide circle, about five feet across. This gives interior space.
5. Drape the fabric over the frame. You can clamp it at the top around the lashing and use more rope or twine to tie it at intervals down the poles.
The teepee wants to splay. The force pushing the bottoms outward is constant. If your lashing knot isn’t tight, or if you drilled the holes too close to the end, the poles will slowly slide apart and the whole thing will collapse. Check the knot after the first hour of play, and again before bedtime.
The PEX Pipe Playhouse Dome
This one looks complex but assembles like giant Tinkertoys. You need 1/2‑inch PEX tubing, a 1 1/2‑inch coupling, and a long curtain panel or lightweight tarp. The PEX is flexible, so the dome has a slight give to it.
Cut the PEX into lengths for your dome’s ribs – ten 3‑foot pieces is a good start. The coupling sits in the center as a hub. Insert the ribs into the coupling, forming a star shape. Bend the ribs upward and outward to form the dome, and secure their ends to the ground with stakes or weights. Drape the fabric over the top and secure it at the base.
The weakness is the coupling joint. If the ribs aren’t seated fully, or if you use a coupling that’s too large, the whole structure flexes at the center and buckles. A 1 1/2‑inch coupling is the correct size for 1/2‑inch PEX – it grips tightly without crushing the tube.
What Materials Actually Work (And What Sags)
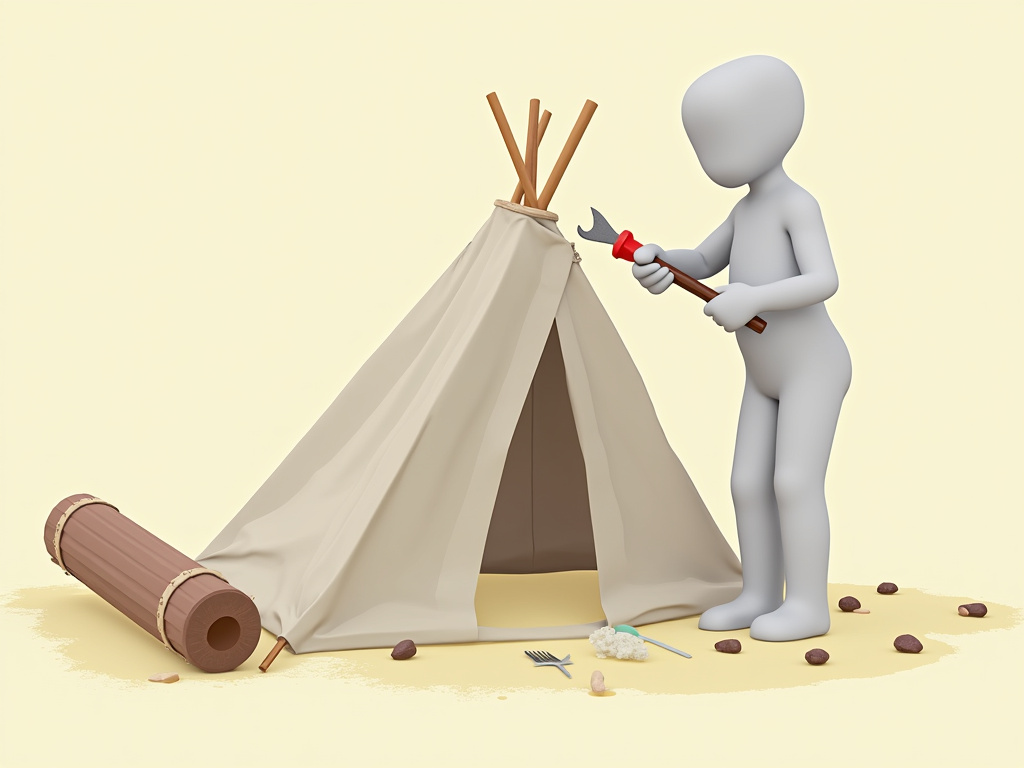
The wrong fabric turns your stable frame into a damp, sagging mess. The wrong cordage slips. You can spend an hour on a frame and ruin it in two minutes with a bad covering choice.
| Material | Use Case | Pros | Cons | Will Fail If |
|---|---|---|---|---|
| Canvas Drop Cloth | Indoor/outdoor frame covers | Heavy, drapes well, breathable | Can be stiff, collects dust | Used outdoors in rain without a waterproofing spray |
| Camping Tarp | Backyard shelters, rain cover | Waterproof, reinforced grommets | Crinkly noise, condensation inside | Pitched without a steep enough angle (pools water) |
| Fleece Blanket | Quick pillow forts | Soft, warm, doesn’t slip easily | Heavy, traps heat, stains | Used as a roof on a warm day (becomes a sauna) |
| Bedsheet | Last‑resort drape | Light, easy to find | Tears at stress points, sags | Clipped with anything stronger than a plastic clip |
| Paracord | Ridgelines, guylines, lashing | Strong, cheap, holds knots | Stretches under load over time | Used in a continuous loop without a proper tension knot |
TL;DR: Use a canvas drop cloth for indoor frames and a polyethylene camping tarp for outdoor shelters. Never use a top sheet as your primary roof – it rips.
Common mistake: Using a heavy comforter as a roof on a blanket fort – it blocks all light and air, and the interior temperature rises 10‑15 degrees within twenty minutes. Kids will abandon it.
Your rope matters as much as your fabric. That clothesline from the garage stretches when it gets damp. Paracord holds a knot better, but it also stretches a little. For a ridgeline that must stay tight, use a trucker’s hitch knot. It gives you a 3:1 mechanical advantage to pull the line taut, and it locks in place.
The Backyard Tarp Shelter (For Older Kids & Adults)
This is a real shelter. It keeps off rain and sun. It needs a 12×12 or 16×20 foot square tarp, tent stakes, a pole or sturdy stick, and about 50 feet of rope.
The A‑frame pitch is the most reliable. You’ll stake down two corners on one long side. Walk to the opposite side, gather the two corners together, and pull them up to create the peak. Stake those two corners about two or three feet apart – this creates a stable “door” opening. Prop the peak up with your pole. Tie a rope from the center grommet at the peak to a tree or another stake to keep the ridge tight.
I used a 16×20 tarp for this. The rectangular shape means one side is longer, so the pitch isn’t perfectly symmetrical. It still works, but a square tarp is easier. The pole should have a smooth, rounded top so it doesn’t tear the tarp. A shirt wrapped around the pole tip works in a pinch.
Wind is the enemy. If the tarp is loose, it will flap. That flapping creates noise, wears the grommets, and eventually tears the fabric at the tie‑out points. The solution is tension on every corner and along the ridgeline. Pull each stake line until the tarp fabric is drum‑tight. If you see a wrinkle, it’s loose.
TL;DR: Pitch the tarp with a steep angle. If rain pools in the middle, you didn’t pull the ridgeline high enough. Water will find the sag and push the whole thing down.
This design scales. For a bigger shelter, use a larger tarp and more poles. The principles are the same: a taut ridgeline, staked corners, and no fabric touching the ground except at the edges. A well‑pitched tarp shelter is a legitimate piece of camping gear, not just a backyard toy. It’s the foundation of many ultralight lightweight tarp shelters used on long‑distance trails.
How to Light and Ventilate Your DIY Tent
A dark tent is a boring tent. A stuffy tent is an abandoned tent.
For light, stick‑on LED puck lights are the answer. They run on batteries, don’t get hot, and can be placed anywhere. Never use a real candle or a lantern with an open flame inside a fabric tent. The risk is obvious, but the heat alone can scorch fabric even without direct contact.
Ventilation is about physics. Warm air rises. If you seal the tent completely, that air has nowhere to go. It condenses on the cooler fabric walls, and soon everything inside feels damp. The fix is a gap at the peak. On a teepee, leave the very top unlaced. On an A‑frame, roll up the ends a few inches. On a blanket fort, use a fan blowing gently across an entrance.
Never block a tent’s only entrance with a heavy blanket. If you need privacy, use a lighter sheet that still allows air to pass through. A sealed tent becomes a carbon dioxide trap in less than an hour – kids will get headaches and feel drowsy.
Lighting should be indirect. A single bright light at the peak creates harsh shadows. Three or four smaller lights spread around the interior walls create a soft, even glow. For longer adventures, consider battery‑powered tent lights designed for camping. They are brighter, last longer, and often have a red‑light mode for preserving night vision.
Frequently Asked Questions
How do you make a simple tent at home without any tools?
Use furniture you already have. Drape a large blanket over a table to create an instant cave. Weigh down the edges with books or pillows. For a more tent‑like shape, run a string between two chair backs, drape the blanket over the string, and clip the sides to the chairs. No drills, no saws, no rope work required.
What is the best material for a homemade tent?
painter’s canvas drop cloth is the best balance of weight, drape, and durability for indoor use. It’s thick enough not to sag, breathable so condensation doesn’t form, and cheap enough to cut or modify. For outdoor use, a polyethylene camping tarp with reinforced grommets is the only safe choice. It’s waterproof and won’t rip in the wind.
How do you secure a homemade tent so it doesn’t collapse?
Tension and triangulation. Every part of the structure should be under slight tension – loose fabric flaps and falls. Use diagonal guylines from the top corners to points on the ground outside the tent’s footprint. This creates triangles, which are geometrically stable. Indoors, use heavy furniture or sandbags. Outdoors, use proper tent stakes, not just sticks pushed into the ground.
Can you make a tent from PVC pipe?
Yes, but schedule‑40 PVC is brittle in cold weather and can shatter. PEX tubing is a better choice. It’s flexible, lighter, and the joints are less likely to crack under the stress of kids playing inside. A dome made from 1/2‑inch PEX and a 1 1/2‑inch coupling can support a light fabric cover and stores flat when disassembled.
How long will a DIY tent last?
blanket fort lasts one play session, maybe two. A wooden A‑frame with a canvas cover can last for weeks if you tighten the knots occasionally. A backyard tarp shelter with proper stakes and tension can stay up through a weekend of mild weather. None of these are permanent structures. Check all knots and stakes after the first night, and after any period of strong wind or rain.
Is it safe to use a heater inside a homemade tent?
No. Never use any heater with an open flame, glowing element, or high external surface temperature inside a fabric tent. The risk of carbon monoxide poisoning and fire is extreme. For winter camping, you need a tent with a certified stove‑compatible shelter and a properly vented wood stove. A homemade play tent is for fair‑weather fun only.
Before You Go
The goal isn’t a perfect replica of a store‑bought tent. It’s a stable, safe space for imagination. Start with the blanket‑and‑chair version to see if the idea sticks. If it does, invest an afternoon in the wooden A‑frame – the materials cost less than twenty dollars and the frame can be reused for years.
Remember the ridgeline. Remember tension. And never let the fabric touch a light bulb. Everything else is just decoration.
