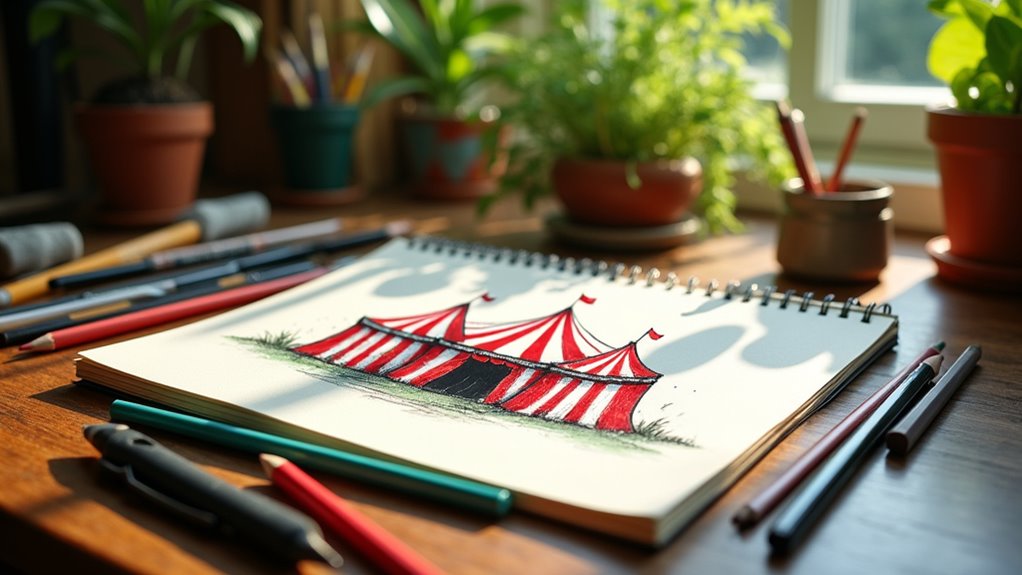
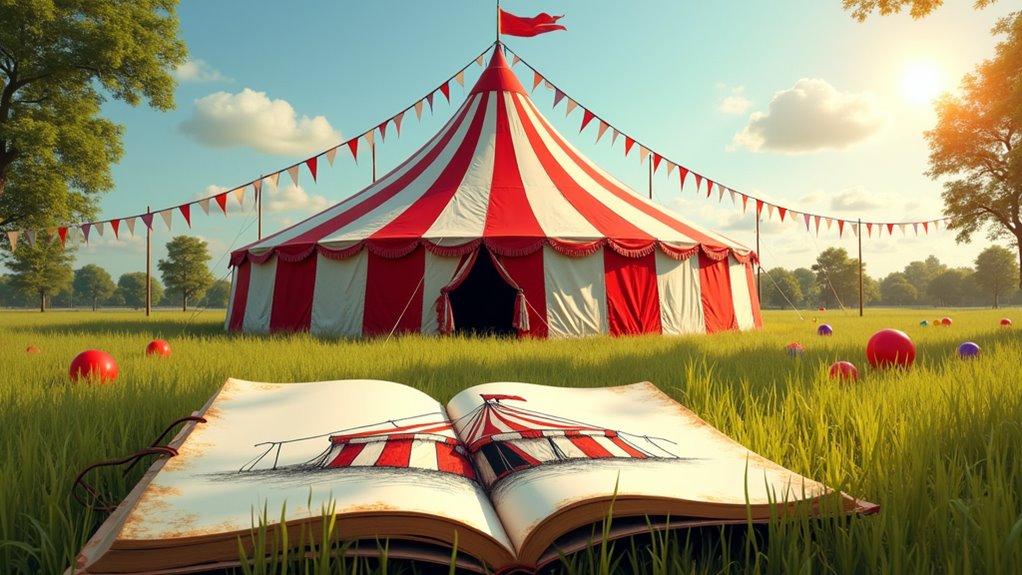
How To Draw A Circus Tent
This post contains affiliate links. As an Amazon Associate, we earn from qualifying purchases.
To draw a circus tent, begin by sketching a large oval base and adding masts spaced 40 feet apart with a sloping roof rising from 10 feet to a peak of 33 feet. Use quality materials like textured paper and colored pencils to enhance your drawing, incorporating lively colors and patterns that draw the eye upward. Detailed structural elements and fabric textures add realism, while refining pole placements and wrinkles completes the look. Further explanation and tips on capturing the tent’s spirit and intricate details will be provided later in the article.
Essential Facts in 30 Seconds
- Sketch a large oval base with central masts and a sloping roof shape.
- Use textured paper and colored pencils to depict fabric with red, white, and accent colors.
- Add structural elements like main masts, quarter poles, and guy lines for realism.
- Incorporate patterns and colors that follow the tent’s shape to enhance appearance.
- Finalize by checking pole stability, smoothing fabric wrinkles, and ensuring clear entry and exit paths.
Choosing the Right Materials for Your Drawing
Start with textured or watercolor paper to show fabric texture well. Use colored pencils or watercolors that match the red and white stripes of a circus tent. Try blues and yellows for fun color changes. Fine-tip markers help add clean stripes and fabric folds. Graphite pencils work best for drawing the tent’s basic shape.
Masking tape keeps your lines sharp and neat. Acrylic paints give bright, strong colors. Heavy drawing boards keep your paper steady while you work. Acid-free paper stops colors from fading over time. Use blending tools like tortillons to smooth colors and make the fabric look soft.
Pick the right tools and paper to make your circus tent look real and lively. Small details, bright colors, and smooth shading bring your drawing to life. Simple materials can create amazing results if you use them well.
Sketching the Basic Structure
Start by drawing a large oval or circle for the tent’s base. This shows the tent’s footprint. Leave extra space around it for guy lines and stakes.
Next, draw the central peak. Place masts about 40 feet apart for bigger tents. These hold the tent up.
Sketch the roof sloping up from 10-foot sidewalls to a peak about 33 feet high. Use curved lines to show the canopy shape. Divide the roof into triangle sections for accuracy.
Mark spots for quarter and side poles. Space them evenly to keep the tent stable.
Keep the tent’s size balanced. Enough room inside without losing support outside. This method helps you draw a strong, realistic tent.
Later, you can add details to finish the design.
Adding Details to Enhance Realism

Make your circus tent illustration look real by adding important details. The side walls stand about 10 feet tall and slope up to 33 feet at the center mast. Space main masts 40 feet apart. Support them with quarter poles and strong steel cables.
| Detail Type | Description |
|---|---|
| Structural Parts | Main masts, quarter poles, guy lines |
| Material Look | PVC-coated fabric with texture |
| Inside Features | Star designs, performance areas, seats |
| Real Touches | Guy ropes, circus logos, flap edges |
Show fabric wear with faded colors and patches. Draw seams and stitching clearly to add depth. These touches make the tent look real and interesting.
Incorporating Colors and Patterns
Colors and patterns bring life to a circus tent. Pick 2 or 3 main colors that feel right. Red sparks excitement. Blue brings calm. Yellow and green seem bright and happy.
Use stripes or radial patterns to guide the eye upward. High-contrast colors make patterns stand out. Bold colors catch attention, but soft shades balance the look.
Patterns should follow the tent’s shape to avoid stretching. A shiny finish makes colors glow under lights.
These steps create a tent that grabs the crowd’s eye and feels festive.
Finalizing Your Circus Tent Drawing
Final steps make your circus tent drawing strong and lively. Check the poles and side supports. Place them right to keep the tent stable. Fix any fabric wrinkles. Smooth fabric shows a tight, real tent. Use strong stitching on edges. This keeps the tent durable.
Think about lights. Put them where they show the tent’s shape and colors best. Lights add mood and fun.
Here is a simple table to help you finish well:
| Aspect | Details | Importance |
|---|---|---|
| Structure | Check pole placement | Keeps tent stable |
| Fabric Finishing | Smooth wrinkles, stitch edges | Looks real |
| Lighting | Place lights carefully | Sets the mood |
Check the whole tent drawing. Make sure people can see it well from all sides. Make paths clear to enter and exit. These steps bring your drawing to life. Your tent will feel like a real circus!
Frequently Asked Questions
What Tools Are Best for Drawing a Circus Tent?
Use different pencils for drawing the circus tent’s outline. Bright colors like red and yellow make the tent look lively. Add bold stripes and small details to show the fun spirit. Colored pencils or markers work great for filling in colors. Keep your lines clear and shapes simple to make it easy to recognize. The tent should look cheerful and inviting.
How Can I Create a 3D Effect in My Drawing?
Add depth to your drawing by using shading with light and dark tones. Light areas show where light hits, while shadows show where it does not. This contrast makes objects look round and real. Use soft lines for smooth shadows and sharp lines for hard edges. Study real objects and notice how light changes on them. Practice this to make your art pop out from the paper. Simple changes in shading can bring your drawing to life.
What Perspective Should I Use for My Circus Tent Drawing?
Use both front and side views for your circus tent drawing. This mix adds depth and makes the tent look real. People see the shape clearly and feel like they are there. It shows the tent’s size and details well. This method makes your drawing lively and fun to watch. Try it to make your art stand out!
Are There Specific Circus Tent Styles I Should Consider?
Classic circus tents like four-mast and pole tents stand out. Bright colors, especially red and white stripes, catch the eye. These tents bring a fun, old-time circus feeling. They make drawings look lively and joyful. People easily recognize these styles. They add charm and excitement to any circus scene. Use them to create a festive mood quickly.
How Do I Add Characters or Performers to My Drawing?
Add characters or performers by drawing their poses and expressions clearly. Show action in their body movements. Use facial expressions to tell feelings and stories. Make characters look alive and full of energy. This invites people to feel part of your drawing. Use simple shapes and lines to keep it easy and fun. Try drawing people in different positions to add variety. Let each character show emotion to make the scene exciting.
Conclusion
You have learned how to draw a circus tent. Now, gather your pencils and paper. Start by sketching simple shapes and lines. Practice often to improve your skills. Try different colors and patterns to make your tent unique. Experiment with stripes or dots for extra fun. Each drawing helps you learn new tricks. Your art will get better with every try. Enjoy the process and let your ideas flow. Your final picture will show your own style. Keep drawing and have fun!