
How to Dry a Tent the Right Way (And Avoid Mildew)
This post contains affiliate links. As an Amazon Associate, we earn from qualifying purchases.
To properly dry a tent, separate the inner tent from the rainfly, hang both in a shaded, breezy area, and verify every seam and hem is completely dry before storage. Mildew can form in under 24 hours on damp fabric, and prolonged moisture causes hydrolysis, permanently breaking down waterproof coatings.
You’ve just finished a fantastic trip. The tent kept you dry through a surprise shower, but now it’s damp. The classic mistake is to give it a quick shake, stuff it in the sack, and tell yourself you’ll deal with it at home. I’ve been there, and it cost me a tent.
That “later” is a trap. What feels like a faint dampness to your hands is a thriving environment for mold and a chemical attack on your tent’s vital waterproof layers. This isn’t just about a musty smell; it’s about preserving a piece of gear that’s your home in the wild.
Here’s my field-tested, manual-backed process for getting your shelter bone-dry, whether you’re in a sunny backyard or a humid garage, so it’s ready to perform flawlessly on your next AllTrails adventure.
Key Takeaways
- Mildew can begin forming on crumpled, damp fabric in as little as 24 hours, leading to permanent stains and odors.
- Always disconnect and dry the inner tent and rainfly separately to prevent trapped moisture.
- Direct sunlight degrades fabrics; always dry in shaded, ventilated areas.
- Use fans for indoor drying, but never apply direct heat from hair dryers or heaters.
- The final test for dryness is in the seams and corners, not the main fabric panels.
Why Is Drying a Tent So Critical?
Mildew can start forming on a wet, crumpled tent in as little as 24 hours, which can stain, smell, and compromise the waterproof coating. Prolonged exposure to moisture causes hydrolysis, the premature breakdown of the waterproof coating.
This isn’t a vague warning. I learned this the hard way with a Big Agnes Copper Spur HV UL2. After a light drizzle, I packed it “mostly dry.” Two weeks later, I unrolled it to find a constellation of black mildew speckles on the rainfly and a permanent sour smell. The $350 tent was never the same. The MSR Tents owner’s manual confirms the science: hydrolysis makes the waterproof coating soft, sticky, and ultimately useless.
Your drying job starts the moment you decide to pack up. The goal is to interrupt that 24-hour clock and stop hydrolysis before it starts.
TL;DR: You have one day to get your tent completely dry after a trip to avoid irreversible mildew damage and coating failure.
What’s the Most Effective Way to Dry a Tent Outdoors?
The perfect outdoor drying day is warm, breezy, and shaded. If you have that, you’re golden. Here’s how to maximize it.
First, disassemble the tent. Unclip the inner tent from the rainfly and remove the poles. Shake each component vigorously, think of whipping the hem to force water from the seams. This removes a surprising amount of moisture before you even begin drying.
Next, hang each piece separately. Drape the rainfly over a clothesline, fence, or between two trees. Do the same with the inner tent on a separate line if possible. The key is maximizing surface area exposed to air flow.
Common mistake: Drying the tent fully assembled. This traps humidity between the inner tent and fly, creating a perfect pocket for mildew that you’ll absolutely miss during your pack-up check.
Finally, perform the seam test. The main fabric dries first. The real truth lies in the seams, hems, and any corner where fabric overlaps. Pinch a seam between your fingers. If it feels cool and damp, it’s wet. If it feels cool and crisp, you’re close. Listen, too, dry nylon has a faint, satisfying crinkle.
How Do Different Tent Materials Affect Drying?
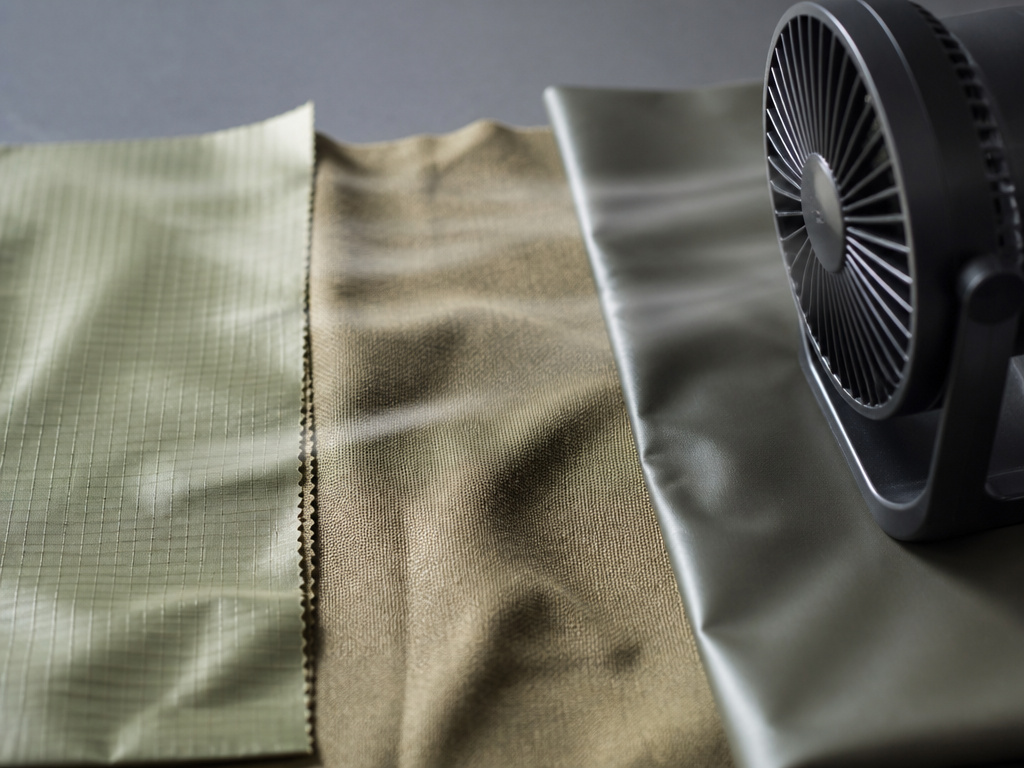
Your tent’s material dictates its drying personality and risks. Using a one-size-fits-all approach can lead to damage.
| Material | Primary Risk | Best Drying Method | Critical Avoidance |
|---|---|---|---|
| Nylon (Standard Backpacking) | Hydrolysis of PU coating. | Shaded breeze or indoor fan circulation. | Direct sunlight, high heat sources. |
| Canvas (Kodiak, Springbar) | Mold in dense, water-retentive fibers. | Extended airflow; can take a full day. | Storing with any residual dampness. |
| Vinyl (Aztec Series 2200) | Adhesive failure from heat. | Hang-drying with fan-forced air in humidity. | Any commercial dryer or heat gun. |
Canvas, like that used in the best durable canvas tents, is a sponge. Its thick cotton fibers swell when wet, and forcing them dry with heat can crack treatments like Kodiak’s Hydra-Shield™. It needs patience.
Vinyl is a special case. The Aztec Tent Series 2200 manual is explicit: “Do not use commercial drying equipment or heat.” I learned this after my old Aztec’s vinyl panels fused together in a sun-warmed car. Their advice? Use fans to circulate air in humid environments, a lifesaver.
TL;DR: Nylon needs speed, canvas needs time, and vinyl needs cool airflow. Heat is the universal enemy.
Can You Dry a Tent Indoors or Without Sun?
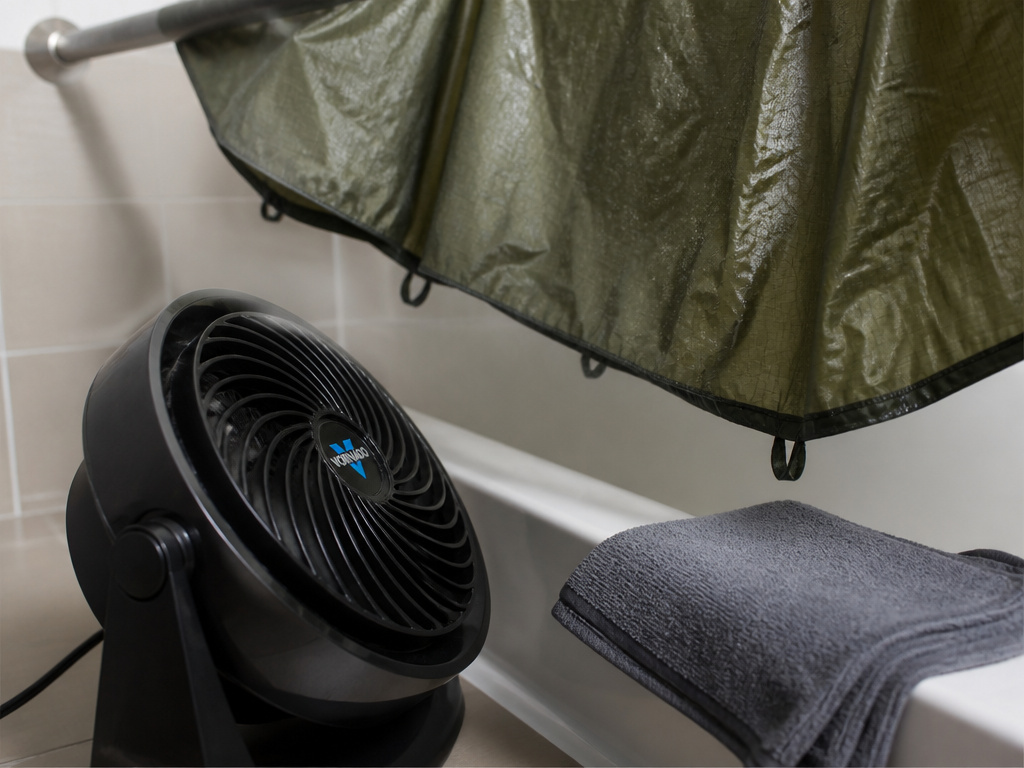
Absolutely. In fact, a controlled indoor setup with fans is often more reliable than fickle weather. This is your plan for rainy pack-ups or humid climates.
Before you start: Never use a hair dryer, space heater, or clothes dryer. Concentrated heat can delaminate waterproof coatings in seconds, causing irreparable damage that voids warranties and ruins the tent.
Here’s your indoor drying protocol:
1. Shake & Blot: After disassembly, shake aggressively. Then, use a clean microfiber towel to blot, not rub, standing water from the floor and fly.
2. Create a Drying Station: Hang the tent over a shower rod, across chairs in a spare room, or in your garage. The goal is air contact.
3. Deploy Strategic Airflow: Position a fan like a Vornado 660 Air Circulator to blow air across the tent, not directly at one spot. This mimics a steady breeze.
4. Be Patient and Check: It will take longer than outdoors, often 4-8 hours. Re-check those seams every few hours.
For a true “packed wet” emergency, I loosely roll the tent for transport (never stuff it tight) and toss in a couple of Dry & Dry 5-ram silica gel packets as a temporary moisture buffer until I can perform a proper dry.
What If You Have to Pack Up a Tent in the Rain?
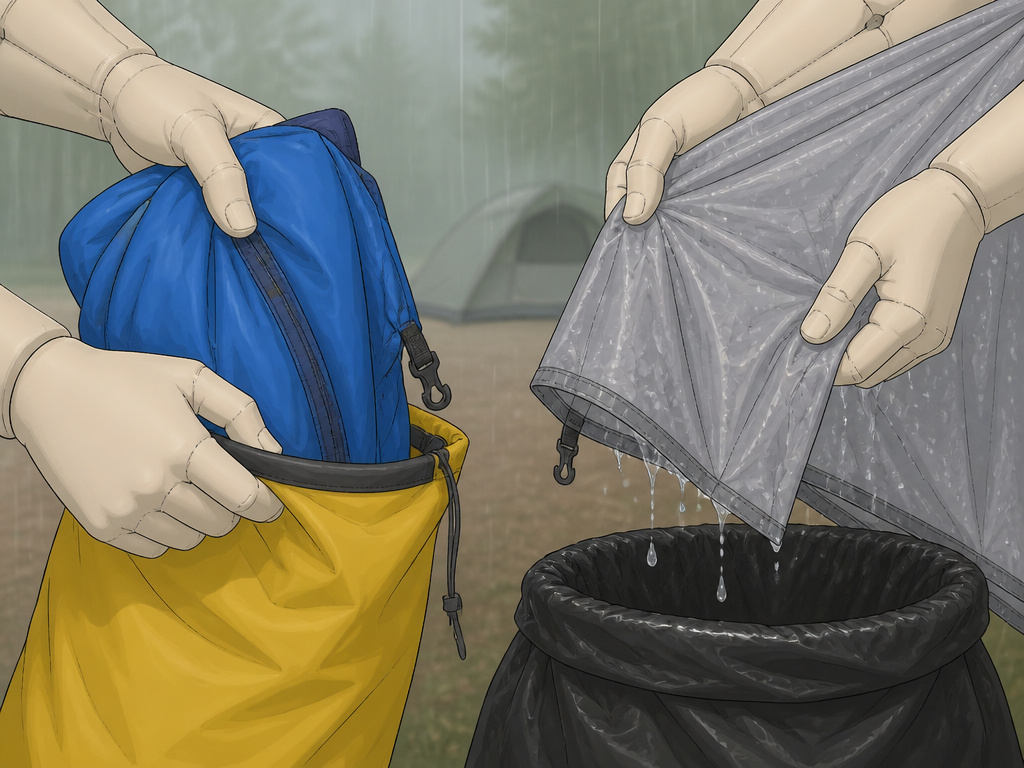
This scenario tests every camper. The Tatonka Tent manual provides a brilliant, field-tested sequence to save your dry inner sanctuary.
- Rescue the Inner Tent First: Unhook the inner tent from the wet rainfly and poles. Bundle it immediately into a dry stuff sack or garbage bag. Your goal is zero rain contact.
- Handle the Soaked Fly: Let the rainfly collapse. Give it a hard shake to shed bulk water, then pack it separately in its own wet bag (a trash bag is perfect).
- Store Them Apart: Never let the wet fly touch the dry inner tent during transport.
- Reverse for Setup: When you can pitch again, erect the rainfly first. Then, attach the dry inner tent underneath it. You stay dry throughout the process.
This method is non-negotiable for preserving comfort and preventing a total soak of all your essential tent camping equipment.
Frequently Asked Questions
How long does it take to air dry a tent?
In ideal conditions (warm, breezy, shaded), a nylon tent can dry in 1-2 hours. A canvas tent may need 4-6 hours or a full day. Humidity is the deciding factor, in high humidity, like during rain, drying time can double or more, as humid air can’t absorb much moisture.
Is it okay to put a tent away slightly damp?
No. Even slight dampness invites mildew and starts hydrolysis. If you must store it temporarily damp, do so loosely packed and for less than 24 hours, with the absolute intention to dry it fully immediately after. The Kodiak Canvas manual states storing a damp tent “even for a short time” can ruin it.
Can I speed up drying with a towel?
Yes, but pat and blot, don’t rub. Use a clean, absorbent microfiber towel to soak up pooled water. Rubbing can grind dirt into the fabric or damage seam tape. This is a great first step to cut down overall drying time.
My tent smells musty. Did I ruin it?
Not necessarily, but act fast. Set it up and give it a complete dry. For light mildew, a gentle clean with a product like Nikwax Tech Wash can help. For severe, set-in mildew and odor, the damage to fabrics and coatings is often permanent, affecting performance like that of storm-resistant tent designs.
How can I tell if the seams are dry?
The “pinch test” is reliable. Pinch a flat seam between your thumb and finger. If it feels cool and clammy, it’s wet. If it feels cool and crisp, it’s dry. Also check all hems, corners, and areas where fabric layers overlap.
The Bottom Line
Drying your tent thoroughly isn’t a post-trip chore; it’s the most impactful maintenance you can do. It’s far simpler and cheaper than replacing a tent ruined by mildew or a failed coating.
Respect the 24-hour rule, separate the layers, and use airflow, not heat, as your tool. Whether you’re caring for a backpacking shelter or one of the best car camping tents, this discipline ensures your home under the stars is always ready, reliable, and fresh for the next adventure. Your future self, cozy and dry on a stormy night, will thank you.
