How To Make Tent With Paper
This post contains affiliate links. As an Amazon Associate, we earn from qualifying purchases.
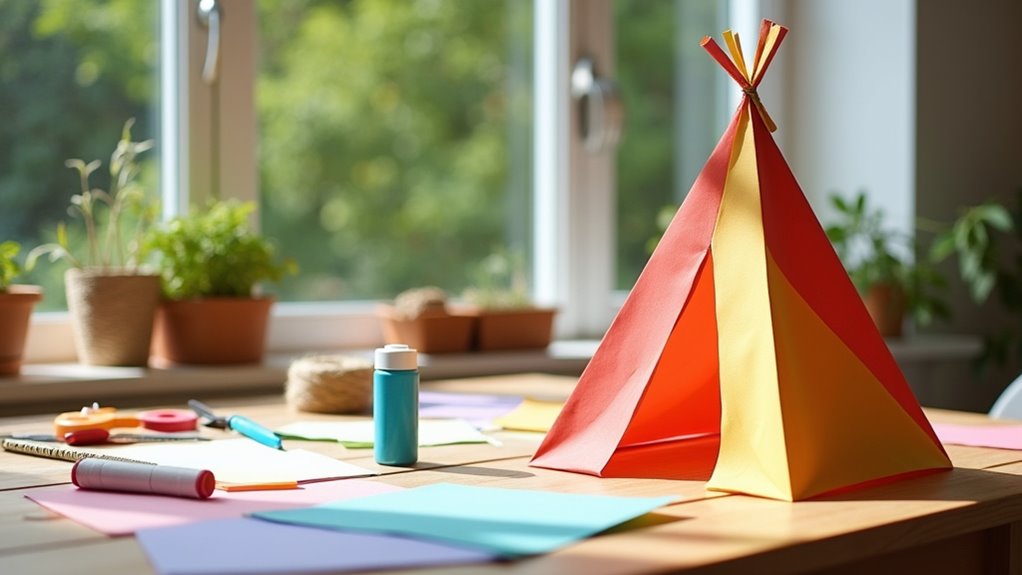
To make a paper tent, use construction paper or cardstock and fold it strategically to create a stable, tent-like structure. Start by folding a square sheet diagonally to form a triangle, then fold the corners to the center for stability. Next, fold the side flaps inward to form triangular walls and bring the top edges together to create the roof. Adjust the base to ensure the tent stands evenly. Further instructions and creative variations, such as designing domes or polygons and practical uses like signage or displays, will be explained in detail below for those interested.
Essential Facts in 30 Seconds
- Fold a square sheet of paper diagonally to form a triangle base for the tent.
- Fold triangle corners toward the center to create walls and strengthen the structure.
- Bring top edges together to form the roof and adjust for a flat base.
- Try different shapes like polygons or domes for varied tent designs.
- Decorate with colors and materials to enhance appearance and attract attention.
Materials and Tools Needed for Paper Tent Making
Making a paper tent needs the right materials and tools. Use newspaper for flexible rolls and supports. Construction paper works well for strong, colorful parts. Cardstock keeps the tent firm. Kraft paper suits origami styles.
Use staples to join edges tightly. Clear or masking tape strengthens weak spots fast. Glue sticks or liquid glue make strong, lasting bonds. Pipe cleaners help bind layers and add support.
Scissors cut shapes neatly. Rulers measure for exact sizes. Pick these materials and tools to build a great paper tent.
Basic Folding Techniques for Creating Paper Tents
Gather your materials and tools. Start with a square sheet of paper. This shape helps keep your tent balanced.
Fold the paper in half vertically and horizontally. These creases create center lines. Next, fold the top corners down to meet the center crease. This forms triangular flaps.
Fold the paper lengthwise at the base to make it stronger. Press each fold hard to get sharp creases. These creases guide your next steps.
Unfold the paper after folding. Adjust the flaps to keep the tent even on both sides. This helps the tent stand on its own.
Mastering these folds builds a strong base. Your paper tent will look real and stand steady. Simple steps. Great results.
Step-by-Step Guide to Assembling Your Paper Tent
Begin assembling your paper tent by folding the square paper diagonally. This forms a triangle with a stable base.
Fold the corners toward the center lines, pressing each fold sharply. This adds strength to the shape.
Next, fold the side flaps inward to create triangular walls. Bring the top edges together to form the tent roof. Make sure all folds fit tightly and the top points sharply.
Stand the tent upright. Adjust the base edges to keep it flat and steady. Flat edges help the tent stand without falling.
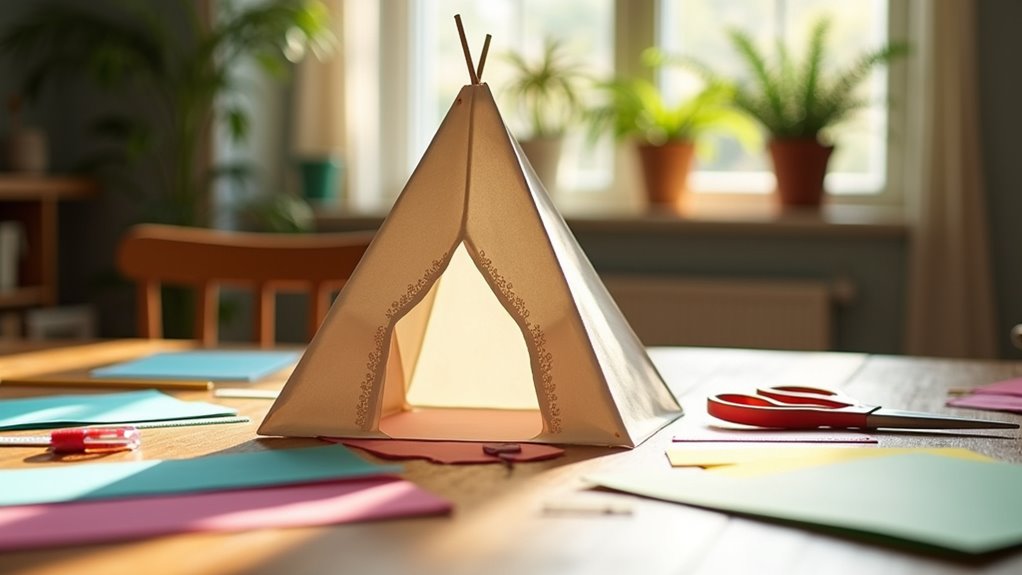
Add small decorations that don’t weigh down the paper. Strong folds and careful steps make your paper tent sturdy and neat. This simple method creates a beautiful tent that holds its shape well.
Design Variations to Enhance Your Paper Tent
Enhance your paper tent to make it stronger and more attractive. Try a triangular prism shape for a classic A-frame look. This shape holds up well and feels real.
Use polygon shapes like hexagons or octagons to make the inside roomier. These shapes also give your tent a cool, unique style.
Make a dome shape by bending panels. A dome helps air flow better and looks modern.
Add colors and decorations like paper flags or fun patterns. These details make your tent stand out.
Make parts foldable or removable to see inside easily. You can build small tents for dollhouses or big ones for display.
Pick themes like winter or desert to create a special scene. These ideas make your paper tent both fun and useful.
Practical Uses for Your Paper Tent Creations

Paper tents do more than look nice; they’ve many useful purposes. Restaurants and cafes use them to catch customers’ eyes. Their 3D shape stands out better than flat flyers. Trade shows benefit too, as paper tents highlight booths and special deals clearly.
They also help in learning. Teachers use paper tents to explain shapes and design. Kids enjoy making and using them in class or outside. They can show camping ideas while boosting creativity and understanding.
Paper tents work well as signs. They share WiFi passwords or event times. This stops customers from asking the same questions again and again.
These tents cost little but add value everywhere. They improve customer experience, raise interest, and support teaching. Paper tents mix usefulness with fun in many places.
Tips for Success and Overcoming Common Challenges
Building a paper tent needs careful planning for a strong result. Use several sheets taped together to make the paper stronger. Pick thick paper to stop it from folding too much.
Add extra tape or paper strips on joints to keep them from breaking. Put on waterproof coatings if the tent will be outside and might get wet. Use triangle shapes because they keep the tent steady. Cut all pieces carefully to fit well.
Work on a clean, flat table to keep the paper smooth. Strong tape holds joints tight and stops them from falling apart. Fix problems like folds or water damage quickly by changing your methods or materials.
Start with a small tent to learn before making a big one. Follow these tips, and your paper tent will last long and work well.
Frequently Asked Questions
Can I Use Other Types of Paper for Tent Making?
Various types of paper work well for tent making. Origami paper is thin and easy to fold. Cardstock is thick and strong, giving your tents more support. Tant paper has bright colors and holds shapes nicely. Pick the paper that fits your project and how long you want the tent to last. Stronger paper lasts longer but can be harder to fold. Thin paper folds easily but may tear. Use these tips to make great tents every time!
How Long Does It Take to Make a Paper Tent?
Making a paper tent usually takes 10 to 15 minutes. Simple designs work faster. Complex folds can take much longer. Keep your steps easy to finish quickly. This way, you avoid frustration and enjoy folding. Paper tents make fun and quick crafts. Great for kids and beginners too!
Are There Any Safety Concerns With Using Scissors?
Scissors can be dangerous if not used carefully. Children need close supervision to avoid cuts. Teach them to hold scissors properly and cut away from the body. Scissors with rounded tips reduce injury risk. Always store scissors safely when not in use. Following these steps keeps everyone safe and prevents accidents.
Can I Decorate the Tent Before Folding?
Decorating your tent before folding is a great idea. Use light decorations that do not block folding lines. This keeps your tent neat and easy to pack. Simple stickers or fabric markers work best. Avoid heavy or stiff decorations. They can make folding harder and damage your tent. Keep decorations flat and smooth. This helps maintain the tent’s shape and function. Decorating adds fun and style without trouble. Try small designs near the edges or corners. You will enjoy a unique tent that still folds well.
What Age Is Suitable for Children to Make Paper Tents?
Children aged 3 and older can start making paper tents. This activity helps improve their fine motor skills and hand-eye coordination. It also boosts creativity and teaches spatial awareness. Preschool children benefit most but need adult help to guide them safely. Making paper tents is a fun way to learn and play at the same time.
Conclusion
A paper tent is like a small canvas ready for your art. Use simple materials and your new skills to make beautiful tents. Try different shapes and colors to find what you like best. Practice helps you get better every time. Each tent you build teaches you more about this craft. Enjoy the process and let your ideas come to life. Happy crafting!