
How to Build a Lightweight Tarp Tent: A DIY Guide
This post contains affiliate links. As an Amazon Associate, we earn from qualifying purchases.
Building a tarp tent requires 5.5 yards of 1.1-ounce silnylon, 4 yards of mosquito netting, a 42-inch zipper, and two Easton aluminum poles. The finished shelter, based on Henry Shires’ design, weighs under 18 ounces and costs about $60, offering a custom, ultralight alternative to commercial models.
I once spent a soggy night in the Wind River Range, not because my tarp tent design was flawed, but because I rushed the seam sealing. I learned that saving a few hours of cure time costs you a dry sleeping bag. That’s the heart of DIY shelter building: precision and patience turn a few yards of slippery fabric into a reliable backcountry home.
This guide walks you through the proven Tarptent design, but with the gritty details most tutorials skip. We’ll cover where to source the oddly specific .340″ poles, why your sewing machine might hate silnylon, and how to pitch it so it doesn’t become a kite in a gust.
Key Takeaways
- The original Tarptent design uses precise, lightweight materials to hit an 18-ounce finished weight. Swapping for generic parts adds ounces and compromises stormworthiness.
- Seal the seams. I learned this the hard way on the Lost Coast Trail, woke up with a puddle in my boot well because I rushed the cure time.
- Trekking poles can substitute for the front pole, but most won’t collapse to the 18-inch rear pole length, forcing a hack that often fails when you need it most.
- For exposed sites, the designer recommended a heavier, discontinued fabric. Without it, you must add strategic reinforcements to prevent a blowout.
- A taut pitch is everything. A slack ridgeline will catch wind and pool water, collapsing the shelter by morning. Use every tie-out.
What You Actually Need: The Tarptent Materials List
This isn’t a generic tarp shelter guide. The Henry Shires Tarptent is a specific kit of parts where every component matters. Substituting materials changes the weight, weather resistance, and structural integrity from the first stitch.
A Tarptent built to the original specifications weighs 18 ounces complete with poles, stakes, and guylines. The material cost runs about $60, not including your time. Commercial models with similar dimensions start at over $250.
You need the exact yardages. For the single-person version, that means 5.5 yards of 1.1-ounce silicone-coated nylon (silnylon) for the main body and a separate 54-by-30-inch rectangle for the floor. You’ll also need 4 yards of No-see-um mosquito netting. The closure is a 42-inch #5 coil zipper with double sliders. The structural bones are two Easton aluminum .340″ diameter poles, cut to 36 inches (front) and 18 inches (rear).
Substitute one item and the system frays. Use a heavier 1.9-ounce nylon, and the weight jumps past 2 pounds. Try a #3 zipper, and it snags on the netting after a few uses. A larger pole diameter means you lose precious interior headroom because the sleeve won’t stretch enough.
TL;DR: Stick to the 1.1-ounce silnylon, #5 zipper, and .340″ poles. This is the recipe for a shelter that works.
Why 1.1-Ounce Silnylon is Non-Negotiable
Silnylon is nylon impregnated with silicone, which fills the weave to make it waterproof without a heavy coating. A standard poly tarp absorbs water and sags; silnylon sheds it and stays taut. That’s the entire point of a lightweight tarp shelter.
The trade-off is that silnylon is less abrasion-resistant. For high-wind or abrasive sites, the designer specified a now-discontinued 1.4-ounce fabric. Today, I buy my 1.1 oz. calendered silnylon from Ripstop by the Roll. Their ‘Membrane’ silpoly is a more stable, non-stretch alternative if you’re willing to trade a few grams for easier sewing.
Sourcing the Oddball Parts (Without the Headache)
The original .340″ Easton poles are niche. I now order 3/8″ 6061-T6 aluminum tubing from Online Metals and cut it to length, it’s a perfect stiffness match. The 36-inch front pole gives a 5’11” person sitting headroom; the 18-inch rear pole keeps the foot end stable and low.
Common mistake: Using trekking poles for the rear pole. Most won’t collapse below 24 inches, so you extend a section past the sleeve. It will slip in the night, guaranteed.
For guylines, the spec calls for Kelty Triptease. It’s reflective, holds knots, and doesn’t stretch like paracord. Round it out with six to eight titanium stakes, a full set weighs about 3.4 ounces.
Step-by-Step Assembly: Sewing the Slippery Stuff
Lay the silnylon flat on a clean floor. The smell of new fabric is part of the ritual. Mark your cuts with a fabric pen: a 96-by-54-inch rectangle for the main body and a 54-by-30-inch rectangle for the floor. Cut the mosquito netting to match the floor perimeter plus a 2-inch seam allowance.
Sew the netting to the floor panel first, that faint buzz of the machine means you’re close. Use a 1/2-inch seam allowance. Pin the slippery silnylon every two inches; if you don’t, it slithers away from the needle like a live fish. This creates the critical bathtub floor.
My first prototype, sewn on a basic Singer 4423, puckered at the ridgeline sleeve during a hail storm. The uneven feed created a channel that funneled water straight onto my sleeping bag. Now I use a Juki TL-2010Q with a walking foot, the dual feed dogs eliminate layer shift, which is critical for this material.
Once the floor is bug-proof, it’s time to give the tent its backbone. Sew the floor assembly to the main body panel along three sides, leaving the side with the door opening free. The door is a 42-inch vertical slit. Pin the zipper in place before you sew; a zipper foot is mandatory. Go slow, if the needle catches the coil, you’re starting over.
The Beak and the Critical Seam Seal
The “beak” is the triangular rain flap above the door. Sew it to the top of the door zipper. It’s what keeps rain from driving in when you’re venting on a humid night.
This is where most DIY tents fail. Every needle hole is a potential leak. You need a sealant that bonds to silicone.
| Sealant Option | Mix Required? | Cure Time | Best For |
|---|---|---|---|
| GE Silicone II + Mineral Spirits | Yes (1:1 ratio) | 24-36 hours | Budget-conscious builders |
| McNett’s SilNet | No | 12-24 hours | Convenience, less mess |
| Seam Grip WP | No | 4-6 hours | Small repairs, not full seams |
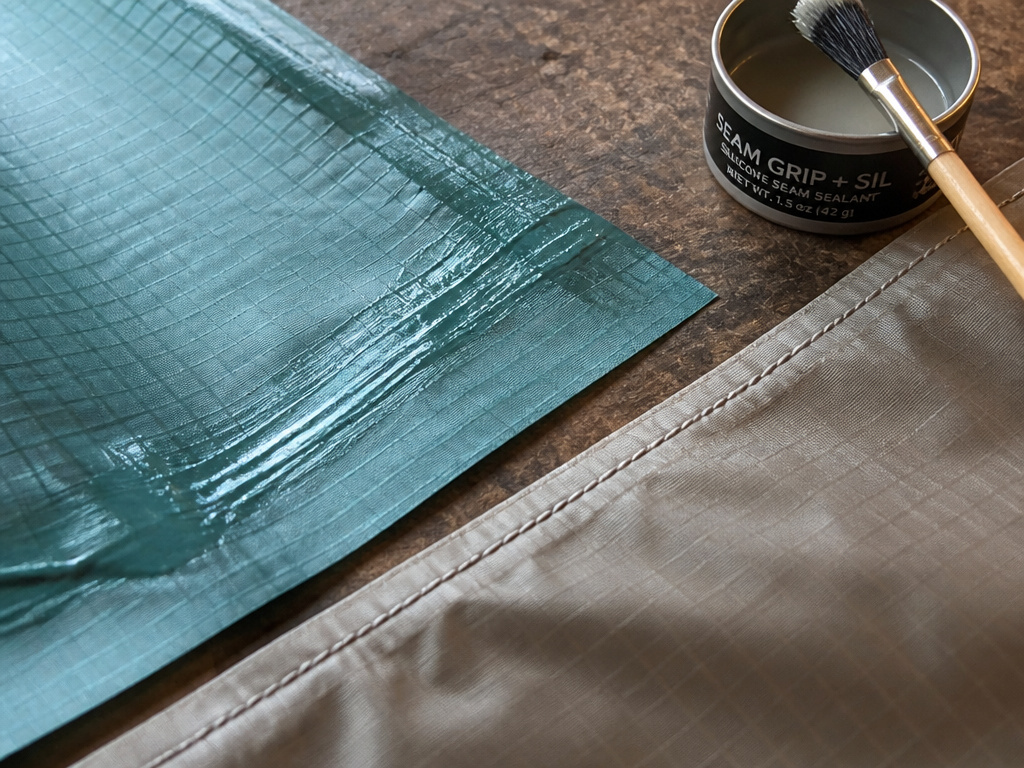
Mix GE Silicone II Clear Sealer with mineral spirits 1:1. The spirits thin it so it wicks into the stitch holes. Brush it over every exterior seam, the ridgeline, floor attachment, zipper margins. Don’t paint the interior; the silicone won’t stick there. Let it cure for a full day. Rushing this leaves it tacky, and it picks up dirt, creating pinhole leaks on your first trip.
How to Pitch It So It Doesn’t Collapse
Pitching a tarp tent looks simple. Get it wrong, and you spend the night babysitting a sagging pole.
Mistake one is a slack ridgeline. Stake the four corners, slide the poles in, and you’re not done. The ridgeline should be drum-tight. If you can push it down more than an inch, tighten the guylines at the pole ends.
Mistake two is making the rear pole too tall. Its job is to keep the foot end low and stable. A taller pole turns the foot box into a sail. Wind gets underneath and starts lifting.
Mistake three is ignoring the mid-panel tie-outs. In wind, the silnylon panels billow inward, stealing living space. A single lightweight two-person tent might skip these, but a flat tarp needs them. Use them.
TL;DR: Pitch tight, keep the rear low, and use all the tie-outs. A taut pitch sheds weather; a loose one collects it.
When Trekking Poles Work (And When They Don’t)
Trekking poles can replace the front 36-inch pole. Just unscrew the basket and slide the tip in. The rear pole is the problem. If you must use a trekking pole there, wrap a thick rubber band where it meets the sleeve. It’s a hack, and it fails. For reliability, carry the dedicated 18-inch pole. It weighs 1.5 ounces.
Modifications for Stormy Weather
The original design is for moderate conditions. For exposed ridges, you need to add stability. Sew an extra webbing loop at the midpoint of each side panel. In camp, run a guyline from that loop to a stake placed outward. This stabilizes the panel against crosswinds. For detailed storm-proofing techniques, the Appalachian Mountain Club shelter tutorial is an excellent resource.
How Does This DIY Tent Compare to Buying One?
A finished Tarptent weighs 18 ounces. A comparable commercial pre-made tarp tents model might shave off 3-4 ounces but can cost over $200. The DIY version saves money but demands an evening of focused sewing.
Where it wins is customization. You can add a longer beak, sew in a dedicated gear loft, or adjust the dimensions. Commercial models are fixed. Where it loses is in factory-perfect finish. A machine-sealed seam is more consistent than a hand-brushed one.
Common mistake: Comparing only material cost to retail price. The real cost includes your time, the sewing machine, seam sealant, and the inevitable practice yardage. Budget for two extra yards of silnylon.
For a two-person backpacking shelters version, the Tarptent-for-2 uses 6 yards of silnylon and finishes at 24 ounces. The weight savings over standard camping tents for two are substantial.
Why a Sewn-In Bathtub Floor Beats a Groundsheet
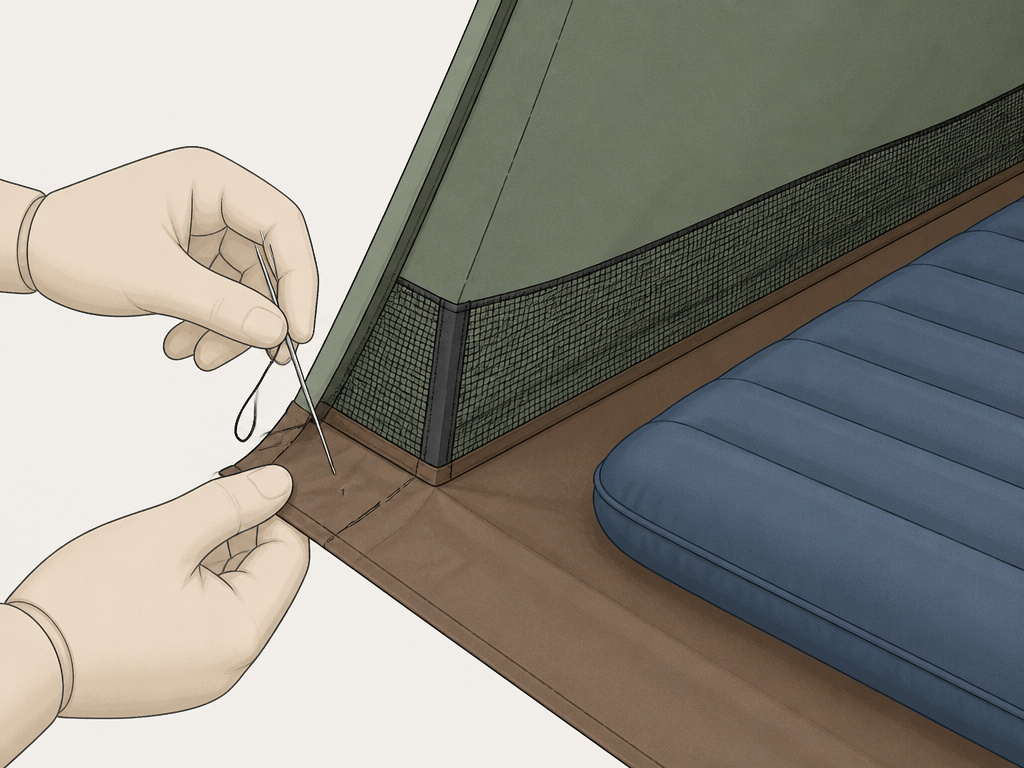
A flat tarp with a separate groundsheet is lighter. It’s also how ants and ground splash get in. The sewn-in bathtub floor adds about 2 ounces but seals the perimeter. The netting rises 6 inches up the sides, creating a true bug barrier.
The floor’s 30-inch width fits a standard 20-inch sleeping pad with space for gear. Sewing the floor to the walls is the trickiest part, you’re joining a flat panel to a curved one. Pin constantly and sew slowly. Rushing creates folds that become leak channels, undermining the stormworthiness you’d expect from durable backpacking tents.
Frequently Asked Questions
How much does it cost to build a tarp tent?
The materials for the single-person version cost about $60. This includes silnylon ($35), netting ($12), a zipper ($5), poles ($10), and sealant ($8). Thread, webbing, and stakes are extra.
Can I use a regular sewing machine?
Yes, but use a size 10 needle and 100% polyester thread (Guterman works well). A walking foot attachment is a huge help for feeding slippery silnylon layers evenly.
How long does seam sealant take to dry?
GE Silicone II, when thinned, needs 24 hours to fully cure. In humidity, give it 36. Rushing this leaves it tacky, and it will pick up debris, creating leaks.
Is this shelter good for heavy rain?
With a perfect pitch and sealed seams, it handles moderate mountain showers. The fabric has a ~1500mm hydrostatic head rating. For sustained, wind-driven rain, you must add the extra side-panel guy points I mentioned earlier.
How do I repair a tear in silnylon?
Clean the area with alcohol, let it dry, and apply a patch of Tenacious Tape or a silnylon repair patch. Press firmly. Do not sew a tear, it creates more needle holes that will leak.
Can I make a two-person version?
Yes, the Tarptent-for-2 design uses 6 yards of silnylon, a 50-inch zipper, and 40-inch/20-inch poles. The construction process is identical, just scaled up, resulting in a 24-ounce shelter.
The Bottom Line
Building a tarp tent saves money and weight, trading your time for a custom, ultra-efficient shelter. The 18-ounce result is legitimate, it’s a design that’s carried thousands of trail miles. The specific materials are the recipe; swap them and you change the outcome.
Seam sealing is the final, critical gate. Mix the silicone, brush it on, and walk away for a full day. In the field, pitch it taut and use every tie-out. This isn’t a palace. It’s a minimalist, 18-ounce shield that gets you out of the weather. For the weight, cost, and satisfaction, few backpacking tent options come close.
