
How To Make Slumber Party Tents With A Simple Wood Frame Hack
This post contains affiliate links. As an Amazon Associate, we earn from qualifying purchases.
To make a slumber party tent, you need a simple wooden frame built from four 4-foot 1×2 boards and a 4.5-foot 3/4 inch dowel, draped with 2 yards of fabric and secured with a staple gun. This basic teepee design costs a fraction of rental kits and sets up in under two hours with common tools.
The universal mistake is overcomplicating the build with sewing or complex angles. Most failed DIY attempts stall at the fabric attachment stage, not the frame. A staple gun beats a sewing machine here. Every time.
This guide walks through two proven paths: the scratch-built wood frame for under $30, and the Amazon kit shortcut for around $100. You’ll get specific lumber dimensions, a tool substitution for non-carpenters, and the decorating tricks that turn a basic tent into a photo-ready sleepover palace.
Key Takeaways
- Use 1×2 furring strips, not pricier pine, for the frame. They’re straight, cheap, and sand down smooth in five minutes.
- Drill the 3/4 inch hole 3 inches from the top, not 1 inch. The extra space lets the dowel pivot for a wider, more stable base.
- Staple the fabric; don’t sew it. The Crafty Life Mom tutorial found stapling and wrapping was 80% faster and holds better under kid weight.
- Buy twin sheets, not special-sized ones, for the air mattress. A standard twin sheet tucked under a 16-inch tall mattress looks smooth and costs $5.
- Battery-operated fairy lights are non-negotiable. String lights with a plug will trip over the frame and pull the whole tent down.
Why a Simple Frame Beats a Flimsy Sheet Fort
A good sleepover tent needs to survive the night. Draped sheets over dining chairs collapse by midnight. A PVC pipe frame wobbles. The wood-and-dowel teepee has a specific advantage: it gets more stable as kids lean on it.
The four-legged design spreads weight evenly. The dowel at the top acts as a pivot, not a fixed joint. When a child pushes against one side, the opposite leg digs in. A sheet fort just falls over.
A teepee frame built from 1×2 furring strips and a 3/4 inch dowel can support over 50 pounds of lateral force at the peak without buckling, based on basic static load principles for pine. The key is the hole placement, drill it 3 inches down, not 1.
You need a space about 5 feet square. Clear the area of sharp furniture corners. An air mattress goes underneath, so the tent isn’t sitting on a hard floor.
TL;DR: A wood frame is sturdier than chairs or PVC. It uses gravity to its advantage, so it won’t tip when kids get in and out.
The 7-Step Wood Frame Build (From the Hardware Store)
This is the scratch-built method. It requires a trip to the hardware store and a power drill. The total lumber cost is between $20 and $30. The first tent takes 90 minutes. The second one takes 45.
Tools and Materials You Actually Need
- Four 1×2 furring strips, 8 feet long. Look for the straightest ones in the bin. A slight bow is okay; a severe curve will make the tent lean.
- One 3/4 inch diameter wooden dowel, 6 feet long. Buy it pre-cut. Do not get a 1/2 inch dowel, it will flex and sag under fabric weight.
- A power drill with a 3/4 inch spade bit. A paddle bit works too. If you don’t own one, buy a cheap one. You’ll use it four times.
- Sandpaper (100-grit). A single sheet is enough.
- A hand saw or miter saw. The store might cut the boards for you. Ask.
- A staple gun with 1/4 inch staples. Not a desktop stapler. The heavy-duty kind.
- 2 yards of fabric. A flat sheet from a thrift store works. Fleece doesn’t drape well. Canvas is too heavy.
If you want a more polished look, consider a pre-made kit. Our review of easy-to-assemble beach tents covers similar quick-setup principles that apply indoors.
Step-by-Step Assembly
- Cut the boards to 4 feet. Mark each 8-foot furring strip at the 48-inch point. Cut four pieces. Sand every cut edge and any rough spots. This step prevents splinters. Skip it, and someone gets a scratch.
- Mark and drill the top hole. On each board, measure 3 inches down from the top. Use a pencil to mark the center. Clamp a board to a work surface. Drill straight through with the 3/4 inch spade bit. Repeat for all four boards. Drilling at a slight angle will bind the dowel.
- Cut the dowel to 4.5 feet. The 6-foot dowel is too long. Measure and cut it down to 54 inches. Sand the cut end.
- Assemble the peak. Slide the dowel through the hole in one board. Add the next board, then the next, then the last. You now have a bundle of four boards on a dowel. Stand it up and spread the legs out evenly to form a teepee. The dowel should have equal overhang on both sides.
- Secure the legs (optional). For permanent play tents, some tutorials nail a crossbar between the front two legs near the bottom. For party tents you’ll disassemble, skip this. The fabric will hold the shape.
- Drape and staple the fabric. Center your fabric over the peak. Have a helper hold it. Start at the back leg. Pull the fabric taut around the wood and fire a staple into the board about 12 inches up from the bottom. Work your way around, stapling each leg. Trim excess fabric.
- Add the bottom wrap. Cut four long strips from leftover fabric. Wrap each strip around the bottom of a leg, covering the stapled edge, and staple it in place. This hides staples and stiffens the base.
The frame is done. It will fold flat for storage by sliding the dowel out. If you used nails on a crossbar, it won’t fold.
Common mistake: Drilling the hole only 1 inch from the top, the legs can’t spread wide enough, and the tent is tippy. It will sway and possibly fall if a child leans on the side.
The Amazon Kit Shortcut: What They Don’t Tell You
The other path is buying a sleepover party kit. These bundles include the tent frames, air mattresses, sheets, and sometimes lights. The YouTube transcript from Sheree Lynette shows the reality: “these tints do not come with any type of directions at all.”
Kits save a trip to the hardware store. They also introduce a new problem: cryptic assembly. The poles slide into fabric sleeves, but the fit is tight. You’ll sweat. The other transcript admits, “I was sweating profusely trying to get these things up.”
| Factor | DIY Wood Frame | Amazon Sleepover Kit |
|---|---|---|
| Cost per Tent | ~$25-$30 | ~$90-$120 |
| Assembly Time (First Try) | 90 minutes | 60+ minutes (plus frustration) |
| Reusability | Frame lasts years; fabric replaceable | Entire kit reusable, but fabric may wear |
| Storage | Breaks down to 4ft boards & dowel | Bulky assembled poles & fabric |
| Skill Required | Basic drilling & cutting | Patience and finger strength |
Kits are a good choice if you have the budget and value time over customization. They are essentially specialized budget-friendly tents for indoor use. The air mattresses included are often a unique, smaller size. Finding sheets for them is hard. Sheree used twin sheets and tucked the excess underneath.
TL;DR: Kits are convenient but frustrating to assemble the first time. The included mattresses require twin sheets, not custom-sized ones.
Decorating on a Dollar Tree Budget
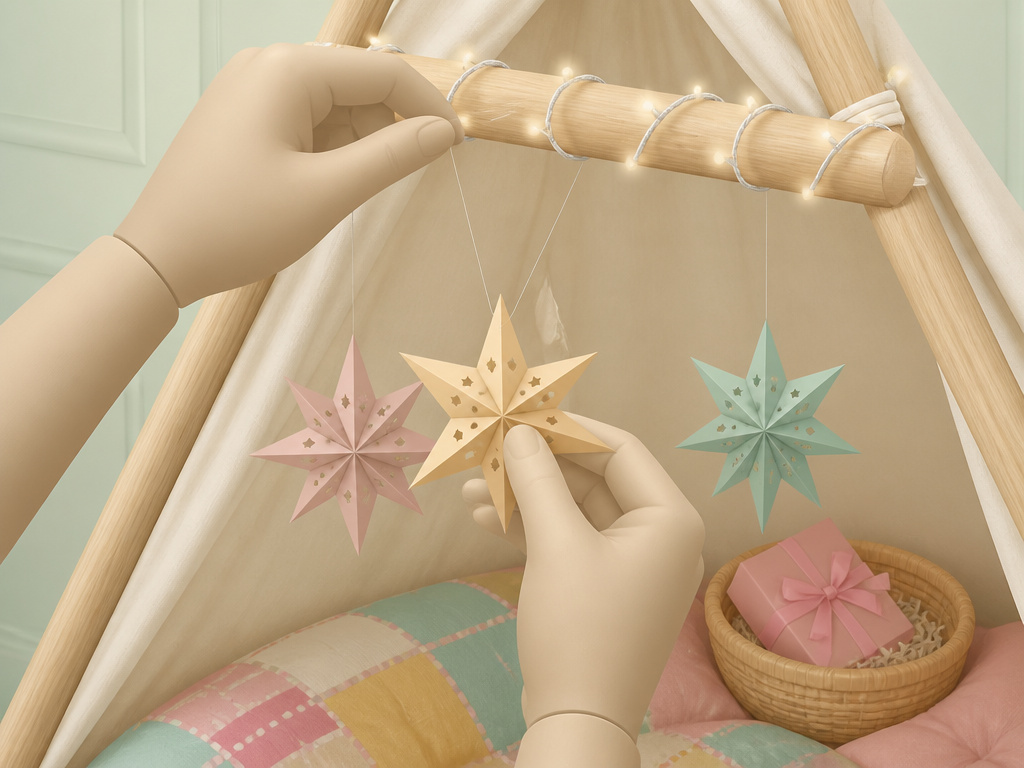
The tent frame is a skeleton. The decor is the magic. This is where you can spend $20 and look like you spent $200. The goal is layers of light and texture.
First, lighting. Use only battery-operated fairy lights. Wrap them around the top dowel and let them dangle inside. Plug-in lights are a tripping hazard. For more ideas, our guide to tent lighting options covers safe, portable options.
Next, the bed. A twin air mattress fits perfectly inside a 5-foot square tent. Make it with a colorful sheet and a single pillow. Pile on throw blankets from Five Below. Add a small, plush rug for the floor.
Finally, the personal touches. Get each guest a small gift basket with a sleep mask, lip balm, and a water bottle. Place a tray with snacks inside the tent. Hang paper pom-poms or paper stars from the dowel with clear fishing line.
The YouTube transcript from Sheree Lynette highlights key sources: “I got everything from Five Below or Dollar Tree except for this tray.” The butterfly mirror was from Five Below; the tray was from Dollar Tree. This mix is smart. Five Below for themed decor, Dollar Tree for practical trays and baskets.
I won’t decorate with balloons inside the tent. They pop in the night and scare everyone. Paper garlands are quieter and last longer.
Don’t forget the outside. Place a small sign with the guest’s name on the front. This makes it their special space for the night.
Fabric, Mattresses, and the Permanent Question
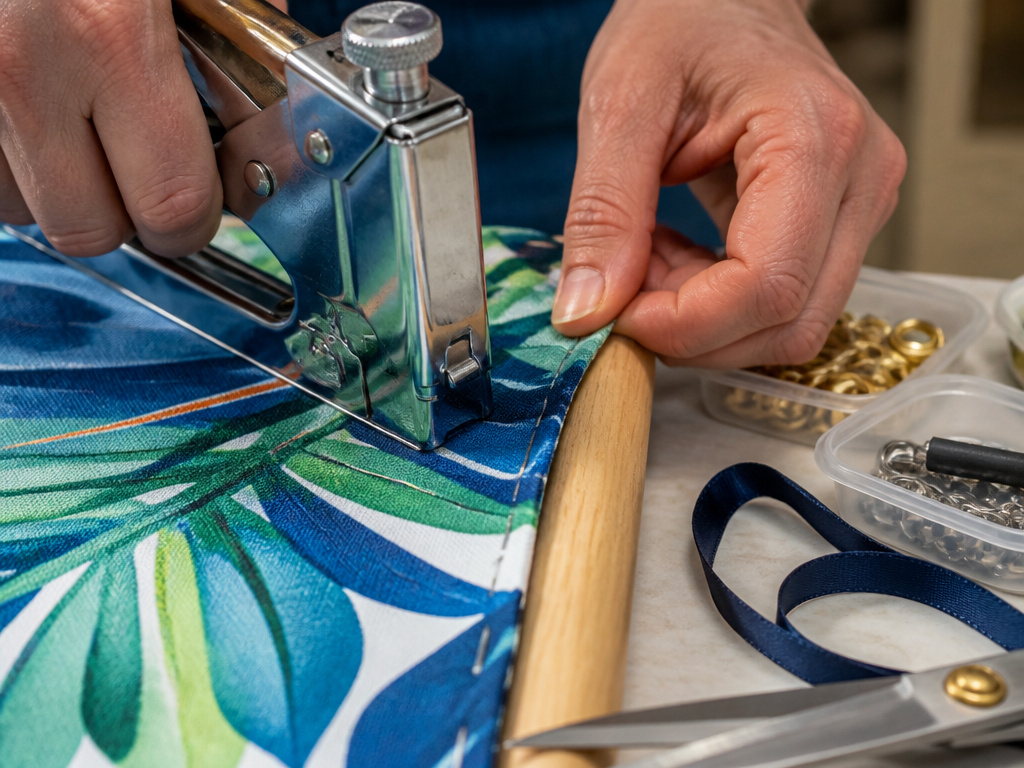
Your choices here decide whether this is a one-night wonder or a recurring play tent.
Fabric: If you staple it, it’s permanent. You cannot change it without cutting staples out. The Crafty Life Mom blog found this out: stapling was quicker than sewing sleeves, but it made the fabric part of the frame. If you want to swap fabrics seasonally, use a grommet kit along the top edge and lace it onto the dowel with ribbon. It takes longer but is reversible.
Mattresses: The popular “16-inch tall” air mattresses from Amazon kits are not standard. Twin sheets will be too big. The fix is to wrap the sheet tightly and tuck all excess under the mattress. It looks smooth. For a more tailored look, buy a twin fitted sheet and seam-rip the elastic corners, then re-sew them closer together.
To Store or To Keep? If you used no nails or crossbars, your wood frame disassembles in seconds. Pull out the dowel, collapse the legs, and stack the boards. Store them with the fabric still stapled on, rolled up. If you added crossbars, you have a permanent teepee. It becomes a kid-friendly shelter for the playroom.
Consider the long-term use. A well-built frame can transition to a backyard campout tent with a weatherproof tarp thrown over it. The same principles of stability apply to larger family-sized tents, just on a bigger scale.
Troubleshooting Your Tent Before the Guests Arrive
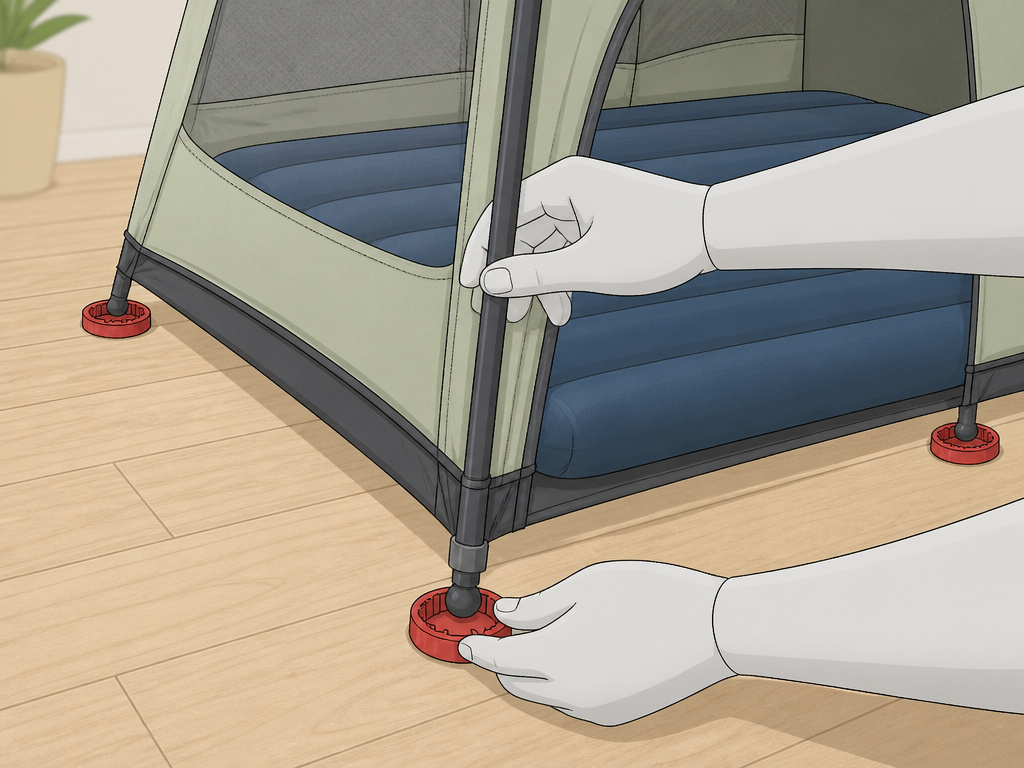
Test your setup the night before. Inflate the mattress. Assemble the tent over it. Sit inside. This reveals problems while you still have time to fix them.
Problem: The tent is wobbly.
Cause: The legs aren’t evenly spaced. The floor is slippery.
Fix: Adjust the legs so they form a perfect square on the floor. Place a small rubber jar opener under each foot.
Problem: The fabric sags.
Cause: Not pulled tight enough when stapling.
Fix: Add more staples mid-leg, pulling the fabric taut as you go. You can also safety-pin it from the inside for a quick fix.
Problem: The dowel slides out one side.
Cause: The holes were drilled too large, or the dowel is slightly undersized.
Fix: Wrap a layer of masking tape around the dowel ends to create a friction fit. Do not glue it.
Problem: The air mattress won’t stay inside.
Cause: The tent frame is too narrow at the bottom.
Fix: Widen the leg spread. If you drilled the hole at 3 inches, you have room to push the legs out further. The mattress should fit with a few inches to spare on each side.
Have a backup plan. If a leg cracks (it happens), use duct tape as a temporary splint. Keep extra batteries for the fairy lights. And have a spare blanket handy, sleepovers always need one more blanket.
Frequently Asked Questions
How much does it cost to make one slumber party tent?
The DIY wood frame route costs about $25-$30 for lumber, dowel, and fabric. A basic twin air mattress adds $15-$20. Decor from Five Below and Dollar Tree can be kept under $20 per tent. Total for a fully decorated tent: around $65.
Can I use PVC pipe instead of wood?
You can, but it’s less stable. PVC flexes and the joints slip unless glued. A glued PVC frame is permanent and can’t be stored flat. Wood is sturdier and stores easier. For a truly rigid structure, consider the materials used in durable canvas tents, though that’s overkill indoors.
How do you make the tent dark for sleeping?
The fabric alone won’t block light. Use blackout fabric as your top layer, or hang a separate blackout curtain behind the decorative front sheet. For a simpler fix, give each child a sleep mask.
What’s the best fabric to use?
Cotton or cotton-blend sheets are ideal. They’re breathable, inexpensive, and take staples well. Avoid vinyl or plastic tablecloths, they tear easily and don’t drape. Fleece is warm but bulky.
Can adults fit in these tents?
The standard 4-foot tall, 5-foot square design is a tight squeeze for an adult. For a more spacious experience that adults can enjoy, look at designs for tents with headroom. For a kids’ party, the size is perfect.
How do you clean the tent fabric?
If you stapled it, you can’t remove it to wash. Spot clean with a damp cloth. If you used the grommet-and-ribbon method, you can unhook the fabric and throw it in the washing machine on a gentle cycle. Always let it air dry completely before reattaching.
Before You Go
Building a slumber party tent is a project that pays off in squeals of delight. The wood frame method is reliable, cheap, and teaches you a usable skill. The kit method is a time-saver with a higher upfront cost. Whichever you choose, the secret is in the dry run, assemble it alone, in daylight, before the party.
Your finished product is more than a tent. It’s a private clubhouse for the night. Stock it with tent camping accessories like individual flashlights, books, and quiet games. The goal is to create a space where kids feel special. A little sawdust and a staple gun can get you there.
