
Creating Table Tents In Word With The Printer Margin Trick
This post contains affiliate links. As an Amazon Associate, we earn from qualifying purchases.
To make a table tent in Word, you create a landscape-oriented document, set narrow margins, insert two text boxes sized to 3.75 inches tall, type your text, rotate the bottom box 180 degrees, and print on card stock. The critical step everyone misses is telling Word to ignore its own printable area warning when you set the bottom margin to zero for a clean fold, if you don’t, your text prints too high and the tent won’t stand.
Most tutorials tell you to rotate a text box. They don’t mention that the text inside might refuse to flip unless you right-click the box, go to Format Shape > Layout & Properties, and uncheck “Do not rotate text.” You’ll see the box spin but the words stay upright, leaving you with a backwards sign on one side.
This guide walks through the manual text-box method for one-off tents and the mail-merge trick for printing fifty identical cards from a guest list. You’ll learn which Avery template codes work, why your printer hates card stock, and how to fix the three errors that waste paper.
Key Takeaways
- Set your bottom margin to zero inches after choosing Narrow margins; when Word complains about the printable area, click “Ignore” or your text will print too high.
- For a mail merge of double-sided tents, use the Avery 5305 or 5309 template in Word’s Labels feature, but create a custom table layout instead of using the built-in design, it breaks less.
- Load 110 lb index card stock into your printer’s manual feed tray, not the main tray; selecting the wrong paper source is the number one cause of jams.
- If your text box rotates but the text stays upright, right-click the box, select “Format Shape,” click “Layout & Properties,” and uncheck “Do not rotate text.”
- Print a single test tent on regular paper first, fold it, and check the sight lines before committing to card stock.
The One Page Setup Mistake Everyone Makes
Open a new Word document and head straight to the Layout tab. Click Margins and select Narrow. This gives you half-inch borders on the top and sides.
Now change the bottom margin to zero. This is the step that most guides skip.
Common mistake: Leaving the bottom margin at 0.5 inches, the tent’s bottom panel ends up with a white strip above the fold, and the card leans forward instead of standing straight.
Word will throw a warning dialog: “One or more margins are set outside the printable area of the page.” Click Ignore. If you don’t, Word will reposition your text boxes upward to fit its arbitrary safe zone, and your final fold line won’t be centered. The page orientation stays Portrait. Changing it to Landscape is what you do for a brochure, not a tent card folded top-to-bottom.
TL;DR: Set margins to Narrow, then manually change the bottom margin to 0″. Ignore Word’s printable area warning.
Your Two Paths: Handmade or Mail Merge
You can build tents one-by-one or batch-print them from a spreadsheet. The method you pick depends on how many you need and whether both sides say the same thing.
| Method | Best For | Tools Needed | Time for 10 Tents |
|---|---|---|---|
| Manual Text Boxes | One-off signs, test runs | Word, card stock, printer | ~15 minutes |
| Word Mail Merge | Events with 20+ guests, weddings | Word, Excel/Google Sheets list, Avery 5305/5309 labels | ~30 minutes setup, 2 minutes to print |
The manual method teaches you how Word handles text boxes and rotation. You need that foundation even if you plan to use mail merge later, because when the merge template acts up, and it will, you’ll be debugging text boxes anyway.
Mail merge is powerful for a big batch, but it adds complexity. You’re linking Word to a data source, mapping fields, and trusting that Word won’t reformat your painstakingly aligned text. I once printed 75 wedding place cards only to find the names shifted two millimeters left on every other page because I used the default Avery 5305 template instead of building my own table. The couple was not amused.
If you’re preparing for a large group event and need reliable shelter for your gear, reviewing the best 9-person tents can save you from a similar last-minute scramble.
Building a Tent Card From Scratch
This is the fallback method when templates fail. It works for any paper size, but the standard is US Letter (8.5 x 11 inches).
Step 1: Insert the First Text Box
Go to the Insert tab, click Text Box, and choose Simple Text Box. A box with placeholder text appears. Click inside it and type your content, “Table 3,” “Guest Name,” or “Please Seat Yourself.”
Drag the box to the top half of the page. The exact position doesn’t matter yet.
Step 2: Size It to 3.75 Inches
Click the border of the text box to select it. The Format tab appears. In the Size group, set the Height to 3.75″. This number isn’t arbitrary. An 8.5″ tall page with 0.5″ top margin and 0″ bottom margin leaves 8″ of space. Half of that is 4″, and you shave off a quarter-inch so the text doesn’t kiss the fold.
Now for the width. Grab the right-side handle and drag until the box is about 7 inches wide. You want it centered but with a little breathing room on each side.
Turn on View > Gridlines. The checkerboard shows you the printable area. Nudge your text box until it sits within the grid, leaving a margin of about two squares on the left and right.
Step 3: Add and Format Your Text
Click inside the text box and highlight your text. On the Home tab, bump the font size up to 150 points. This looks comically large on screen but reads perfectly from three feet away on a table. Click the Center Align button.
Choose a bold, sans-serif font like Arial Black or Calibri. Script fonts get lost at a distance.
Step 4: Copy, Paste, and Rotate
Click the text box border again and press Ctrl+C to copy, then Ctrl+V to paste. A duplicate appears on top of the original.
Drag the duplicate down to the bottom half of the page. Use the gridlines to align it directly under the first box. The top of the lower box should nearly touch the bottom of the upper box.
Here’s where people get stuck. You click the green rotation handle above the box and spin it 180 degrees. The box flips. The text inside does not.
Common mistake: Assuming the text rotates with the box. Word’s default setting often locks text orientation. Right-click the rotated text box, select “Format Shape.” In the pane that opens, click the Layout & Properties icon (the square with lines). Look for the “Text Box” section and uncheck “Do not rotate text.” Now your words will flip.
The two text boxes should now face each other, mirroring across the invisible center fold line.
Printing on Card Stock Without a Jam
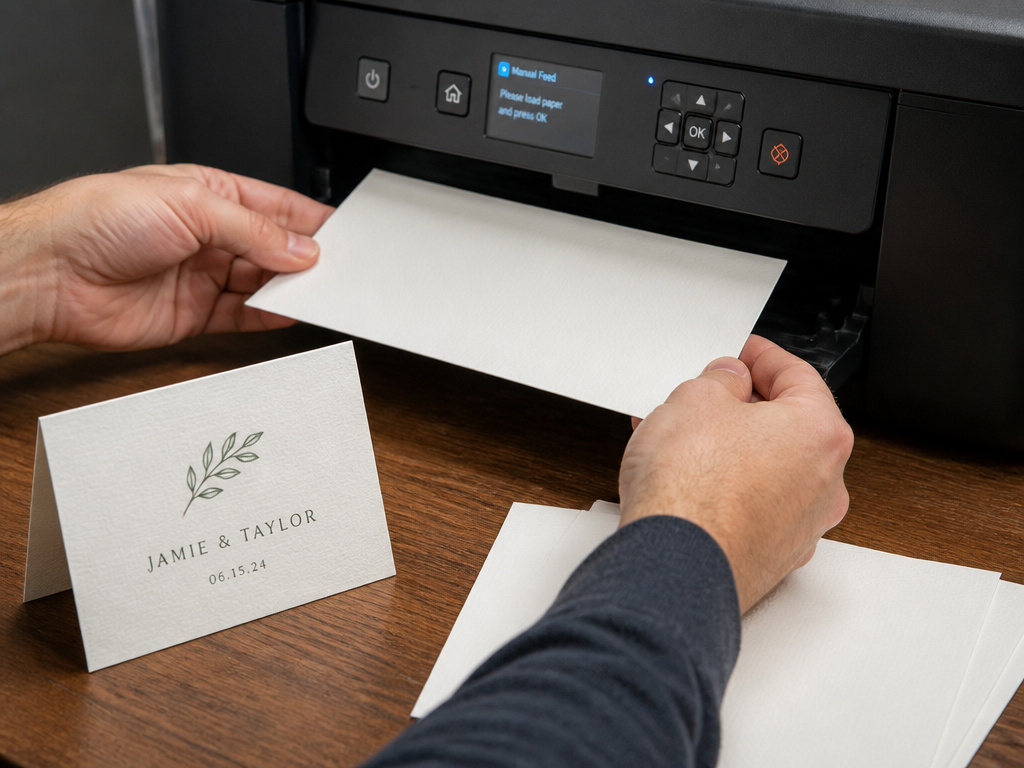
Regular 20 lb printer paper makes a flimsy tent that droops. You need card stock.
110 lb index paper is the sweet spot. It’s thick enough to stand, thin enough that most inkjet printers can handle it. Heavier 130 lb cover stock often jams.
Your printer has a main tray and a manual feed slot. Use the manual slot.
Load a few sheets of card stock into the manual feed tray. In Word, go to File > Print. Click “Printer Properties” or “Preferences.” A dialog opens. Find the paper source setting, often under a “Paper” or “Features” tab, and change it from “Auto” or “Tray 1” to “Manual Feed.” If you skip this, the printer will pull from the main tray, likely misfeeding and curling your expensive card stock.
Print one test page on plain paper first. Fold it and see if the sight lines match. Then load the card stock and print your final run.
Let the ink dry for a full minute before you fold. Wet ink will smudge onto the opposite panel. Fold sharply along the center line, then run a credit card along the crease to make it crisp. A soft fold means a wobbly tent.
Just as the right paper makes your table tents professional, the right shelter makes your camping trip comfortable. For a spacious car-camping experience, a well-reviewed set of car camping tents offers the headroom and durability you need.
Advanced Move: Mail Merge for a Crowd
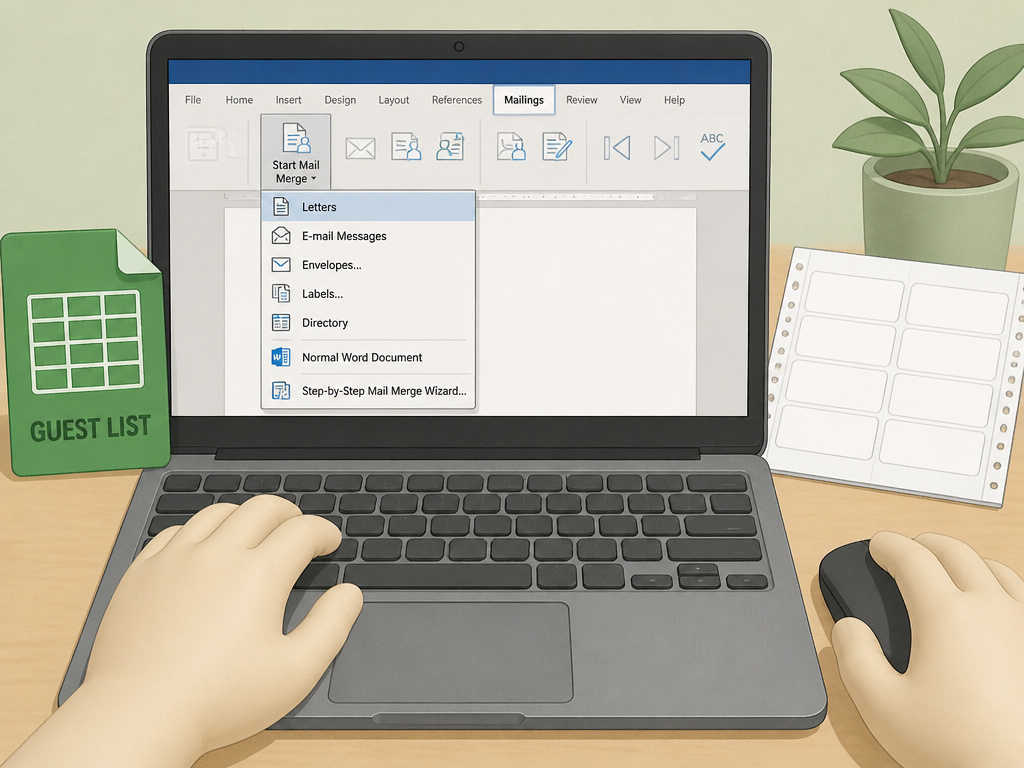
Creating fifty individual tent cards manually is torture. Mail merge automates it.
Start with your guest list in an Excel spreadsheet or Google Sheet. You need two columns: Name and Table Number. Save the file.
Back in Word, go to the Mailings tab. Click Start Mail Merge and select Labels. In the Label Options dialog, scroll through the vendor list and find Avery US Letter. The product number for two tents per page is 5305. For one large tent per page, use 5309. Click OK.
Word creates a page of blank label cells. Don’t use them.
Delete everything on the page. Instead, go to Insert > Table and add a table with 2 columns and 1 row. Set the column width to about 5 inches each. This table will hold your two text boxes side-by-side, which gives you more control than Word’s label grid.
Now build one perfect tent in the first cell, following the steps earlier, text box, 3.75″ height, large centered font. Copy that text box into the second cell, then rotate it 180 degrees. Make sure “Do not rotate text” is unchecked.
With your template built, go back to Mailings > Select Recipients and choose your Excel file. Click Insert Merge Field and place «Name» and «TableNumber» where they belong. Preview your results with Mailings > Preview Results.
When it looks right, click Finish & Merge > Print Documents. Word will generate a page for each guest, all formatted identically.
I won’t recommend the default Avery 5305 mail-merge template for double-sided cards. The built-in design places graphics incorrectly, and the text alignment shifts between pages. Building your own table inside the label grid fixes both problems. Found that out after wasting two packs of card stock before a company retreat.
TL;DR: Use mail merge with Avery 5305 labels, but replace the default grid with a custom 2-column table you design yourself.
Fixing Three Classic Word Tent Card Failures
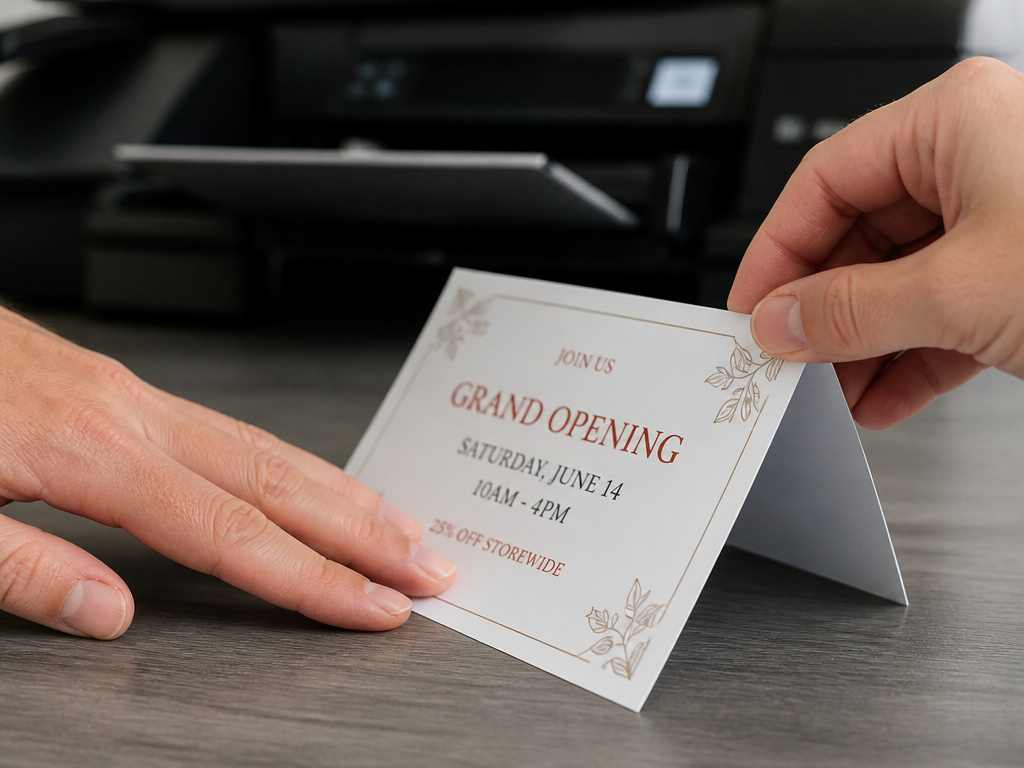
Your text box rotated but the text didn’t. You already know that fix.
The second failure is graphics. You insert a logo on the front panel, copy it to the back, and rotate it. The image flips upside down. That’s wrong. For the back panel, you need to vertically flip the image and rotate it 180 degrees. Use Picture Format > Rotate > Flip Vertical first, then spin it.
The third failure is paper choice. Heavy card stock curls when it comes out of the printer hot. Let it cool flat for five minutes before folding. If your printer still jams, reduce the paper weight. Step down to 100 lb cover or even a heavy 32 lb bond.
Never print a full batch without a test page. The alignment shifts by a millimeter sometimes, and a single misfolded tent in a stack of fifty ruins the whole set.
Having the right tools for the job prevents frustration, whether you’re printing name cards or setting up camp. A reliable set of tent camping accessories can transform a basic trip into a comfortable adventure.
Choosing Your Paper and Printer Settings
Not all card stock is equal. And your printer’s “card stock” setting might lie.
| Paper Type | Weight | Best For | Printer Setting |
|---|---|---|---|
| 110 lb Index | 199 gsm | Standard table tents, holds crease | Card Stock, Manual Feed |
| 130 lb Cover | 352 gsm | Premium tents, less wobble | Heavy Paper, Manual Feed Only |
| 65 lb Card Stock | 176 gsm | Budget option, may droop | Heavy Paper |
| 32 lb Bond | 120 gsm | Test prints, practice runs | Plain Paper |
The manual feed tray is non-negotiable for anything over 110 lb. The main tray’s rollers aren’t strong enough to grip and pull a single stiff sheet without slipping. If your printer doesn’t have a manual slot, you’re limited to 65 lb stock.
In Word’s print dialog, under Settings, look for “Paper Type” or “Media.” Select “Card Stock” or “Heavy Paper.” This slows the print speed and applies more heat, which helps the ink adhere. If you leave it on “Plain Paper,” the ink may smear.
For a well-lit camp event, proper tent lighting is as crucial as good print settings for readable name cards.
Before You Go
Set your bottom margin to zero and ignore Word’s warning. That’s the difference between a tent that stands and one that slouches.
Use 110 lb index card stock fed through the manual tray. Print one test on plain paper first.
For a dozen or fewer tents, build them manually with text boxes. For fifty, use mail merge with a custom table inside the Avery 5305 label template. Uncheck “Do not rotate text” on every text box you flip.
The folded card should sit squarely with both panels facing outward. If it rocks, your bottom margin wasn’t zero. If the text is cut off, you didn’t respect the gridlines. If the ink smudges, you folded too soon.
It’s a simple job that goes wrong in three predictable places. Now you know how to avoid all of them.
Frequently Asked Questions
Can you make a table tent in Word without a template?
Yes, and for one-off cards it’s often faster. Create a blank document, set narrow margins with a zero-inch bottom margin, insert two text boxes sized to 3.75 inches tall, and rotate the bottom one 180 degrees. You have full control over fonts and layout.
Why is my text not rotating with the text box in Word?
Word has a default setting that locks text orientation. Right-click the text box, choose “Format Shape,” go to the Layout & Properties tab (the icon looks like a square with lines), and uncheck the box that says “Do not rotate text.”
What is the best paper for table tents?
110 lb index card stock (199 gsm) offers the best balance of stiffness and printability. It’s thick enough to stand upright but still feeds reliably through most printers when using the manual feed tray.
How do I print double-sided name tents in Word?
You don’t actually print on both sides of the paper. You create two text boxes on the same side, one for the front, one for the back, and rotate the second box 180 degrees. When you fold the page in half, the two sides face outward, creating the tent.
What Avery template should I use for tent cards in Word?
For two tents per page, use Avery 5305. For one large tent per page, use Avery 5309. Access these templates in Word by going to Mailings > Start Mail Merge > Labels, then selecting Avery US Letter and the product number.
