
How to Clean Tent Trailer Canvas Without Ruining It
This post contains affiliate links. As an Amazon Associate, we earn from qualifying purchases.
To clean canvas on a tent trailer, use a soft brush, mild soap, and cool water. Scrub in sections, rinse thoroughly before moving on, and let it air dry completely for at least 24 hours before storage. Never use a pressure washer, harsh detergents, or bleach, as these destroy the waterproof coating immediately.
You’ve just gotten home from a perfect trip. The tent trailer is parked, and you’re already dreaming of the next one. But as you start to pack it away, you see it: a patch of green on the bunk end, or a watermark from last night’s dew. Your hand hovers over the bleach bottle under the sink. Stop.
I’ve been there, staring at the speckled canvas of my own Jayco after a damp weekend. I used the wrong cleaner once, and the water stopped beading right there on the spot. That’ s a $500 lesson I don’t want you to learn. This isn’t just about cleaning; it’s about preserving the fabric that stands between you and a miserable, wet night. Let’s get it right.
Key Takeaways
- Pressure washers are an instant warranty-void. Brands like Zone RV explicitly state this, as high pressure forces water through the fabric weave and seam stitching, causing irreversible leaks.
- Common chemicals are silent killers. Fly spray, detergent, and petroleum products can neutralize waterproofing on contact, according to the Austral Canvas care manual.
- Damp storage is the fastest route to mold. Canvas folded while even slightly damp can develop mold within 24-48 hours. A full day of sun and air circulation is non-negotiable.
- Vinegar is a gentler first strike for mold. A 1:10 white vinegar to water solution is a community-tested method that kills spores without the aggressive chemical reaction of some commercial removers.
- Know your materials. True canvas (like on bunk-end windows) is coated and needs gentle care; vinyl (most walls) is inherently waterproof. Using a harsh mold remover on canvas means you must re-waterproof that panel.
Canvas vs. Vinyl: What Are You Actually Cleaning?
Before you mix any solution, you need to know what you’re dealing with. Pop up your trailer and take a close look at your bunk ends. The lighter, more breathable material where light passes through is traditional canvas, it’s a woven fabric with a factory-applied waterproof coating. The heavier, opaque material that makes up most walls is vinyl, a solid sheet that’s inherently waterproof.
Vinyl is a solid sheet; water cannot penetrate it. True canvas is a woven fabric that relies on a factory-applied coating, usually polyurethane or acrylic, to shed water. That coating is what harsh chemicals and abrasion strip away.
Confusing them leads to heartache. You can use a stronger cleaner on vinyl, rinse it, and be fine. Use that same cleaner on canvas, and you’ll strip the coating. You’ll know it’s gone when water soaks in like a sponge instead of beading up. This distinction is crucial for choosing cleaners and knowing when to re-waterproof, a key consideration when evaluating new canvas tent materials.
TL;DR: If light shines through it, treat it as delicate canvas. If it’s thick and opaque, it’s durable vinyl.
What’s the Safest Way to Wash the Exterior?
This method works for both canvas and vinyl, preserving your warranty and waterproofing. Pick a dry, overcast day, direct sun bakes soap into fibers and can promote mildew on wet fabric.
Before you start: Using a pressure washer voids warranties like Zone RV’s immediately. The force drives water through microscopic pores and can separate seam tape, a leak you can’t fix. Also, disconnect trailer power and close all zippers and vents to keep water out of the interior.
Step 1: The Dry Brush-Off
Always start dry. Loose dirt, pine needles, and grit become sandpaper when mixed with water and soap. Use a soft horsehair brush or a clean, soft dish brush and sweep from the top down. This two-minute step prevents grinding permanent scratches into the fabric.
Step 2: The Cool-Water Scrub
Fill a five-gallon bucket with cool water. Add a half-cap of Woolite Dark (my preferred dye-free, brightener-free formula) or two drops of mild dish soap. Hot water can set stains and damage coatings.
Dip your soft brush, wring it out so it’s damp, not dripping. Work in manageable three-foot sections, scrubbing in gentle circles. The goal is to lift dirt, not soak the inner liner or the trailer frame.
Common mistake: Soaping a large area before rinsing. The soap dries into a film that attracts more dirt and is nearly impossible to rinse out, leaving a sticky residue that degrades the fabric.
Rinse each section thoroughly with a gentle hose spray on a “shower” setting before the soap dries. You want clean water sheeting off, not beading with suds.
Step 3: The Full Dry Test (Don’t Rush This)
The surface feeling dry is a trap. Moisture lingers in seams and between fabric layers for a full day, sometimes two.
Prop the tent wide open. Let the sun and a breeze work through it for at least 24 hours. If you pack it away damp, you’ve sealed in a petri dish. I learned this the hard way after a rainy pack-up; the musty smell that greeted me next time was unforgettable.
| Tool | Purpose | The Cost of Skipping It |
|---|---|---|
| Soft-Bristle Brush | Loosens dirt without abrasion | Grinding grit creates micro-tears, weakening the weave and creating future dirt magnets. |
| Mild Soap (Woolite Dark) | Breaks down oils without harsh chemicals | Detergents or degreasers strip the waterproof coating; the next rain soaks through immediately. |
| Garden Hose (Shower Setting) | Provides controlled, low-pressure rinsing | Bucket-rinsing leaves residue; a pressure washer voids warranties and destroys seams permanently. |
How Should You Tackle Mold and Mildew?
You open the trailer. The black or green spots are there. Panic. The manufacturer’s manual, like the one from Zone RV, gives a cautious, legalistic warning: “Do not apply detergents, abrasive cleaners, steel wool, cleaning fluids or insecticides.” Community wisdom, like from All Around Oz, fills the gap with a one-part white vinegar to ten-parts water solution.
I prefer the 1:10 vinegar solution over a commercial remover like Star brite for most mold outbreaks, even though it works slower, because it’s less aggressive on the acrylic coating. The one time I used Star brite on a severe patch, it killed the mold instantly but left the canvas feeling slightly tacky and water stopped beading, forcing me to re-waterproof the entire panel.
Spray the vinegar solution on, let it sit for 20 minutes (per Ultramar’s guidance for similar cleaners), then gently scrub with your soft brush. Rinse completely. For stubborn stains, a second application usually works. If you must use a stronger commercial remover on true canvas, immediately plan to re-waterproof that area. This gentle approach is part of a broader philosophy of tent care accessories that prioritize preservation over brute force.
TL;DR: For mold, try gentler vinegar first. Stronger removers are effective but come with the mandatory extra step of re-waterproofing.
What Are the Absolute Essentials You Need?
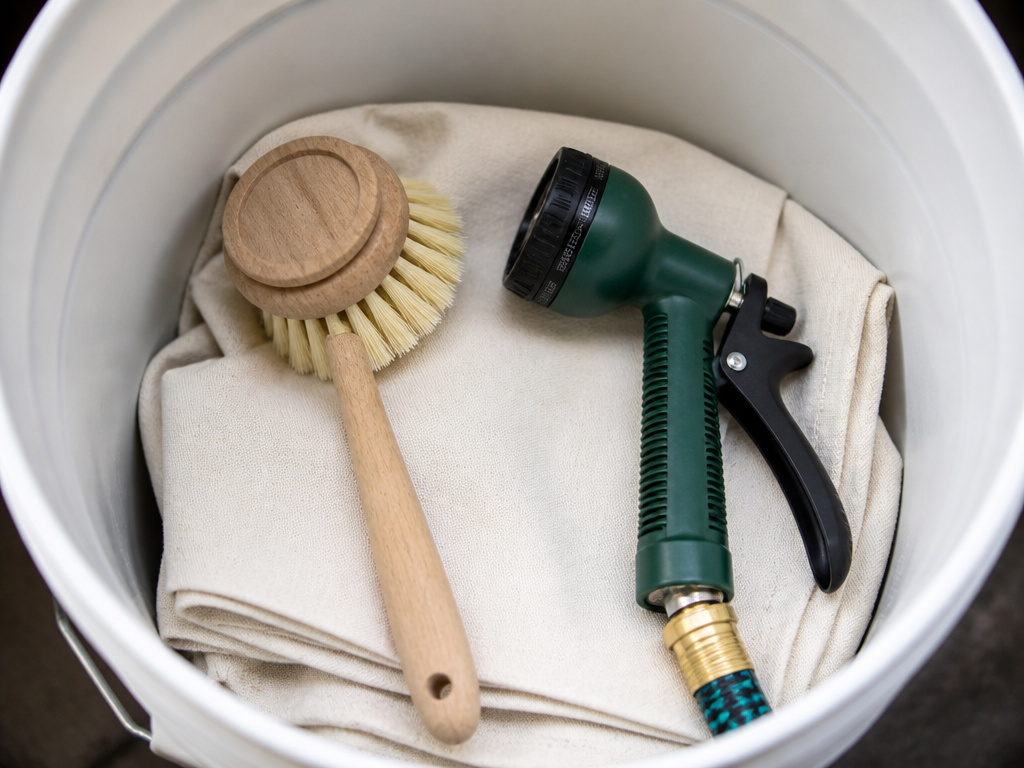
You don’t need a specialty kit. You need the right three things, which you probably already own.
- A soft-bristle brush. A horsehair brush or a new, soft dish brush. I ruined a panel once using a stiff deck brush, the scratches were permanent. Never use a magic eraser on canvas; it’s a fine abrasive.
- A dedicated five-gallon bucket. For mixing your mild soap solution. My husband used our canvas-cleaning bucket for car wax residue once, and I had to buy a new one to avoid contaminating the fabric.
- A hose with a spray nozzle. Set to “shower.” You need flow, not pressure.
Owners of taller trailers or A-frames swear by one extra: an extendable car-wash brush with a soft head. I bought a $15 one from O’Reilly Auto, and it’s a game-saver for reaching my A-liner’s roof canvas without a ladder. These tools are just as critical as your other camping gear essentials.
Do You Need to Re-Waterproof Your Canvas?
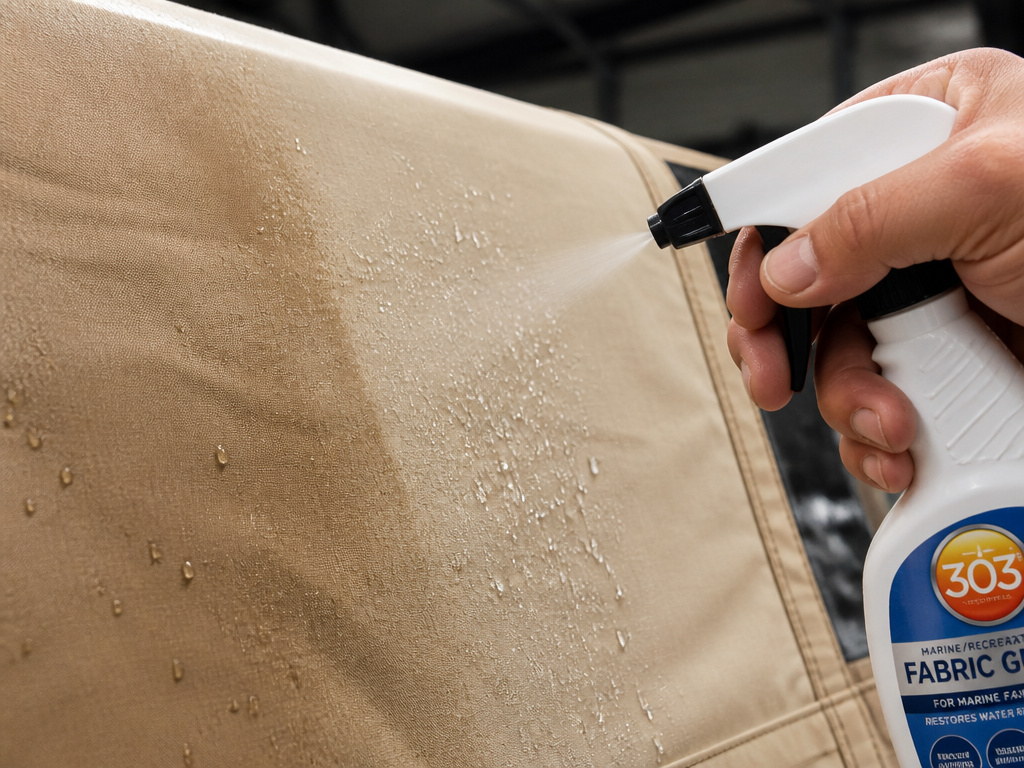
Waterproofing doesn’t fail all at once. You’ll first notice water soaking in instead of beading and rolling off, leaving a dark, damp patch that takes forever to dry.
Test it. Spray a section of clean, dry canvas with your hose. If the water forms tight beads that roll away, you’re good. If it darkens the fabric and soaks in within a minute, it’s time.
Choose a product made for acrylic or polyurethane-coated canvas, like 303 Fabric Guard or Nikwax Tent & Gear SolarProof. Avoid silicone-based sprays for tarps; they can make fabric sticky and attract dirt, compromising the clean surface you just worked for.
Apply in a well-ventilated area with the fabric taut and dry. Follow the can’s drying time, often another 24 hours, before packing away. This is a weekend project. It’s also a reminder that for true four-season use, starting with quality four-season canvas tents designed for harsh conditions can reduce maintenance headaches.
| Symptom | Likely Cause | Specific Fix |
|---|---|---|
| Water soaks in, fabric darkens quickly | Waterproof coating worn or stripped by chemicals | Apply a dedicated canvas waterproofing spray (303, Nikwax) after a full clean and dry. |
| Musty smell but no visible spots | Moisture trapped in seams or between fabric layers | Air out for 48 hours in direct sun. A light vinegar spray in the seams can help. |
| Black/green spots on fabric | Active mold or mildew growth | Treat with vinegar solution. If persistent, use a commercial remover (e.g., Iosso) and then re-waterproof. |
| Stiff, crackly fabric feel | Dirt and soap residue buildup | Deep clean with mild soap and ultra-thorough rinse. Avoid any fabric softeners. |
Can You Use a Pressure Washer on Tent Trailer Canvas?
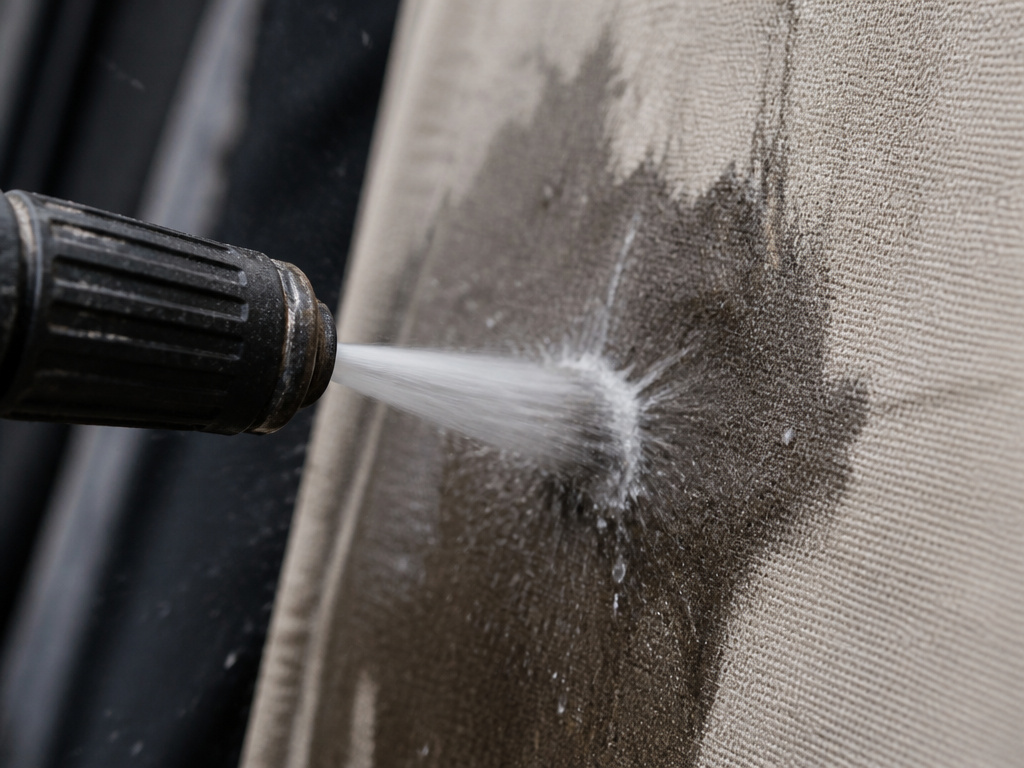
No. Full stop. This is not a matter of preference but of fabric integrity. The Zone RV knowledge base states plainly: “No powered, high pressure washers to be used for cleaning the canvas. * Warranty will be voided.” The force doesn’t just clean; it drives water through the fibers and seam stitching, permanently compromising the waterproof barrier. What looks clean will leak in the next downpour.
Does Vinegar Damage Tent Trailer Canvas?
A diluted solution (1:10 vinegar to water) is widely used by owners and recommended by community sites like All Around Oz to kill mold spores. It’s generally safe for acrylic-coated canvas when used correctly and rinsed thoroughly. However, it is an acid. Austral Canvas broadly warns against “chemical cleaners,” which can include vinegar. My stance: it’s a gentler, effective first-line treatment. If you use it repeatedly or on already-weakened fabric, it may degrade the coating over time. Always do a spot test and be prepared to re-waterproof if water stops beading.
How Long Does Canvas Take to Dry Completely?
In good sun and a breeze, the surface may feel dry in a few hours. This is deceptive. The critical moisture trapped in seams, stitch holes, and between fabric layers needs a full 24-48 hours to evaporate completely. Packing it away damp is the single most common cause of mold growth and fabric rot, a sure way to void warranties and ruin good storm-resistant tents.
What’s the Best Waterproofing Product?
Use a product specifically formulated for acrylic or polyurethane-coated tent fabric. 303 Fabric Guard and Nikwax Tent & Gear SolarProof are excellent choices. They restore water repellency without leaving a sticky, dirt-attracting residue like generic silicone tarpaulin sprays can.
Is Bleach Safe for Cleaning Canvas?
It is not recommended. While bleach kills mold, it also weakens and degrades canvas fibers and will certainly strip any waterproof coating. It often leads to discoloration (yellowing) and leaves the fabric vulnerable to rapid water damage and sun rot.
How Often Should You Clean the Canvas?
A thorough clean at the start and end of each camping season is sufficient for most people. Spot-clean stains like tree sap or bird droppings as they occur. Over-cleaning with soap can gradually degrade the waterproof coating, so let rain handle light rinsing between deep cleans. Proper storage is part of cleaning; ensure your trailer is covered or under shelter to minimize exposure, just as you would protect other tent camping equipment from the elements.
Frequently Asked Questions
What’s the safest way to remove stubborn dirt or bird droppings from tent trailer canvas?
For tough spots, use a soft cloth or sponge with your mild soap solution and let it soak on the area for a few minutes to loosen the debris. Gently dab or use a soft-bristle brush in a circular motion, avoiding aggressive scrubbing that can wear the fabric. Always re-rinse the section thoroughly with cool water to remove any soap residue that could attract more dirt.
Can I use a product like Scotchgard to re-waterproof my canvas after cleaning?
You should only use a waterproofing product specifically designed and recommended for coated tent canvas or poly-cotton blends. General fabric sprays like Scotchgard are not formulated for this material and can trap moisture, leading to mildew. Always ensure the canvas is impeccably clean and bone-dry before applying any reproofing treatment in a shaded, well-ventilated area.
How do I prevent mold and mildew if I have to pack up my trailer in wet weather?
It is critical to unpack and dry the canvas as soon as possible, ideally within 24 hours. Set up the trailer in a dry, sunny, and breezy location to allow for complete air circulation. If full sun isn’t available, using fans indoors can help, but thorough drying is non-negotiable to prevent organic growth and permanent stains.
Is it okay to clean the canvas while the tent trailer is partially set up?
For a thorough and safe cleaning, the canvas should be fully extended and taut. This allows you to properly access all surfaces, scrub without creasing the fabric, and ensures complete rinsing so soap doesn’t pool in folds. A partial setup can leave areas untreated and make rinsing difficult, leading to potential water spots or residue buildup.
The Bottom Line
Cleaning your tent trailer canvas isn’t a chore to rush. It’s the maintenance ritual that guarantees dry, comfortable shelter trip after trip. The wrong cleaner, a moment of impatience with a pressure washer, or the temptation to pack up while “mostly dry” can cost you the fabric’s integrity, your warranty, and hundreds in repairs.
Stick to the gentle basics: soft brush, mild soap, cool water, and thorough drying. Approach mold with vinegar before stronger chemicals. This care extends the life of your canvas, whether it’s on a simple pop-up or one of the more complex tents with stove jacks. Your home on the road is worth the afternoon it takes to care for it. Now, go plan that next adventure with confidence.
