
How To Draw A Circus Tent With A Simple Two-Sketch Method
This post contains affiliate links. As an Amazon Associate, we earn from qualifying purchases.
To draw a circus tent, you need two sketches: a light structural sketch to map the big shapes, then a clean line-art layer for the final details. Start with two vertical lines for the front opening, connect them with a peak, and sweep long curves down to the ground to form the iconic big top. Build stripes, flags, and an entrance curtain on top of that foundation.
Most tutorials tell you to start drawing stripes immediately. That’s why so many beginner drawings look flat and lopsided. They skip the structural sketch and go straight to decorating a shape that has no volume.
This guide walks through a seven-step method that builds the tent from the ground up. You’ll learn why the two-sketch approach works, which tools handle each job, and how to avoid the red-and-yellow cliché with a finish that actually looks like heavy canvas.
Key Takeaways
- Build the tent with two sketches: a light pencil framework first, then clean ink lines on top. Skipping the framework sketch is the single biggest reason drawings look flat.
- Use a kneaded eraser to lighten your guide lines instead of erasing them completely. You can still see the shapes but they won’t muddy your final ink work.
- Diagonal stripes must follow the curve of the tent roof. Drawing them straight makes the tent look like a flat triangle wrapped in paper.
- A white gel pen or a light-colored pencil adds instant realism when used as a highlight on the sun-facing side of the tent.
- For texture, drag the side of a colored pencil lightly across the colored areas. It mimics the weave of canvas better than solid, flat marker fills.
The 7-Step Two-Sketch Method
The fastest way to a wobbly tent is to start decorating before you’ve built the walls. Every stable drawing begins with a light structural pass. You map the big shapes, check proportions, and only then commit to details. The second pass is for your clean, final lines.
Before you start: Work on a smooth, medium-weight paper. Newsprint or printer paper ghosts with ink and buckles under wet marker. A 98 lb. mixed-media pad gives you a surface that holds pencil, ink, and color without bleeding through.
Step 1: The Two-Line Foundation
Draw two parallel vertical lines lightly with a pencil. This is the tent’s front opening. The space between them decides how grand or intimate your tent feels. A wider gap makes a big, welcoming entrance. A narrow gap feels more traditional.
Make them truly vertical. Use a ruler if your hand wobbles. Tilted lines make the whole tent look like it’s leaning.
Step 2: The Big Triangle Roof
Place a point directly above the center of your two vertical lines. That’s the peak. Now, draw two long, sweeping curves from that peak down to the ground, outside your vertical lines. These curves form the main roof.
Don’t draw straight lines. The classic big top has a slight bell curve. Think of a soft “C” shape on each side.
TL;DR: Start with two anchor lines, then connect them to the ground with soft curves to create the tent’s volume. Straight lines kill the illusion.
Step 3: Side Panels and the Entrance
Inside your main shape, draw two more curved lines parallel to the outer edges. This creates the side panels. Leave a gap at the bottom for the entrance.
At the base, between your original two vertical lines, sketch a rectangle. Add a few vertical lines inside it to suggest folds in the entrance curtain. This rectangle should be about one-third the height of your opening.
Common mistake: Drawing the entrance curtain as a flat rectangle — it looks like a painted door. Add a few soft, vertical folds to imply fabric.
Step 4: Stripes, Flags, and Poles
Now for the stripes. Lightly draw diagonal lines from the peak down to the ground, following the curve of the roof. They must be parallel.
For the flags, draw small triangles at the peak. Give them a slight curve, like they’re fluttering in a breeze. Straight flags look glued on.
| Detail | Do This | What Happens If You Skip It |
|---|---|---|
| Stripes | Follow the roof’s curve | Tent looks flat, like a decorated triangle |
| Flags | Add a gentle curve | Looks static, kills the festive feel |
| Entrance Curtain | Sketch vertical lines for folds | Looks like a solid door, not fabric |
| Tent Poles | Add short vertical lines at base corners | Structure seems to float, lacks grounding |
Step 5: The Flag That Actually Flutters
Flags are not flat. The difference between a drawing that pops and one that sits there is often a single curved line.
Draw your flag triangle, then give the top edge a soft “S” curve. It’s subtle. That curve implies wind. A straight edge implies starch.
This is the kind of detail that separates a functional sketch from a drawing with life. It takes two seconds and changes everything.
Step 6: Inking Your Final Lines
Let your pencil sketch sit for a minute. Look for wobbles. Then, pick your fine-liner pen.
Trace over the lines you want to keep. Be decisive. Use a steady, even pressure. For the stripes, you can ink every other one to save time and create pattern.
Let the ink dry for a full minute before you touch it. Smudged ink lines are permanent.
I won’t ink the entire roof in one go. I do one side, rotate the paper, do the other. It keeps my wrist angle consistent and prevents the shaky, wavering line you get from reaching across the page.
Step 7: Color and Texture
Here’s where most guides stop. They say “color it red and yellow.” That’s a fine start, but it looks like a cartoon.
First, pick your base colors. Traditional red and white work. So does blue and silver, or purple and gold.
Apply the color solidly first. Then, for texture, take a dry brush with a darker shade of the same color or use the side of a colored pencil. Lightly drag it across the flat color. This creates a faint, cross-hatched look that reads as canvas weave.
TL;DR: Apply base color, then use a dry brush or pencil side to create a cross-hatch texture. This mimics canvas weave and beats flat color every time.
Choosing Your Tools: Pencil vs. Pen vs. Marker
Your tool choice changes the drawing’s feel. A pencil sketch is soft and forgiving. Ink is bold and permanent. Markers are vibrant but unforgiving.
A BikeHike circus tent drawing tutorial demonstrates the pencil-first method well, which is why it’s a solid reference for nailing the structure before you add any polish.
Graphite Pencil (HB or 2B)
The workhorse. Use it for both your structural sketch and your clean line work if you want a soft, classic look.
A kneaded eraser is mandatory. It lifts graphite without shredding the paper. You can lighten guide lines instead of erasing them completely, which keeps your proportions intact.
Why-layer: Graphite has a slight sheen on paper, which catches light differently than ink. Under strong light, a pencil drawing can look smudgy if you’re not careful with your final fixative spray.
Fine-Liner Pen (0.3mm or 0.5mm)
This is for crisp, confident lines. It’s what you use to trace over your pencil framework for the final art.
The 0.3mm tip is perfect for details like flag ropes and stripe edges. The 0.5mm is better for the main tent outline.
Common mistake: Inking before the pencil is fully set — if you press too hard with your pencil, the graphite acts as a lubricant. The pen tip skids, and you get a wobbly, uneven line. Press lightly in the sketch phase.
Markers vs. Colored Pencils
This decision defines your finish. Markers give bold, flat, graphic color. Colored pencils allow for blending and texture.
| Tool | Best For | Limitation |
|---|---|---|
| Alcohol Markers | Vibrant, even color fills | Bleeds through thin paper; blends can look muddy |
| Water-based Markers | Softer, blendable layers | Can warp paper; colors dry lighter than they look wet |
| Colored Pencils | Texture, control, easy correction | Takes longer to cover large areas solidly |
| Watercolor Pencils | Painterly effects, soft blends | Requires water and drying time; can buckle paper |
I prefer colored pencils for tents. You can build up the color slowly, add that dry-brush canvas texture, and easily correct mistakes by layering over them. A set of basic camping gear often includes a notebook and pencil, which is all you need to start.
Markers are faster. They’re great for a bold, poster-style look. But you need marker paper to prevent bleeding, and you get one shot — there’s no undoing a marker stroke.
Why Your Tent Looks Flat (And How To Fix It)
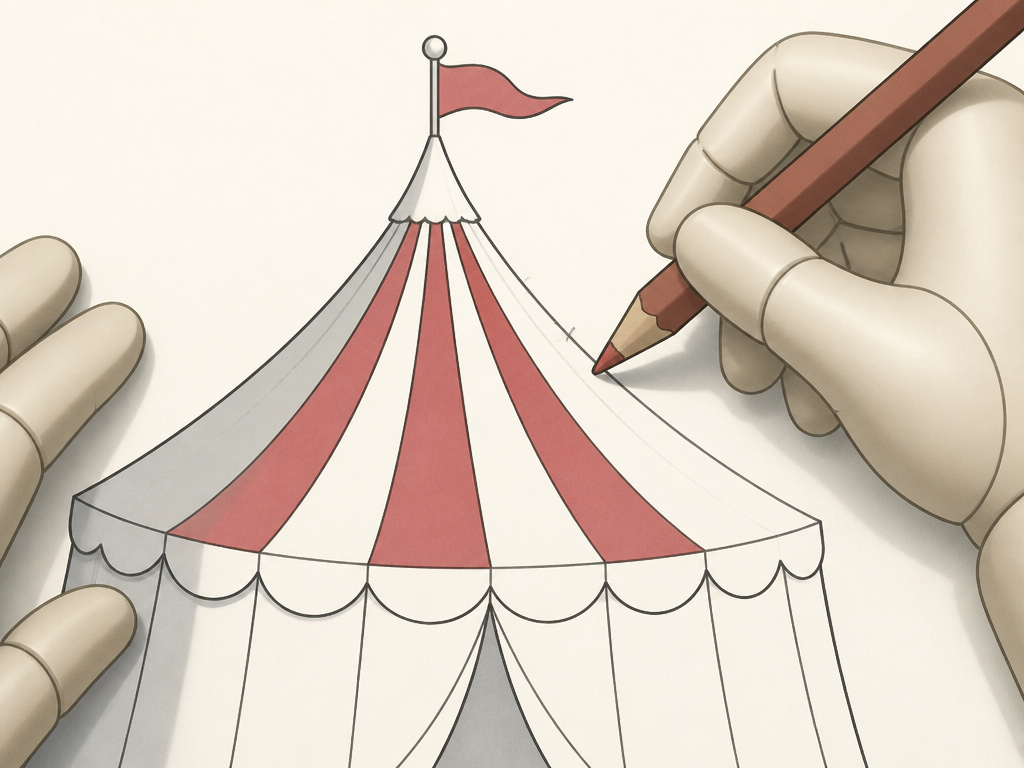
The number one complaint from beginners is “my tent looks like a flat triangle.” The cause is almost always in the first two steps.
You didn’t establish volume. You drew a triangle and then decorated it. A real tent is a three-dimensional object. Your drawing needs to imply that dimension.
The fix is in the foundation curves. The long lines from peak to ground must sweep. They can’t be straight. And the stripes must follow that sweep.
If your stripes are drawn as straight diagonals across a curved surface, the brain reads the surface as flat. The stripes need to curve slightly, converging toward the peak. This simple trick adds instant depth.
Another fix is shadow. Add a soft shadow along one side of the tent, under the roof overhang, and beneath the entrance curtain. Even a slight grey tone on one side tells the eye that light is coming from the other direction.
TL;DR: Curved stripes and a shadow on one side are the two fastest ways to add dimension to a flat-looking tent drawing.
Adding Realism With Simple Textures
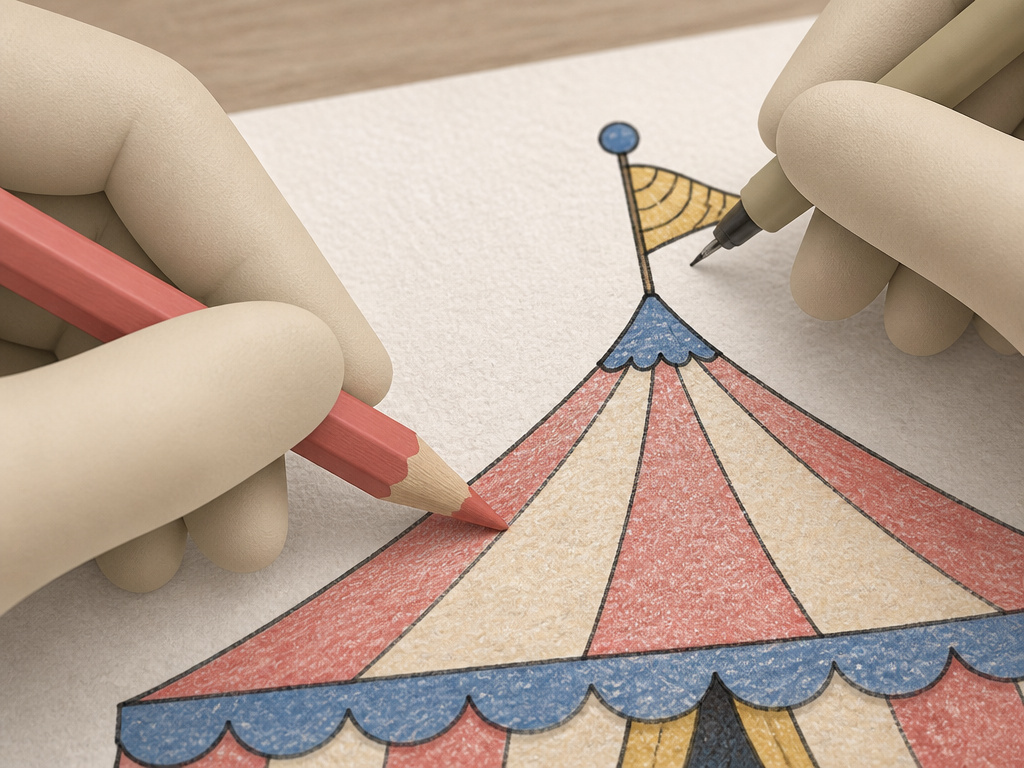
Canvas isn’t smooth. It has a weave. Your coloring shouldn’t be a perfect, flat fill.
After laying down your base color with a marker or pencil, use a dry technique. With a colored pencil, use the side of the lead and drag it lightly across the area. With markers, use a dry brush technique or a colorless blender to pull some color out, creating a mottled effect.
For the flags, add a few quick, curved lines inside to show ripples. For the entrance curtain, those vertical fold lines you sketched earlier? Go over them with a slightly darker shade of the same color.
Ground the tent with a simple grassy area or a few quick lines for wooden platform boards. It stops the tent from floating.
These textures don’t take extra skill. They take an extra thirty seconds per step. The payoff is a drawing that feels tactile.
Frequently Asked Questions
What’s the easiest way to draw a circus tent for a complete beginner?
Start with the two-vertical-line method. It gives you an anchor. Then, focus on getting the big roof curves right before you add any stripes or details. Use a pencil and eraser freely — the goal is the shape, not a perfect line on the first try.
What pencils are best for drawing a tent?
An HB pencil is perfect for the initial structural sketch because it’s light and easy to erase. A 2B pencil is better for the final line work if you’re not using ink, as it gives a darker, more defined line. Have a kneaded eraser on hand to lift graphite without damaging the paper.
How do you draw circus tent stripes that look curved?
Draw the stripes as straight lines first, using a ruler if needed. Then, gently curve each line so it follows the contour of the tent roof. The key is to keep the stripes parallel to each other as they curve. This creates the illusion of fabric wrapping around a form.
Can I use a regular notebook to draw a circus tent?
Yes, but be aware of limitations. Standard notebook paper is thin. Pencil will be fine, but ink may bleed, and markers will definitely show through. For a one-time pencil sketch, it’s okay. For a finished piece with ink or markers, upgrade to a heavier mixed-media or drawing paper.
What colors should I use for a traditional circus tent?
The classic combination is bright red and white stripes with yellow flags. However, circuses use all colors. Blue and silver, purple and gold, or even a rainbow of stripes are authentic. Choose colors that are bold and high-contrast so the stripes pop.
How do you add shadows to a tent drawing?
Decide where your light source is (e.g., the sun in the top left corner). Then, add a soft, grey shade with your pencil or a light grey marker along the opposite side of the tent, under the roof overhang, and on the ground beside the tent. Keep the shadow consistent in direction.
Before You Go
The two-sketch method works because it separates planning from polish. Your first pass is for figuring out the proportions and volume. Your second pass is for the clean, confident lines that make the drawing sing.
Remember the stripe rule: they must follow the roof’s curve. That’s the difference between a flat decoration and a dimensional object. And give those flags a gentle flutter — a single curved line adds life.
Grab a pencil and try it. Start with the two vertical lines, build the big curves, and add the details on top. Your first one might be rough. Your third will look like it’s ready for the big top.
