
Your Expert Guide on How to Set Up a Big Tent Properly
This post contains affiliate links. As an Amazon Associate, we earn from qualifying purchases.
Setting up a large event tent safely demands more than muscle. The critical steps most DIYers miss are a pre-site utility scan with a proper cable avoidance tool, an anchoring plan that meets the stricter of local code or the manual, and a strategy for partial walls that can create dangerous wind traps. Success hinges on preparation, not just assembly.
I’ve pitched my share of big shelters, from family reunions in soggy fields to branded events on unforgiving pavement. The difference between a smooth weekend and a frantic, wind-whipped disaster always comes down to the checks you do before the first pole touches the ground. Forget scaling up your camping tent logic. This is a different beast.
Here’s the real-world sequence, built on hard lessons and the standards the pros follow.
Key Takeaways
- Never drive a stake without first scanning for underground utilities. Hitting a single irrigation line can flood your entire site.
- Your anchoring must satisfy both the tent manufacturer’s instructions and your local jurisdiction’s rules. The stricter requirement always wins.
- Partial walls drastically increase wind load. If you only wall one or two sides, you need a structural engineer’s sign-off or a rapid procedure to install/remove walls when weather changes.
- For soft ground, abandon stakes. Switch to water ballast barrels or concrete blocks immediately.
- Assign a weather watcher. The event industry’s evacuation threshold is 28 meters per second (about 60 mph). Your takedown must happen well before that.
The erection, dismantling, and maintenance of large tents must be carried out in accordance with the official manufacturer’s manual and any site-specific structural engineer’s report. Generic guides, including this one, serve as supplements to those primary documents.
What’s the Most Overlooked Safety Step Before Setup?
The most dangerous threats are invisible. Relying on a property owner’s vague memory of where lines are buried is how events get canceled. The first thing my crew does on any new site is a full hazard scan.
First, we use a cable avoidance tool (CAT). I rent a reliable model like the Radiodetection CAT4+ Genny4 combo for any site I haven’t worked before. You walk the entire tent footprint and a 10-foot perimeter. The unit will chirp and flash over buried electrical, gas, and communication lines. Mark every one with orange spray paint. This twenty-minute task prevents the unfixable mistake of severing a line, which can lead to fires, floods, or electrocution.
Second, look up. Are there overhead power lines or heavy tree limbs within 20 feet? NFPA and most safety codes mandate a 6-meter (20-foot) clearance from high-voltage lines during work. If you must be near them, a temporary ground must be installed to prevent voltage from gathering in the metal frame, a real risk that can cause mild but startling shocks.
Third, test the soil. Don’t just look, stomp. If your heel sinks more than an inch, the ground is too soft for standard stakes. I learned this the hard way setting up for a friend’s wedding in Cornwall. We staked into what looked like firm grass, but a hidden spring turned it to soup overnight. By morning, one corner of the frame had sunk three inches. We had to scramble for concrete blocks at dawn.
Common mistake: Assuming the ground is stable because it looks dry, soil composition can change drastically just inches below the surface, and a sudden downpour after setup can reduce anchor effectiveness within hours.
TL;DR: Scan for buried utilities, check overhead clearance, and physically test soil stability before unloading your gear.
Manufacturer’s Manual vs. Local Code: Which Rules Apply?
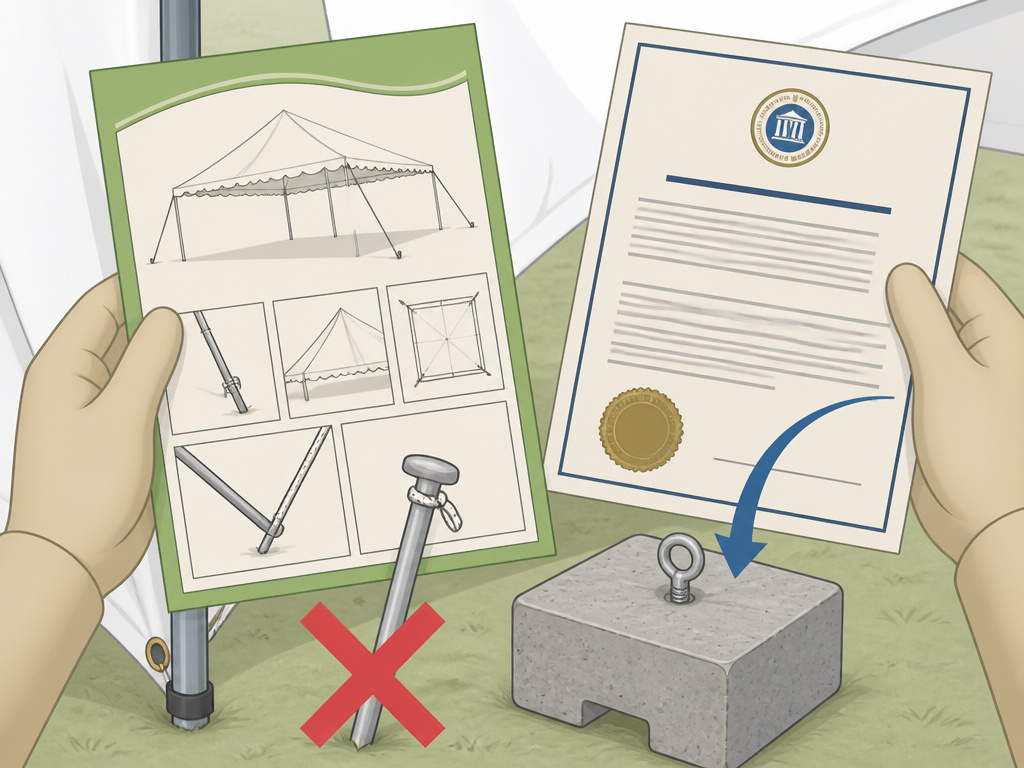
You have two bosses: the tent manual and the local authority. They won’t always agree, and navigating the conflict is your first logistical hurdle.
The manual from a brand like Outwell, Vango, or a commercial supplier like Anchor Industries specifies stake depth, guy-line angles, and maximum wind speed based on their engineering. However, local fire or building codes can be stricter. Some jurisdictions ban stakes outright for structures over 400 sq. ft., requiring concrete ballast instead. Others enforce specific fire lane widths that dictate where you can run guy lines.
The rule is simple: the stricter standard governs. Ignoring the manual voids your warranty. Ignoring the code gets your event shut down. Get the local requirements in writing from the Authority Having Jurisdiction (AHJ) at least two weeks out.
| Rule Source | Typical Focus | Potential Conflict Point |
|---|---|---|
| Manufacturer Manual | Engineering limits for their specific tent model. | May allow stakes where local code demands ballast. |
| Local Fire Code | Life safety, egress, and fire suppression access. | May require fire extinguishers every 75 ft. (per NFPA 10) and clear aisles. |
| Venue Contract | Protecting property assets like irrigation or paved surfaces. | Often forbids any penetration of the ground, forcing a switch to water barrels. |
| Your Insurance Policy | Mitigating risk of collapse or injury. | May require an engineer’s report for tents with high side walls. |
Always resolve these conflicts before setup day. The cost of a structural engineer’s sign-off is trivial compared to a denied insurance claim.
What Gear Do You Actually Need?
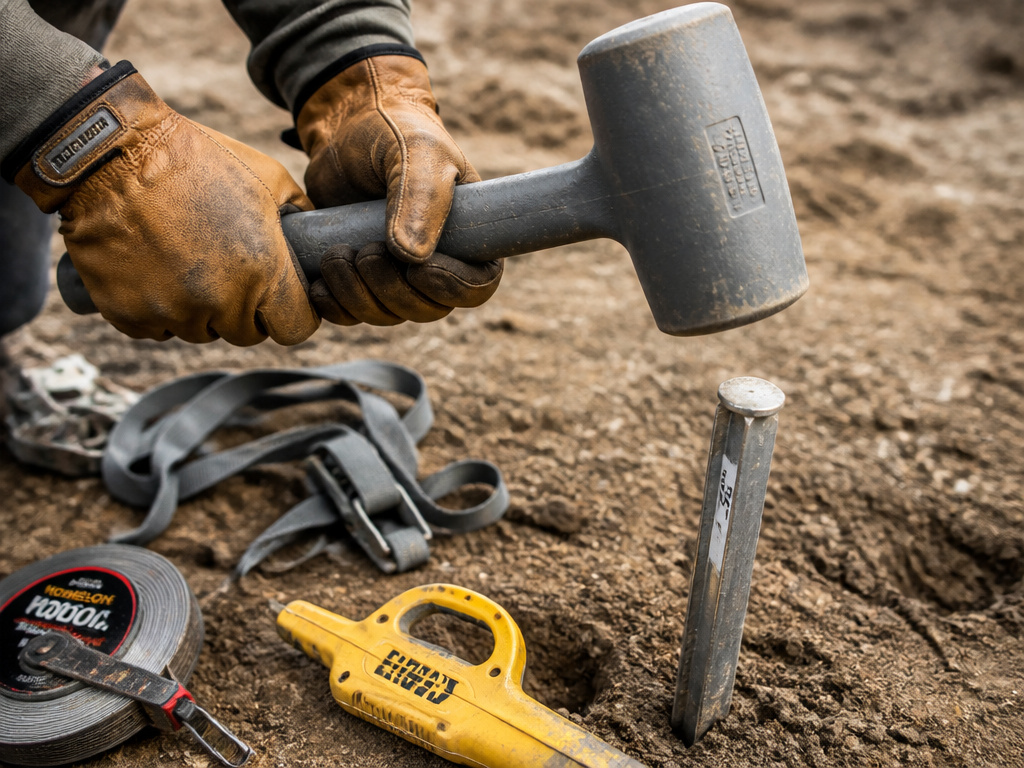
Your camping toolkit won’t cut it. Driving a 36-inch steel stake requires a 4-pound dead blow mallet, not a lightweight camp hammer. I learned this on a windy hillside setup when my standard hammer mushroomed the head of a stake so badly we had to cut it out with an angle grinder. Now I only use my Estwing E3-16S rubber mallet. Its non-spark head is safer near generators, and it doesn’t deform the metal.
Here’s the professional kit that goes beyond what’s in the tent bag:
Essential Tools & Safety Gear:
- Cable Avoidance Tool (CAT): Non-negotiable for new sites. A basic rented model is fine.
- Dead Blow Mallet (4 lb minimum): Prevents stake damage and is safer.
- 100-Foot Tape Measure: For squaring the footprint and ensuring proper fire lane distances.
- MEWP or Scaffold Tower: For any work where feet would be over 6 feet off the ground, as mandated by regulations like the UK’s Work at Height Regulations 2005.
- Leather Gloves & Safety Goggles: Frame poles often have sharp burrs, and hammering sends debris flying.
Anchoring Systems (Choose based on your site inspection):
- 36-inch Steel Stakes: For confirmed firm, dry soil. The 5-foot offset and 36-inch depth are critical.
- Water Ballast Barrels: For soft ground, decks, or venues that forbid stakes. I use four 55-gallon HDPE barrels from Uline. Each holds 55 gallons, and you need every gallon. Under-filled barrels are a tipping hazard.
- Concrete Blocks: A permanent, heavy solution. Require a forklift for placement and must be securely strapped to the frame.
Forgetting the CAT is the most common amateur error. It turns a two-hour setup into a multi-day insurance nightmare.
Before you start: The two most immediate physical risks are overhead power line contact during pole raising and accidental impact with buried utilities when driving stakes. A proper CAT scan and a 20-foot overhead clearance check mitigate these. Always have a spotter when raising long poles.
What’s the Correct Step-by-Step Setup Sequence?
Follow this order religiously. Jumping ahead, like tensioning the canopy before the frame is fully locked, creates uneven stress points that tear seams.
Step 1: Lay and Square the Ground Tarp
Unroll the tarp with its reinforced, rough side down. The shiny waterproof coating faces up. Use your 100-foot tape to measure diagonally from corner to corner. Both diagonals must be equal for the tarp to be perfectly square. This five-minute step ensures your frame sits true and walls hang straight. A crooked base means a sagging, leak-prone roof.
Step 2: Assemble the Frame on the Tarp
Lay out all poles on the tarp in the order shown in your manual. Connect them in the numbered sequence, listening for a definitive thunk at each joint. Don’t just feel a click. I number poles with masking tape because color codes fade. At a festival in Wales, a half-connected 25mm pole joint snapped under a gust, whipping back and leaving a bruise the size of a dinner plate on my colleague’s arm. Click twice.
Step 3: Raise the Main Structure with a Crew
This is a team lift. Designate one person to call commands. Lift the frame evenly to waist height, insert any vertical wall poles, then continue to full height. Immediately secure the primary roof hubs with their pins or bolts. No one should stand under the rising frame.
Step 4: Drape and Initial Tension the Canopy
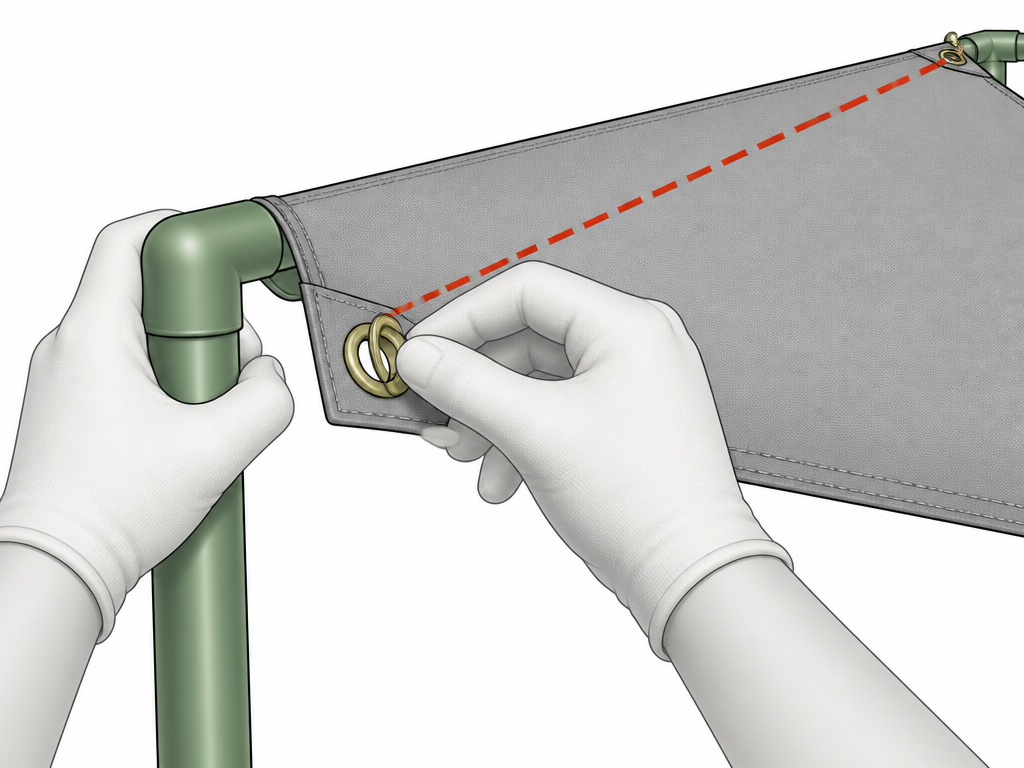
Spread the fabric over the frame. Start by attaching the canopy grommet at one corner to the frame corner, then move to the opposite corner. This “diamond” method prevents twisting. Once all four corners are attached, pull the fabric taut from the center of each side toward the peak. The material should be drum-tight, with no major wrinkles. That thwump-thwump-thwump of a loose canopy in the wind isn’t just annoying; it fatigues the fabric at the stitch lines. I once ignored a slight wrinkle near the peak of my old Outwell Montana 6 and woke up to a 4-inch tear.
Step 5: Install Primary Anchors
At each corner grommet, measure 5 feet out from the tent. Drive your stake at a 45-degree angle away from the structure, going the full 36 inches deep. Leave the top 6 inches exposed for the rope. This angle provides immense resistance to vertical pull. For venues requiring ballast, position your water barrels or concrete blocks at these same points and secure them with 2-inch ratchet straps directly to the frame leg.
Step 6: Rig and Final-Tension All Guy Lines
Attach a guy line to every designated tie-down point. For a standard 20×20 tent, this is often 8 points. Use a trucker’s hitch knot for a powerful 3:1 mechanical advantage. All lines should have similar, high tension. A loose guy line is a pivot point for the wind.
Step 7: The Final Walk-Through and Weather Watch
Walk the entire perimeter. Check every stake, knot, and frame connection. Look inside for fabric touching a heat source like a generator exhaust. Assign someone to monitor a reliable weather app. The industry vacates at 60 mph winds. Your takedown plan must execute before that threshold is reached.
TL;DR: Square your base, assemble the frame on the ground, lift as a team, tension the canopy drum-tight, anchor properly, tension all guys equally, and do a final safety check.
How Do You Anchor on Problem Ground?
The manual assumes ideal conditions. You rarely get them. Your anchoring method is your single most important contingency plan.
| Ground Condition | Pro Anchor Choice | Critical Watch Point |
|---|---|---|
| Soft / Muddy / Saturated | Water ballast barrels (2+ per leg). | Water evaporates; check levels daily in hot weather. |
| Hard Pavement / Asphalt | Concrete blocks with sandbags on top. | Blocks must be strapped down; wind can slide them. |
| Rocky or Shallow Soil | Drill-in earth anchors (e.g., Duckbill anchors). | Requires a rotary hammer drill; not a typical DIY tool. |
| Sensitive Lawn (no penetration) | Screw-in turf stakes. | These have lower holding power; you’ll need more of them. |
If the ground becomes waterlogged after setup, a common afternoon thunderstorm scenario, the holding power of stakes can drop by half within two hours. This is when frames sink. Have a crew on standby or supplemental ballast ready if heavy rain is forecast after you leave.
Why Are Partial Walls So Dangerous?
Adding walls, especially tall ones, completely changes the physics. A fully enclosed tent distributes wind pressure evenly. A tent with only one or two high walls acts like a sail. The wind hits the wall, gets trapped inside, and creates upward lift on the roof with terrifying force.
The TentMasters Guild big top code of practice explicitly warns that partial-walled structures create a “wind trap,” increasing internal pressures to dangerous levels. If your design calls for partial walls, you have two responsible paths:
- Hire a structural engineer to calculate the increased wind load and specify a reinforced anchoring plan. Most commercial insurers require this.
- Design a quick-release wall system that allows you to remove or install all walls within a 30-minute weather window.
Most DIYers I advise choose option two. It means storing the extra walls on-site and having a crew on weather standby, but it’s far safer than guessing.
Frequently Asked Questions
How many people are needed to set up a 20×30 foot tent?
You need a minimum of four able-bodied adults. Two manage the frame, one handles the canopy, and one focuses on anchoring. For every additional 10 feet in length, add two more people. Trying it with fewer risks injury and damage.
Can I set up my large tent on a wooden deck?
Only if the deck is engineered to hold the significant point loads. Most residential decks are not. You must use water ballast, never stakes, and distribute the weight with plywood sheets under the barrels or blocks. Always consult a structural engineer or the deck builder.
How tight should guy lines be?
Pluck the line like a guitar string. It should produce a low, firm note, not a dull thud. All lines should have a similar tone. Visually, there should be no sag between the tie-down and the anchor point.
What’s the biggest mistake with water ballast?
Under-filling the barrels. A half-full 55-gallon barrel is top-heavy and can tip in wind, which is more dangerous than having no ballast at all. Fill them completely on-site and drain them at takedown.
Do I need a permit for a big tent in my backyard?
In most municipalities, any temporary structure over 200 square feet requires a permit. The process allows a building official to verify your anchoring plan and clearance from power lines. The fine for skipping this often exceeds the permit cost tenfold, so always check with your local building department.
The Bottom Line
Pitching a big tent is 80% planning and 20% labor. The pros spend their time on site scans, code cross-checks, and choosing the right anchor for the dirt underfoot. Your goal isn’t just a standing structure, but a safe one that withstands the surprises weather throws its way.
Respect the invisible hazards. Obey the stricter rule. Have a plan for when the ground or the forecast changes. That discipline is what separates a successful shelter from a liability. Now go stake it down tight, or better yet, ballast it securely. For more on shelters built to handle tough conditions, explore our reviews of storm-resistant tents and durable canvas tents.
