How to Tie a Tent Knot That Holds in Wind and Rain
This post contains affiliate links. As an Amazon Associate, we earn from qualifying purchases.
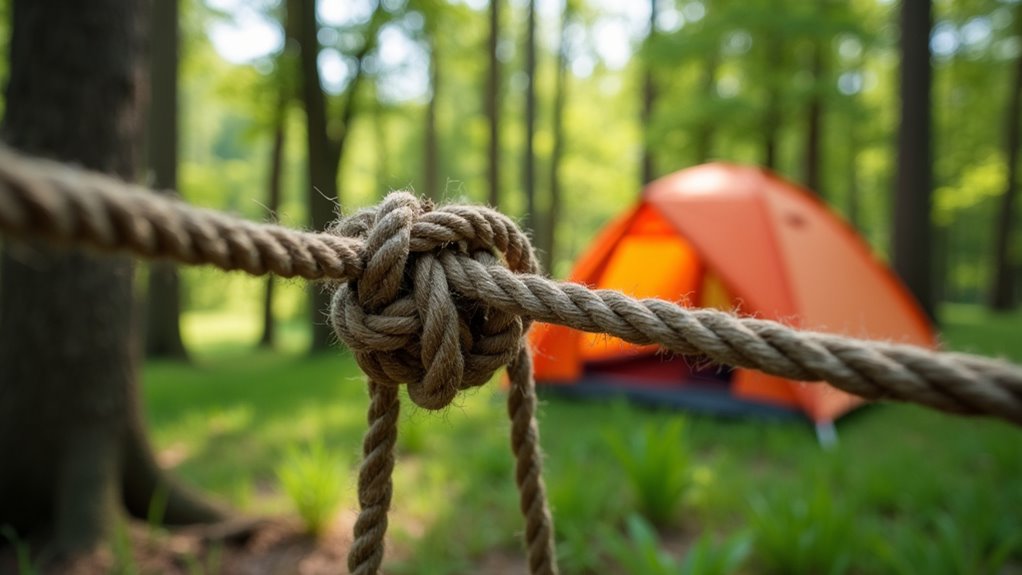
To secure a tent, you need knots that grip, adjust, and hold. The taut-line hitch is essential for adjustable guy lines, the clove hitch quickly secures lines to poles, and the bowline creates a fixed, non-slipping loop. Matching the knot to the task and securing it low on the stake is what keeps your shelter standing.
I’ve spent countless nights under nylon and canvas, and I can tell you the sound of a failing knot is unmistakable. It’s not a loud snap, but a soft, sickening zip as the line slips, followed by the violent flap of a now-loose rainfly. That sound usually precedes a very long, wet night.
This isn’t about fancy ropework. It’s about three simple knots, the physics behind why they work, and the one mistake, tying your line too high on the stake, that turns a 20-mph breeze into a tent-wrecking lever.
Key Takeaways
- The taut-line hitch is non-negotiable for guy lines. It’s the only common knot that lets you adjust tension after a storm tightens everything.
- Always secure the guy rope within three inches of the ground. Any higher gives the wind a lever to pry your stake out.
- Nylon rope shrinks when wet. An adjustable knot compensates for this; a fixed knot will over-tension and risk tearing your tent.
- Use a clove hitch for temporary attachments to poles or trees, but never for stakes where the pull direction changes.
- Your tent manual is the final word. Manufacturer instructions, like those from Kelty or Big Agnes, override any general advice.
What Are the Essential Tent Knots and When Do I Use Them?
You don’t need to know twenty knots. You need to master three. Each solves a specific problem: creating adjustable tension, making a quick temporary attachment, or forming a secure, fixed loop. Getting this match wrong is the first step toward a collapsed shelter.
The three most commonly used knots for tentage are the taut-line hitch for adjustable guying, the clove hitch for securing a line to a pole or post, and the bowline for creating a fixed loop. Manufacturer’s recommendations should be followed in the choice of knots.
Let’s break down your toolkit.
| Knot | Primary Use | Critical Safety Check |
|---|---|---|
| Taut-Line Hitch | Adjustable guy lines to stakes. | Are the two wraps coiled toward the stake? |
| Clove Hitch | Temporarily securing a line to a tent pole or tree. | Are the two wraps parallel and neat, with the tail exiting between them? |
| Bowline | Creating a fixed loop for lashing or attaching a carabiner. | Does the tail run parallel to the standing line inside the loop? |
TL;DR: Use the taut-line hitch for stakes, the clove hitch for poles, and the bowline when you need a strong, fixed loop.
How Do I Tie the Perfect Taut-Line Hitch?
This knot is your best friend in changing conditions. It works like a one-way valve: slide it to take up slack, and tension locks it. When nylon cord shrinks in the rain or the ground settles, this knot lets you retighten without untying anything.
The secret is in the direction of the wraps. Do them wrong, and the knot slips silently in the night. I learned this on a trip in the Eastern Sierras with my Big Agnes Copper Spur HV UL2. A rushed, sloppy taut-line gave way at 3 AM during a squall, the guy line whipping loose with a pop. The resulting violent flapping stressed a seam so badly it began weeping a fine mist inside. A proper knot would have held.
Before you start: A slipping knot can lead to sudden structural failure in high winds, risking pole damage or a torn rainfly. A jammed knot can require cutting your guy line, leaving you unable to re-secure the tent. Always check your knot’s direction before applying full tension.
Here’s the fail-proof sequence.
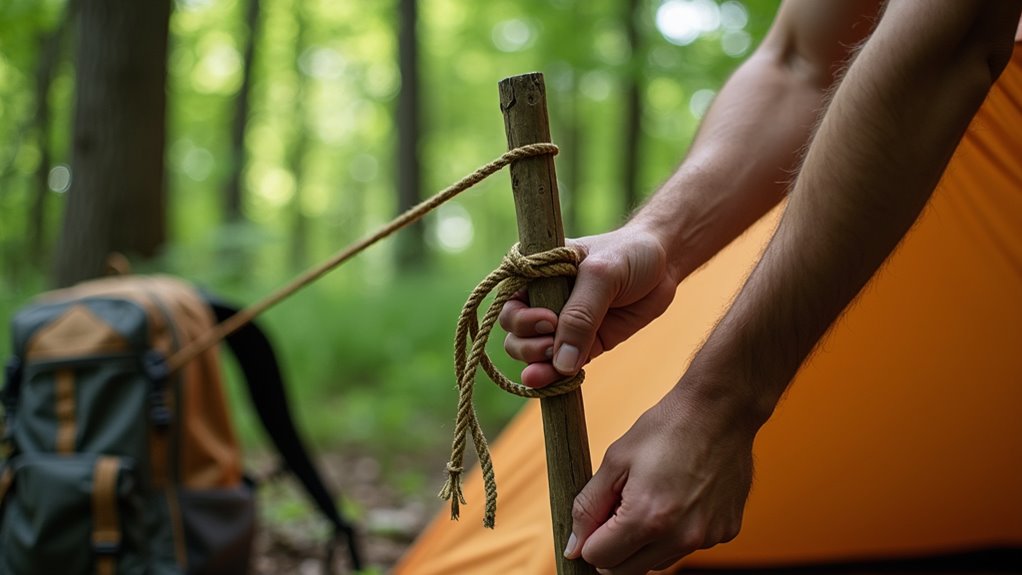
- Attach and Wrap. Thread your guy line through the tent’s loop. Run it down to your stake, wrap the working end around the stake once, and bring it back up to cross over the standing line (the part going back to the tent).
- Wrap Toward the Stake (The Key Move). Now, wrap the working end around the standing line two complete times, moving toward the stake. These wraps must sit neatly side-by-side. This direction creates the locking friction.
- Form and Finish the Loop. On the side away from the stake, form a small loop with the working end. Pass the working end through that loop and pull it snug.
- Set and Test. Pull firmly on the standing line toward the tent. The wraps should bite and cinch. To adjust, push the knot toward the stake to tighten, or pull it away to loosen.
If you discover a slipping knot mid-storm, don’t just pull it tighter. Push the knot toward the stake to completely loosen the wraps, then untie and re-tie from step two. Prying the wraps apart with a tent stake tip can help.
Common mistake: Wrapping the line away from the stake, the knot will hold initial tension but slip under a sustained gust. The guy line goes slack, causing the tent wall to billow and transfer destructive force to the poles, often within an hour.
When Should I Use a Clove Hitch or a Bowline?
Not every connection point needs adjustment. Sometimes you need speed or a permanent loop.
The Clove Hitch: For Quick, Temporary Ties
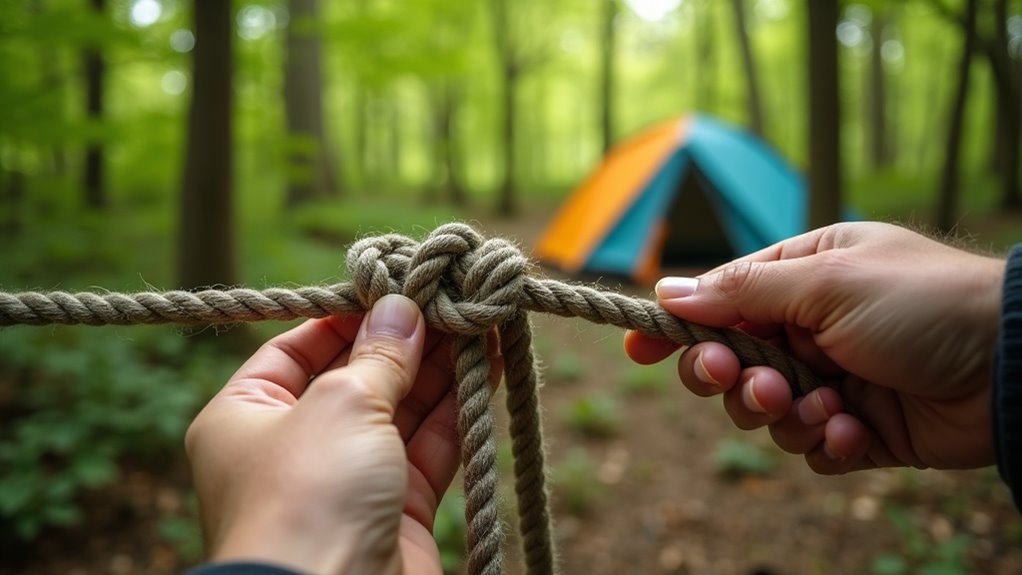
The clove hitch is fantastic for securing a line to something cylindrical, like a tent pole or a tree branch for a tarp ridgeline. It binds under steady, perpendicular pressure and unties quickly. Its weakness is changing pull direction.
When to use it: Securing a gear loft inside your tent, tying a tarp ridgeline to a tree, creating a temporary point for a wash line.
When to avoid it: Anywhere the rope will be vibrated (like a guy line stake) or where the pull might rotate around the object.
Tying it is simple. For a pole you can access the end of, use the “in-hand” method: make two identical loops in the rope and drop them over the pole. For tying around something you can’t slip loops onto, like a tree, use the “end method”: wrap the rope around, cross over, wrap around again, and tuck the tail under the last wrap.
The Bowline: The Unshakable Loop
When you need a loop that won’t slip closed under load, the bowline is king. It’s incredibly strong and, unlike a noose, it doesn’t jam, so you can untie it even after it’s been heavily loaded.
I use it to create a loop for a carabiner on a guy line or to lash poles together for an extended awning. It’s more reliable than a sewn loop that can wear out over time.
- Make a small loop in the standing line (the “rabbit hole”).
- Pass the working end (the “rabbit”) up through the loop.
- Take the rabbit around the back of the standing line (the “tree”).
- Tuck the rabbit back down through the original loop.
- Pull on the loop and standing end to tighten.
Forgetting the “around the tree” step creates a useless slip knot. On my third night in the Sierra with that same Big Agnes tent, I rushed a bowline while hanging a gear loft. The knot spilled, my Patagonia Black Hole stuff sack dropped onto the tent floor, and my Petzl Actik Core headlamp cracked its lens. That $70 mistake taught me to always check that the tail runs parallel to the standing line inside the loop.
Why Does Stake Height and Knot Choice Matter?

This is where camping meets physics. Your knot controls the rope length, which determines the critical angle of pull on the stake. Get this wrong, and you’re fighting fundamental forces.
The Industrial Fabrics Association International (IFAI) Procedural Handbook for the Safe Installation & Maintenance of Tentage states a guy rope should be secured to the stake “not higher than two or three inches” above the ground. Why? A higher attachment point creates a longer lever arm. In a wind gust, the lateral force has more mechanical advantage to pry the stake straight out of the soil. A low attachment point minimizes this overturning moment.
Furthermore, the handbook notes a 45-degree pull angle balances vertical and lateral forces on the stake, helping it resist both upward lift and sideways pull. A taut-line hitch is vital here because it lets you achieve that perfect angle after the tent is pitched and the rainfly is on. A fixed knot locks in your best guess, which is often wrong.
A pull angle of 45 degrees for guy ropes produces vertical forces on the stake equal to lateral forces, helping to withstand wind uplift while maintaining balance between vertical and lateral stake forces.
Following these guidelines from the official tent installation safety guide is what separates a shelter that weathers a storm from one that fails. This is especially critical for larger shelters with more surface area, like family-sized car camping tents or traditional durable canvas tents.
What Rope and Stake Combo Should I Use?

The perfect knot tied on the wrong cord or paired with a weak stake is a waste of effort. Your hardware matters.
Rope Choices:
- Nylon: Common, strong, and elastic. It absorbs shock from wind gusts well. The big caveat? It absorbs water and can shrink up to 3% when wet. This is the prime reason adjustable knots are mandatory.
- Polyester: Often found on higher-end tents. It has minimal stretch and doesn’t absorb water, so tension stays consistent. It’s slightly less elastic than nylon, which can be a pro or con depending on conditions.
- Polypropylene: Floats and is cheap, but it degrades quickly in UV light. I once left a polypropylene line on a sunny deck for a month and it turned brittle enough to snap with a finger flick. It’s also stiff and unpleasant to handle, like tying a knot with a piece of stiff licorice. Avoid it for anything but temporary beach setups.
Stake Selection: The official USAP tent guidelines for extreme environments mandate robust anchoring for good reason. Your stake must match the ground.
* Soft/Sandy Soil: Use long, thin stakes with high surface area. I swear by MSR Groundhog stakes for their 7.5-inch length and angled blade.
* Hard/Rocky Ground: You need strong, thick steel stakes you can drive with a rock. The DAC V-shaped stakes that come with many Big Agnes tents are excellent for this.
* General Use: A mix of robust Y-beam or V-stakes covers most bases. Relying on only the flimsy, hooked aluminum stakes that come with many budget tents under $100 is a common beginner mistake.
Common mistake: Using only short, hooked stakes in soft sand, they pull out with minimal force, regardless of your knot. The tent collapses, often bending a pole on its way down.
How Do I Pitch and Secure a Tent Step-by-Step?

A methodical approach ensures balanced tension and prevents pole strain. Here’s the sequence I use for my dome tents.
- Pitch the Body. Assemble the poles and clip in the tent body. Stake out the four corners firmly.
- Drape the Fly. Place the rainfly over the structure, aligning all doors and windows.
- Attach Primary Points. Clip or tie the rainfly to the tent body at all designated points (corners, mid-pole clips).
- Secure Vestibules First. Stake out any vestibules. This stabilizes the tent’s front and rear before you add guy lines.
- Attach Guy Lines. Thread each line through its reinforced loop on the rainfly. If you need to create a loop for a carabiner or stake, use a bowline here.
- Tie with Taut-Line Hitches. Walk each stake out to where the line is slightly slack. Secure the rope low on the stake with a taut-line hitch, double-checking your wraps face the stake.
- Tension in a Star Pattern. Don’t tighten one side completely. Go around the tent in a circle, tightening opposite sides sequentially (north, then south, then east, then west). Aim for firm, even tension.
- Final Inspection. Check each stake: Is the rope secured within three inches of the ground? Is the pull angle roughly 45 degrees? Is the fabric smooth, not drum-tight?
Skipping the star-pattern tensioning is how you warp a tent, putting asymmetric stress on one pole. That pole might hold for a night or two, but the metal fatigues. On a future trip, it snaps at a joint in a moderate wind.
What About Long-Term or Festival Camping?
If your tent is staying up for more than a weekend, maintenance is part of the equation. The IFAI handbook recommends checking tension every three to seven days for long-term setups.
Rope stretches. Ground settles. Fabric relaxes. A taut-line hitch that was perfect on setup day will be loose by day five. That slack allows the tent wall to billow, which dramatically increases wind load and accelerates wear on seams and attachment points.
For tents in place for a long period, tension should be checked every three to seven days. A loose guy line in a long-term camp doesn’t just sag; it initiates a slow, destructive flutter that frays the line and fatigues the fabric at the attachment point within two weeks.
Make a quick round every few days. Slide each taut-line hitch to take up new slack. This simple habit is why outfitter tents last for seasons. Also, consider your power needs for longer stays; running a cord from a portable tent light to a pole is a perfect use for a quick-release clove hitch.
For these extended setups, investing in a more robust shelter from the start, like a quality tent under $200 or a specialized pop-up beach tent for sunny locales, pays dividends in durability and peace of mind.
Frequently Asked Questions
What’s a good backup if I blank on the taut-line hitch?
Use a round turn and two half hitches. Wrap the rope around the stake twice (the round turn), then tie two half hitches around the standing line. It’s secure but not adjustable, so you have to get the tension right on the first try.
Is paracord okay for guy lines?
The inner strands of 550 paracord are great for emergencies, but the outer sheath is slippery. Taut-line hitches can slip on it. Dedicated 3mm polyester guy line is more reliable and often cheaper. Save the paracord for other useful camping accessories.
My tent has plastic line tensioners. Do I still need a knot?
Yes. Those devices (like Line-Locs) only adjust a section of the line. You still need a knot, usually a simple overhand or two half hitches, to secure the very end of the rope to the stake.
How do I untie a frozen taut-line hitch?
Push the knot toward the stake to loosen the locking wraps. If it’s really seized, use a tent stake tip or a key to gently pry and open the final loop. Pulling on the tail will only tighten it further.
Can I use these knots for a tarp or hammock?
Absolutely. The taut-line hitch is ideal for tarp guylines. The bowline is perfect for creating fixed loops on hammock tree straps. The principles are identical. For lightweight tarp shelters, these knots are even more critical than with a structured tent.
The Bottom Line
Your tent’s security hinges on the few inches of rope between it and the ground. The difference between a restful night in a blow and a frantic, soggy repair session often comes down to using the right knot and tying it low.
Drill the taut-line hitch until it’s muscle memory. Feel how the wraps toward the stake create the lock. That knowledge is more valuable than any piece of gear in your pack.
Respect the three-inch rule. It feels counterintuitive, but that low tie-off point is what makes the stake hold.
Finally, your tent’s manual is your bible. If your specific model from Kelty, Coleman, or any other brand calls for a particular method, follow it. Their engineers have already found the failure modes so you don’t have to. Pair that knowledge with solid knots, and you’ve built a shelter that doesn’t just stand up, it holds fast.