
How to Put Up a Tent: Essential Steps Most Campers Miss
This post contains affiliate links. As an Amazon Associate, we earn from qualifying purchases.
To put up a tent, match three things before you stake: the right ground tarp orientation (shiny side up), the correct pole-tip grommet for your climate (outer for dry, inner for humid), and a 45-degree stake angle driven away from the tent. Skipping the 45-degree angle is the single biggest cause of stake pull-out and collapsed poles in a sudden gust.
Most guides treat staking as an afterthought. They tell you to “secure the tent” after the frame is up. That’s backward. The stake angle and the order you tension the rainfly decide whether your shelter survives the night or spends it flattened against your face.
This guide walks through the seven non-negotiable steps, but we’ll start with the three checks you must do at home. We’ll cover the model-specific quirks from Coleman, MSR, and Eureka manuals, the exact consequence of storing a wet tent for 24 hours, and how to adjust a slack shock cord when camping in the cold.
Key Takeaways
- Stake at a 45-degree angle pointing away from the tent. A vertical stake pulls straight out with 30% less force. This is the difference between a stable shelter and a broken pole in a 15-mph wind.
- Match the pole-tip grommet to the climate. MSR tents have two grommets in the stake loops: use the outer one in dry conditions (fabric is tight), the inner one in humidity (fabric is loose). Using the wrong one strains the seams.
- Never pull a stake out by its loop. You will tear the fabric. Pry the stake itself loose with a rock or mallet, as Eureka’s manuals explicitly warn.
- A wet tent stored for 24 hours starts growing mildew. The MSR warranty does not cover this damage. Dry your tent completely before packing it, even if you’re rushing home.
- Practice the sequence once at home. Arriving at a campsite in a thunderstorm is the worst time to read the manual for the first time.
The Three Pre-Campsite Checks
Before you start: Pitching a tent involves bending fiberglass or aluminum poles under tension. A pole snapped by force can splinter and whip back. Wear gloves during assembly, keep your face clear of the pole arc when inserting tips, and never try to straighten a bent pole section in the field, it will fail catastrophically on the next use.
You need a reservation, your gear, and a dry run. The first two are logistics. The third is survival.
Reserve your site. This seems obvious, but showing up to a full campground at dusk with a car full of gear is a special kind of misery. Use the park’s official system.
Inventory your gear. Unpack everything on your living room floor: tent body, rainfly, poles, stakes, ground tarp. Count the stakes. A Coleman Montana 6 uses specific black and grey poles, if you’re missing one, you’ll know now. If your tent didn’t include a ground tarp, buy one. The $30 footprint protects the $300 tent floor from abrasion and moisture.
Practice the sequence. Do it once in your yard or living room. Time it. You are building muscle memory for the pole insertion, the clip attachment, the stake angle. When the rain is horizontal and the light is fading, you will not be reading diagram 2A in the Coleman manual. You’ll be moving on instinct.
The 7-Step Core Sequence (And the One Step Nobody Skips)
All tents follow the same basic progression. The difference between a quick pitch and a frustrating hour is following the steps in order and understanding the why behind each one.
Step 1: Site and Ground Tarp
Clear your site of rocks, sticks, and pine cones. Look for a spot that’s naturally level. Lay your ground tarp with the coated, shiny side facing up. This side is the moisture barrier. Putting it down traps water against your tent floor.
If your tarp has color-coded tabs, match them to the tent body’s tabs. This guarantees the door is oriented correctly under the rainfly later.
Step 2: Position the Tent Body
Unfold the tent body and lay it centered on the tarp. Align the corners. If you want the door facing a view or away from wind, orient it now. Some tents, like the Coleman KENAI™, have two doors, decide which one is primary.
Common mistake: Laying the tent body directly on the ground, the floor wicks moisture from the soil, and morning dew soaks your sleeping bag from below within two hours.
Step 3: Assemble the Poles
Connect all the shock-corded pole sections. The cord keeps them together. In cold weather, the cord loses elasticity.
If your pole sections feel loose, pull each one quickly back and forth about ten times. The friction heats and retensions the cord. If that fails, you can unscrew an end tip, pull out a few inches of cord, and tie a new knot, as the MSR manual describes.
Feed the poles through the sleeves (a fabric tunnel) or attach them via clips (plastic hooks). Sleeve tents are more stable; clip tents are faster.
Step 4: Erect the Frame and Insert Pole Tips
This is the physical part. Lift the structure into a dome or cabin shape. Now find the corner grommets, the little metal or plastic rings.
Push the pole tip into the grommet. It will bend and feel like it might snap. It won’t. A quality pole is designed for this flex. Seat it firmly.
Here’s the first model-specific rule, straight from the MSR owner’s manual:
| Climate Condition | Use This Grommet | Why |
|---|---|---|
| Dry / Low Humidity | Outer grommet | The tent fabric is taut. The outer grommet provides the correct tension. |
| Humid / Wet Conditions | Inner grommet | The fabric expands and is looser. The inner grommet takes up the slack. |
Using the wrong grommet puts uneven stress on the pole and the corner seam. You’ll see the fabric wrinkle diagonally.
Step 5: Drape the Rainfly
Throw the rainfly over the assembled frame. Match any color tags on the fly to the tags on the tent body. This aligns the doors and windows.
Do not tighten the rainfly’s cinch cords yet. If you tighten now, you pull the fly out of alignment when you stake, and the vestibule gap closes.
Step 6: Stake the Corners
Staking is not optional. Eureka’s instructions are blunt: “All tents need to be staked down to keep them from blowing away. Securing the tent by placing heavy objects inside is just not adequate.”
This is the most skipped step. People think the frame is enough. It isn’t.
The angle is everything. Take a stake. Push it through both the tent body loop and the rainfly loop at the corner. Drive it into the ground at a 45-degree angle, pointing away from the tent.
Common mistake: Staking vertically, a vertical stake resists pull-out force along a single plane. A 45-degree stake uses soil shear strength along its entire length, holding against side forces from wind. A vertical stake pulls out with about 30% less force.
If the ground is hard, use a mallet or a sturdy rock. Start with two opposite corners to tension the base, then do the remaining two.
Step 7: Tighten the Rainfly and Stake the Sides
Now, with the corners anchored, tighten the rainfly’s cinch cords or buckles. Pull until the fly is taut, like a drumhead. This creates the air gap (vestibule) between fly and body, which reduces condensation.
Finally, stake out the side guy lines and any additional rainfly loops. These stabilize the walls against flapping.
TL;DR: Stake corners at 45 degrees before tightening the rainfly. The stake angle is the foundation; the rainfly tension is the roof. Reverse the order and the structure wobbles.
What to Do When the Ground Fights Back
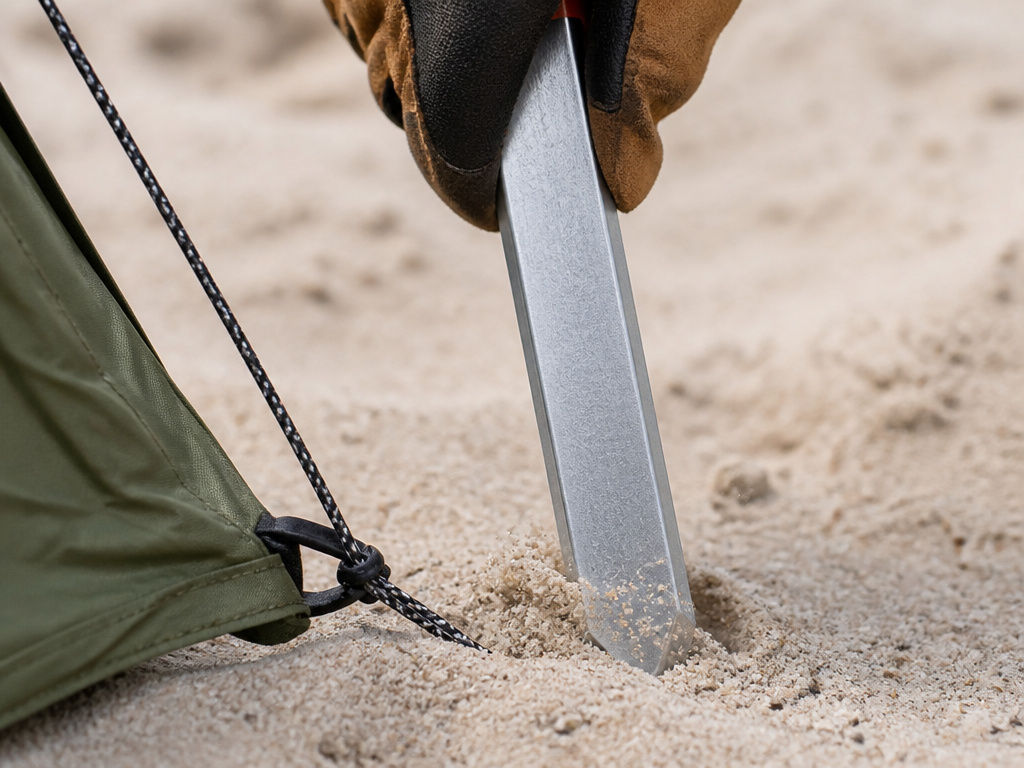
Not every site is soft forest loam. Your manual has answers for this.
| Ground Type | Stake Type | Pro Method |
|---|---|---|
| Sand | Long, broad plastic or aluminum | Use stakes with maximum surface area. Bury them completely. |
| Hard, Rocky, or Frozen Soil | Steel nail stakes | Steel penetrates best. Store them separately to avoid rust stains on fabric. |
| Snow | “Dead man” anchors | Tie guy lines to buried objects: skis, snowshoes, stuff sacks filled with snow. |
Eureka’s instructions specify the “dead man” technique for snow. It works. In sand, a short stake is useless by morning.
The Two Maintenance Rules That Preserve Your Tent
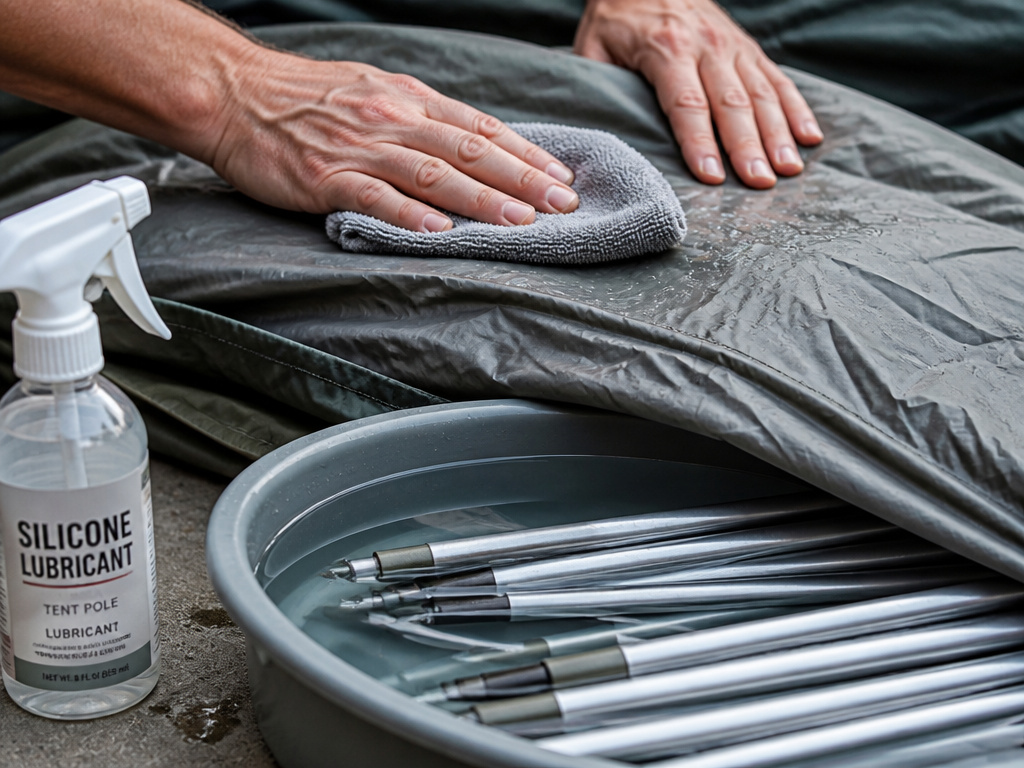
A tent is a technical shelter. Neglect breaks it faster than storms.
Never store it wet. The MSR manual states mildew can start forming in 24 hours in warm weather. Mildew stains, stinks, and breaks down the waterproof coating. The warranty does not cover this.
Rinse poles after beach or saltwater trips. Salt corrosion will make aluminum poles fail at the joints. A quick freshwater rinse and a light silicone lubricant spray prevent this.
UV light degrades fabric. At high elevation, UV damage happens faster. Pitch in shade when possible, or use a reflective tarp over the rainfly for long-term camps.
Frequently Asked Questions
Do I really need a ground tarp?
Yes. It protects the tent floor from abrasion and ground moisture. It also makes cleanup easier, you shake out the tarp, not the entire tent. A dedicated footprint is best, but a generic polyethylene tarp works in a pinch.
My shock-corded poles are loose. What now?
This is common in cold weather or with age. First, rapidly pull each pole section back and forth to generate heat and retension the cord. If that fails, carefully unscrew an end cap, pull out a few inches of cord, tie a secure knot, trim the excess, and replace the cap. Refer to your tent camping equipment guide for maintenance tools.
Why is there condensation inside my tent?
Condensation is warm, moist air from your breath hitting the cooler rainfly. It’s a physical fact, not a leak. Ventilation helps, but in humid rain, more ventilation can sometimes draw in more moist air. The best solution is to wipe down the inner walls with a microfiber towel in the morning. A well-tensioned rainfly with a good air gap is the best defense, a feature of the best tents for heavy rain.
Can I leave the rainfly off on a clear night?
You can, but you shouldn’t. The rainfly provides UV protection and shields the inner tent from dew. It also adds structural stability. In any potential wind, the fly is critical. If you want a star view, look for a tent with a large mesh roof panel instead.
How do I choose between a clip-tent and a sleeve-tent?
Clip-tents (where poles attach via plastic clips) are faster to set up and are common in family car camping tents. Sleeve-tents (poles fed through fabric tunnels) are more stormworthy and distribute wind force better, a key feature of high-wind tents. For fair-weather trips, clips are fine. For exposed ridges, go with sleeves.
Before You Go
Pitching a tent is a physical skill. The 45-degree stake angle, the climate-matched grommet, and the order of operations, rainfly after staking, matter more than the brand on the bag.
Practice the sequence once at home. Pack a mallet. Buy the footprint. Your first stormy night under a taut, drum-tight rainfly, listening to the wind while staying perfectly dry, is the reward for getting these details right.
That reward is why we choose tents over hotel rooms. It’s the skill that turns a bundle of nylon and poles into a reliable shelter. Now you know how to build it.
