
How to Make a Table Tent in Word: A No-Fail Guide
This post contains affiliate links. As an Amazon Associate, we earn from qualifying purchases.
You can make a professional table tent in Microsoft Word by creating two 3.75-inch tall text boxes on a portrait page, rotating the second 180 degrees, and printing on card stock. For guest lists, skip the broken Avery templates and build a custom four-column table in a landscape document to force a working mail merge.
I’ll be honest, my first attempt at making table tents for a friend’s trailhead wedding was a disaster. I trusted a default template, didn’t test print, and watched 30 beautifully designed cards jam in a cheap inkjet, the ink smearing across names like abstract art. In the outdoors, you learn to test your gear; in Word, you learn to test your margins.
This isn’t just about inserting text boxes. It’s about knowing why the 3.75-inch height is non-negotiable, how to outsmart Word’s mail merge limitations, and which card stock feels substantial without choking your printer. Let’s build a tent that stands up on the table as well as my favorite stand-up tents do in a storm.
Key Takeaways
- The magic text box height is 3.75 inches for standard 8.5″x11″ paper, leaving room for a crisp fold.
- For mail merging guest names, you must build a custom landscape table template; Word’s built-in Avery wizard fails on double-sided prints.
- Always load card stock into your printer’s manual feed tray and select that source in the print dialog to prevent jams.
- Print a single test on cheap paper first. A 1/16th inch alignment error ruins an entire sheet of premium card stock.
- Choose your Avery product number based on event size: 5305 for small, formal events; 5011 for large, efficient guest lists.
Before you start: Card stock can jam in standard trays, bending your carefully designed cards. Always use the manual feed tray. If your printer lacks one, print on sturdy 24lb paper first and mount it on cardboard. Ignoring this can waste expensive materials and time right before your event.
What’s the foolproof method for a single table tent?
The manual method is your go-to for one-off signs, like labeling a buffet station or a reserved table. It’s about precision, not presets.
Start a blank Word doc. Go to Layout > Margins and choose Narrow (0.5 inches). This gives you maximum printable space. Keep Orientation as Portrait.
Now, insert your first text box (Insert > Text Box > Simple Text Box). Type your text, “Dessert Here” or “Table 7”, and then select the box’s border. Under Shape Format, set the Height to exactly 3.75 inches. This number isn’t random. An 11-inch page with half-inch top and bottom margins leaves 10 inches of space. Divide that by two panels (front and back), and you get 5 inches. We use 3.75 to leave a deliberate gap for the fold, preventing text from getting crimed.
Drag the box’s sides to make it wide, but keep it centered. Crank the font size to 150pt or so. It will look comically large on screen, but it needs to be readable from across a room.
- Copy and paste the text box.
- Drag the duplicate directly to the lower half of the page.
- Grab the green rotation handle above the new box and spin it 180 degrees. The text should be upside-down.
This rotation is the secret. When you fold the printed page, that upside-down text becomes perfectly right-side-up on the back of the tent. I learned this the hard way after creating 20 “Reserved” signs that read “ɥɔnɐW” on one side.
TL;DR: On a portrait page with Narrow margins, create one 3.75″ tall text box, duplicate it, rotate the copy 180 degrees, and align them top-to-bottom.
How do you mail merge names onto double-sided cards?
For weddings or large events, typing names individually is madness. Mail merge is the answer, but Word’s built-in Avery template for tent cards is famously broken, it can’t print the guest’s name upside-down on the back. The fix is to build your own template from scratch.
The key is to ignore Word’s template wizard. As noted in a detailed guide updated in June 2023, you should “ignore the default template that Word or the Avery website gives you, and to make your own template, sideways.”
Start a new document and switch to Landscape orientation. Insert a Table with 4 columns and 1 row. This grid is your foundation.
| Column 1 | Column 2 | Column 3 | Column 4 |
|---|---|---|---|
| Front of Card 1 | Back of Card 1 | Front of Card 2 | Back of Card 2 |
Select the table, go to Table Properties > Row, check “Specify height” and set it to 7.5 inches. Under Column, set the width for each to 2.5 inches. These dimensions are tailored for the popular Avery 5305 two-to-a-page tent card stock.
Now, merge cells 1 & 2 together, and cells 3 & 4 together. You now have two large cells side-by-side. Each represents one physical tent card. Inside the left cell, add a text box with your placeholder (“Guest Name”). Copy that box, paste it in the same cell, rotate it 180 degrees, and position it at the bottom. This static setup ensures your merge field will appear correctly on both sides when you use the Mailings tab to connect your guest list.
Common mistake: Trying to rotate a mail merge field 180 degrees within a single text box. Word only supports 90-degree rotations for merge fields. This custom table method is the proven workaround.
This method is as reliable as a trusted piece of essential camping equipment, it works because you control every variable.
Which Avery tent card stock should you buy?
All card stock is not created equal. The product number tells you everything about layout and best use. Choosing wrong can cost you time, money, and sanity.
| Avery Product # | Cards Per Sheet | Best Use Case | Critical Print Note |
|---|---|---|---|
| 5305 | 2 | Small weddings, VIP tables, buffet signs | Portrait. Large, readable surface. The gold standard. |
| 5302 | 4 | Medium-sized events, place cards | Portrait. More efficient, but requires good alignment. |
| 5011 | 6 | Large guest lists (50+ people) | Landscape. Very efficient, but one misprint ruins six cards. |
| 5309 | 1 | Single, large directional signs | Portrait. Uses a full sheet per tent. |
| St. James Overtures | 2 or 6 | Formal events where premium feel matters | Heavier, linen-finish paper. Feed sheets one at a time. |
For most events, the Avery 5305 is your best bet. It’s forgiving and professional. I used the 5011 for a 75-person reunion, but it demanded a perfect test print first. The St. James linen stock feels incredible, like high-thread-count sheets for your table, but it’s pricey. Use it sparingly, perhaps for a head table, and pair it with more affordable budget tents options for guest tables.
Why won’t my printer handle the card stock?
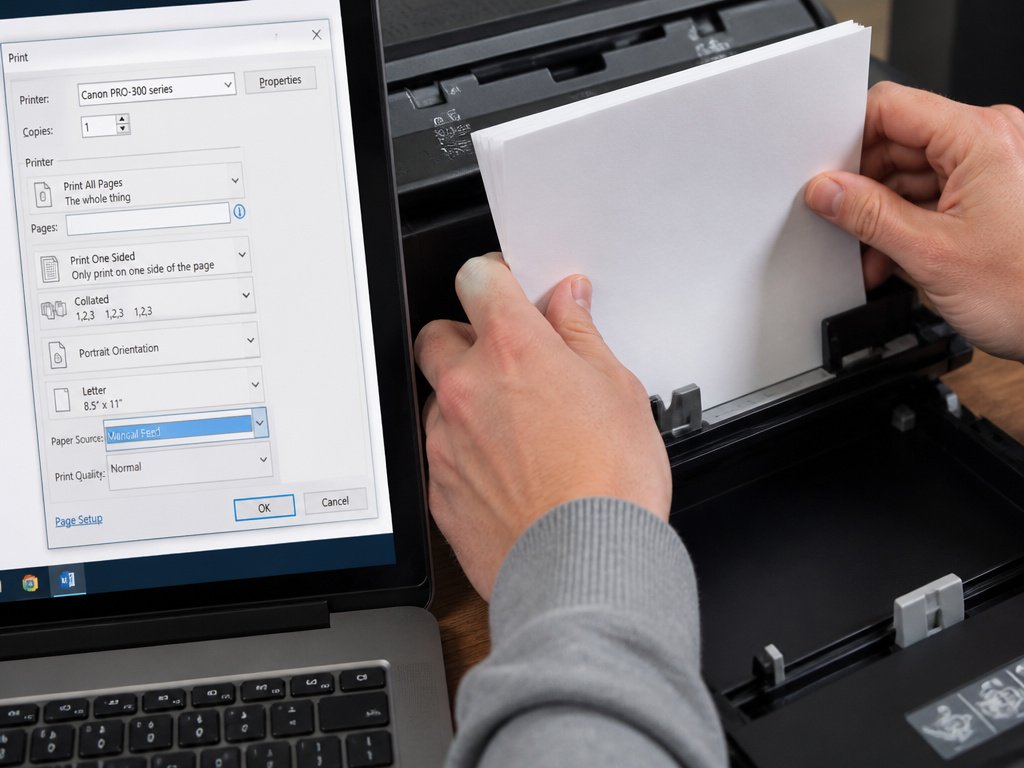
You’ve designed the perfect tent, you hit print, and you hear a horrible grinding sound. The card stock is jammed, now creased and useless. This is almost always a tray issue.
Most consumer printers pull paper from a main tray with a curved path. Card stock is too thick and stiff for that path. The solution is almost always the manual feed tray (sometimes called the multi-purpose tray). Load a stack of 10 sheets or fewer into this slot. Then, in Word’s print dialog, click “Printer Properties” and find the Paper Source setting. Change it from “Auto” to “Manual Feed.”
If your printer doesn’t have a manual feed, don’t force it. Print your design on sturdy 24lb paper, like Hammermill Premium Laser Print, which mimics card stock’s feed behavior. Then, use a glue stick to mount it onto blank index cards or even lightweight cardboard. It’s an extra step, but it’s foolproof. This is the DIY spirit I apply to my tarp shelters, sometimes the simple, adaptable solution is the most reliable.
Common mistake: Printing a full batch of 50 mail-merged cards without a physical test. A margin off by an eighth of an inch means every single card is misaligned. Always print one test sheet on plain paper, fold it, and check the alignment from all angles before loading your good stock.
How do you fix alignment and upside-down text issues?
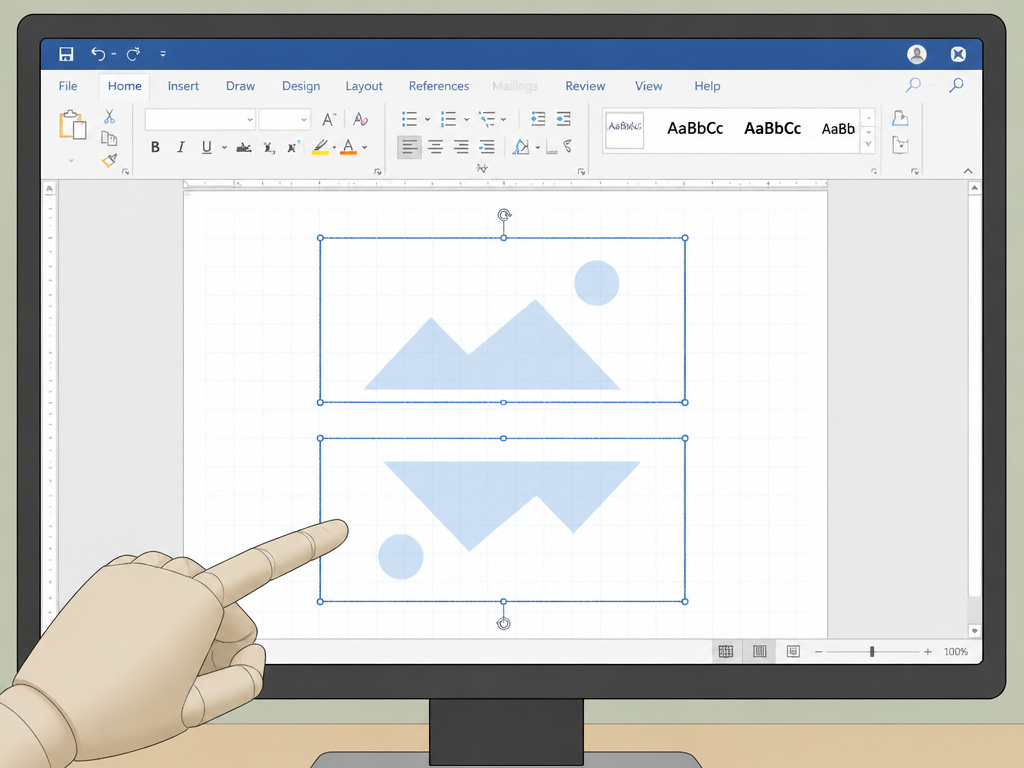
If your text is drifting off the card or the back side isn’t reading correctly after folding, the problem is usually in the setup.
First, turn on Gridlines (View > Gridlines). This shows you the printable area. Make sure your text boxes are snapped within these guides. Second, check the text box’s Text Wrapping setting. It must be set to “In Line with Text.” Any other setting can cause the box to shift during printing.
If the back side of your folded card reads upside-down, you did the rotation correctly on screen. Remember: the second text box must be upside-down on your monitor so it’s right-side-up when folded. If it looks correct on screen, it will be wrong on the table.
For mail merge woes, remember that merge fields themselves can’t be flipped 180 degrees. That’s why the custom table method is essential, you create static, upside-down text boxes and insert the merge field into them. It’s a manual link, but it’s the only method that consistently works, much like finding the right portable tent lights for a specific campsite requires a bit of tailored setup.
When should you use manual entry versus mail merge?
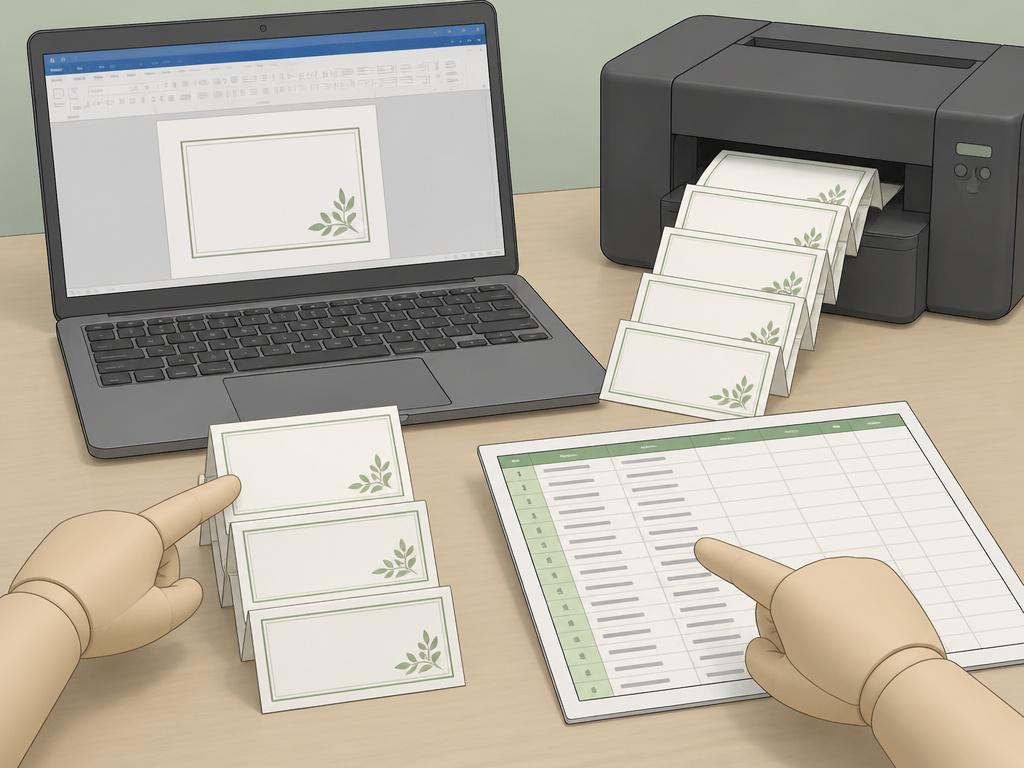
Your choice here is a trade-off between control and efficiency, similar to choosing between a spacious family camping tents for a week-long trip and a minimalist shelter for a fast overnight.
- Choose Manual Entry If: You have fewer than 20 names or need every card to be unique (e.g., different table numbers with custom icons). It’s slower but offers total design control.
- Choose Mail Merge If: You have more than 20 identical tents (like guest place cards). The initial setup takes 15 minutes, but it saves hours of copying and pasting.
Consider your tools, too. If you’re working with a basic printer, the simpler manual method on Avery 5305 stock is less likely to cause headaches. If you have a reliable printer and a long list, the mail merge on Avery 5011 stock is your efficiency engine. It’s the same logic behind selecting mid-range tents, you invest a bit more in a reliable system to handle larger capacity smoothly.
Frequently Asked Questions
Can I make a tent card in Word without downloading a template?
Absolutely. You don’t need a template. Open a new document, set margins to Narrow and orientation to Portrait. Insert a text box, set its height to 3.75 inches, add your text, and format it. Copy that box, paste it, align it to the bottom half of the page, and rotate it 180 degrees. Print on card stock and fold.
My printer keeps pulling plain paper instead of the card stock I loaded.
You likely didn’t change the paper source setting. After loading card stock into the manual feed tray, go to File > Print > Printer Properties. Look for “Paper Source” or “Tray Selection” and change it from “Auto” or “Tray 1” to “Manual Feed.”
What’s the best paper weight for table tents?
Look for card stock in the 65lb to 110lb cover weight range. Lighter paper (like 65lb) feeds more easily in most printers, while heavier paper (like 110lb) feels more premium and stands up better on the table. The St. James Overtures line is a great example of a heavier, linen-texture stock.
How do I center text perfectly in the text box?
Select the text inside the box, then go to the Home tab. Use the Center alignment button in the Paragraph group. Also, ensure the text box itself is centered on the page by selecting it and using the alignment guides that appear.
My text looks pixelated when I print. What’s wrong?
You might be using a low-resolution image or an uncommon font. Stick with standard, high-quality TrueType fonts (like Arial, Georgia, or Times New Roman) and avoid pulling logos from the web. If you must use an image, ensure it’s at least 300 DPI.
Before You Go
Creating a table tent in Word is less about creative design and more about mechanical precision. The 3.75-inch text box, the 180-degree rotation, and the manual feed tray selection are not suggestions, they are requirements. The built-in mail merge templates will fail you; building a custom four-column table in a landscape document is the only reliable path for guest lists.
Never, ever skip the test print. Use a sheet of cheap paper, fold it, and scrutinize the alignment. It’s the equivalent of a gear shakedown before a hike. This attention to detail separates a wobbly, amateurish sign from a crisp, professional one. Whether you’re preparing for a gala or gearing up with the right camping accessories guide, success lies in testing your setup under realistic conditions before the main event. Now go make something that stands up straight.
