
How to Set Up a Canopy Tent | The 5 Stakes That Saved Mine
This post contains affiliate links. As an Amazon Associate, we earn from qualifying purchases.
To set up a canopy tent, unfold the frame on flat ground, lift the center until the legs lock, drape the fabric over the top, secure the corners with the provided pins, and immediately stake all four legs at a 45-degree angle. The stakes are not optional, skipping them invites a collapse in the first gust of wind, and the included plastic ones often bend in hard soil.
Most people get this wrong by rushing the staking step. They trust the frame’s weight or the flimsy included stakes. A 10×10 canopy acts like a sail, and on a breezy day, it will lift off the ground if not anchored properly. The manufacturer’s manual for the Harbor Freight 10×10 explicitly warns against use in high wind because the structure is “highly susceptible to uplift.”
This guide walks through the five non-negotiable steps, explains why each one matters, and shows you how to adapt for sand, soft soil, and long-term security.
Key Takeaways
- Stake first, always. Drive metal stakes through each leg hole before you do anything else, even before attaching the canopy top if it’s windy.
- The ground decides your stake count. Manufacturer instructions are a minimum; soft soil or beach sand needs twice as many stakes or heavy weights.
- Listen for the click. Each corner hub must audibly snap into place when you lift the frame. If it doesn’t, the leg isn’t locked and the frame can fold mid-setup.
- Flat ground is non-negotiable. Setting up on a slope stresses the frame joints unevenly. One leg sitting an inch higher than the others can warp the poles over a weekend.
- Rain is a frame-breaker. Letting water pool on the canopy fabric stretches it and can snap aluminum poles. Always tilt one leg slightly lower for drainage.
What You Need Before You Start
You need four things the box doesn’t provide: a mallet, a tape measure, proper metal tent stakes, and a level patch of ground. The plastic stakes included with most pop-up tents are for demonstration only. They bend on contact with anything harder than loose topsoil.
Before you start: A collapsing canopy can break bones. Never set up, take down, or stand under the structure during high winds, rain, or lightning. Never use a grill or open flame underneath, the 600-denier polyester fabric is treated for flame resistance, but foreign substances or direct heat can negate that protection.
The canopy itself comes in three parts: the folded frame, the fabric top, and a bag of hardware (usually plastic corner pins and those useless stakes). Check that all parts are present. If a corner pin is missing, a 1/4-inch diameter steel bolt from the hardware store works as a temporary fix, but it will rust.
Common mistake: Assuming a “10×10” canopy is exactly 10 feet square, most measure 120 inches point-to-point on the legs, but the actual covered area is closer to 9.5 x 9.5 feet once the fabric is tensioned. Measure your space.
| Tool | Why You Need It | What Happens If You Skip It |
|---|---|---|
| Rubber mallet | To drive stakes without mushrooming the tops | Using a rock damages the stake; using your foot bruises your heel. |
| 25-foot tape measure | To verify the site is square and clear | Setting up over a sprinkler head or buried cable damages your gear and the utility. |
| 8-inch steel tent stakes (4 minimum) | To anchor each leg against wind uplift | The canopy becomes a kite. A 15-mph gust can lift a 10×10 frame completely off the ground. |
| Bubble level (or phone app) | To check ground slope | One leg sitting 2 inches higher than its diagonal opposite twists the frame. The stress cracks the aluminum at the joint within 3–4 uses. |
TL;DR: Bring your own metal stakes and a mallet. The included plastic ones are trash.
Step-by-Step Setup: Listen for the Click
The process is physical. You will feel resistance at two points: when the frame first unfolds, and when each corner hub locks. Missing the second click means the leg isn’t seated. The frame can then collapse sideways when you lift the canopy fabric.
Step 1: Unpack and Layout on Flat Ground
Lay the carrying bag on the flattest spot you can find. Unzip it and slide the folded frame out. Avoid yanking it, the fabric sleeve can tear. Unfold the frame into a flat X on the ground. All four legs should point outward, and the scissor mechanisms in the center should be free of debris.
Take ten seconds to clear the area of sharp rocks, sticks, or pine cones. An acorn under a leg plate creates a pivot point. The whole structure will rock in the wind.
Step 2: Lift and Lock the Frame
Grip the center of the frame where all the scissor arms meet. Lift straight up until you feel the frame tighten. This is the first point of resistance. Now, walk the frame outward, pushing each corner away from the center until you hear a distinct click from each hub.
If a corner doesn’t click, lower that leg, check for obstruction in the joint, and lift again. A silent corner is a failure waiting to happen.
Once all four corners are locked, the frame should stand on its own, legs splayed. It will be wobbly, that’s normal. The stability comes from the canopy fabric and the stakes.
Step 3: Attach the Canopy Top
Drape the fabric over the frame. Align the corner grommets with the holes on the corner hubs. Most canopies have a label or a logo that indicates the front; get that orientation right now or you’ll have to re-pin it later.
Insert the provided plastic or metal pins through the grommets and into the hub holes. Push them until they snap or seat fully. If a pin is missing, use a 1/4-inch bolt as a temporary replacement. Do not use zip-ties, they stretch and let the fabric flap, which wears out the stitching in a single afternoon.
Step 4: Stake the Legs. This Is the Step You Can’t Skip
This is where people get lazy. They think the frame is heavy enough. It is not.
Take your 8-inch steel tent stakes. Place one through the hole at the base of each leg. Use your mallet to drive it into the ground at a 45-degree angle away from the canopy. The angled stake resists upward pull much better than a straight-down stake.
Why-layer: Angling the stake away from the structure converts vertical uplift force into a horizontal shear force against the soil. A straight stake relies solely on friction along its shaft, which fails in soft ground. The 45-degree angle engages a wedge of earth.
If the ground is hard, wet the spot first to soften it. If it’s pure sand or very soft soil, you need stakebars, screw-in sand anchors, or heavy weights like tent camping equipment such as water jugs. The Home Depot manual explicitly says stakes alone will not secure a canopy in sand.
Step 5: Tighten, Square, and Do a Final Check
Pull down on the center of each side of the canopy fabric. This removes wrinkles and tightens the entire structure. Look down each leg to ensure they are vertical. A leaning leg means the stake is in at the wrong angle or the ground is uneven.
Measure diagonally from corner to corner. Both measurements should be within an inch of each other. If they’re off, lift the stake on the longer diagonal and re-drive it to pull that corner in.
TL;DR: Lift, click, drape, pin, stake, tighten. The stakes are not decorative.
How Many Stakes Do You Really Need?
The manuals say four. Real life says more. The Encore Party Express manual states the suggested stake count “will, in many cases, keep the tent erected” but is “insufficient to keep the tent secure in high winds.” The installer’s responsibility is to assess the site and add stakes.
For a basic 10×10 canopy on firm, flat grass in calm weather, four sturdy metal stakes work. Add any of the following conditions, and you need more:
- Wind over 10 mph: Add a second stake at each leg, placed perpendicular to the first.
- Soft or sandy soil: Use screw-in sand anchors or stakebars. The Intentional Tents manual notes that stakebars provide extra holding power in soft conditions.
- Sloped ground: Stake the two uphill legs with two stakes each.
- Multi-day event: Use at least six stakes, and consider ratchet straps from the frame to ground screws for overnight security.
A wind-resistant tents guide will tell you the same principle: holding power is a function of stake depth, diameter, and soil type. Your job is to match the hardware to the conditions.
Common mistake: Using only the four included plastic stakes on a windy day, the first gust bends them, the leg lifts, and the frame torque cracks a corner hub. The repair costs more than a set of proper steel stakes.
What to Do When the Ground Won’t Cooperate
Not every surface is a perfect lawn. Your setup changes when the ground is concrete, sand, or a slope.
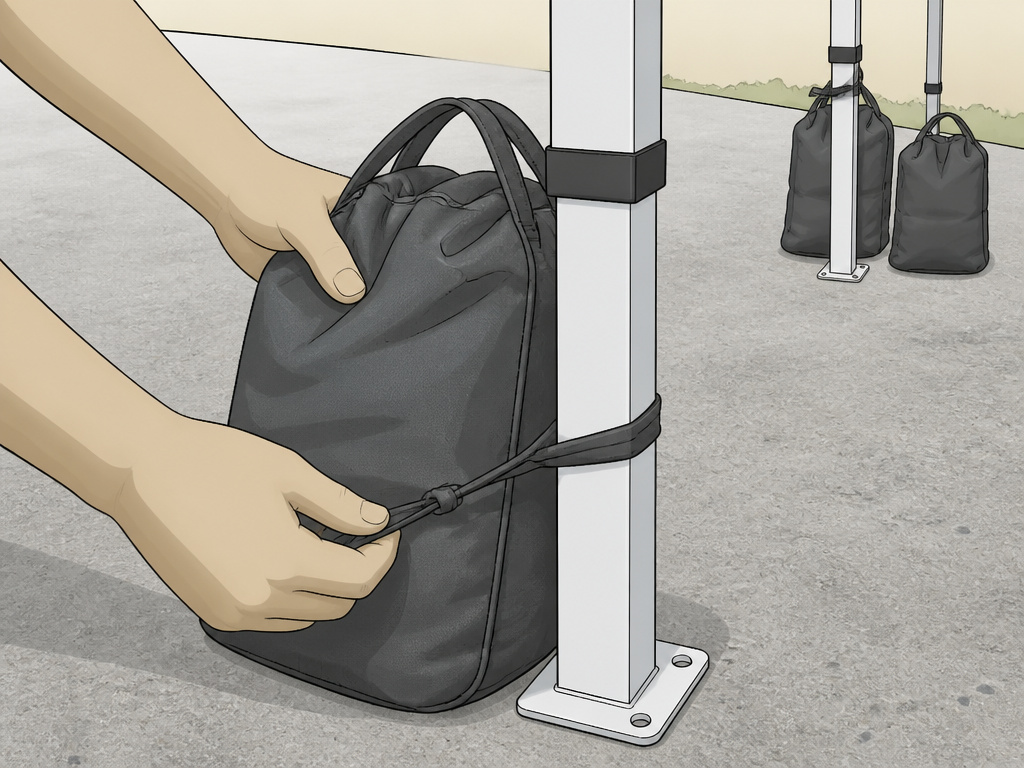
On concrete or asphalt: You cannot stake. Use canopy weights, sandbags, water barrels, or purpose-made weight bags. Place one on each leg’s footplate. A single 20-pound weight per leg is the bare minimum for a calm day. For wind, you need 40 pounds per leg. Tie the weight to the frame with a short strap so a gust doesn’t just blow it off.
On sand (beach): Stakes are useless. The Home Depot SunVilla manual advises placing legs twelve inches down into the sand for stability, but that’s messy. Use screw-in sand anchors or specially designed beach stakes that are long and wide. Alternatively, fill PVC tubes with sand, cap them, and strap them to the legs. This is where canopy tent add-ons like weight plates earn their keep.
On a slope: First, try to find a flatter spot. If you must set up on a slope, always orient the canopy with the ridge line parallel to the slope, not across it. Stake the uphill legs extra securely. The Lowe’s manual warns that uneven ground may cause damage to the frame.
TL;DR: Hard surfaces need weights. Sand needs screw-in anchors. Slopes need extra uphill stakes.
Setting Up Alone vs. With a Helper
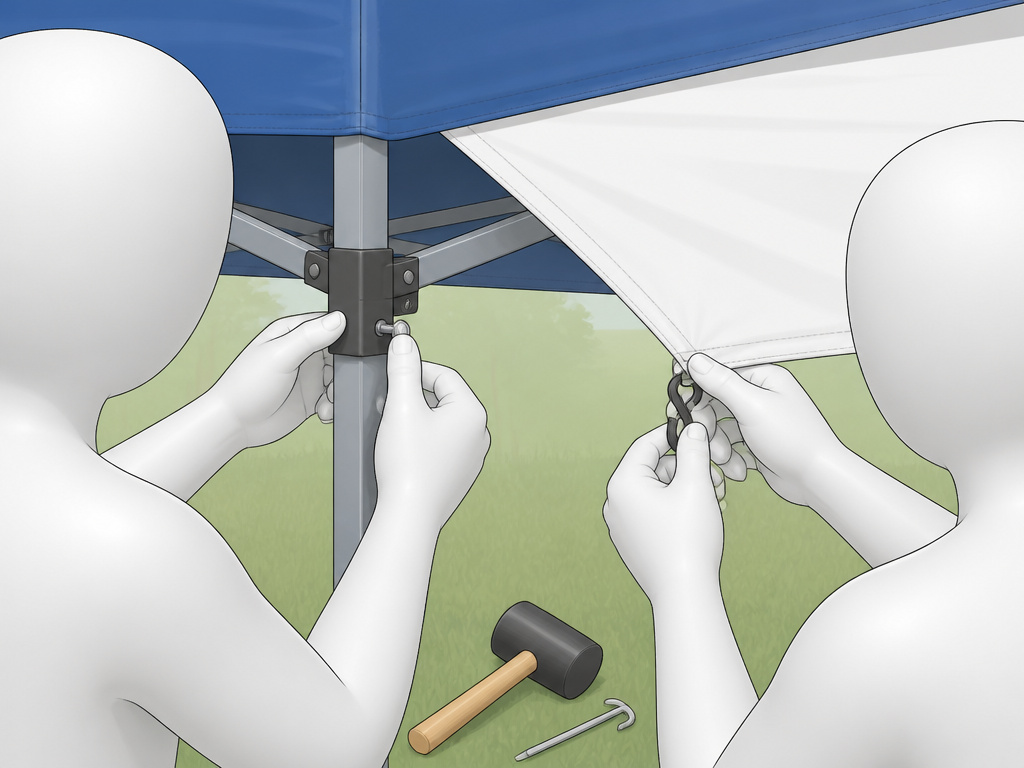
You can do this solo. The trick is sequence. Do the frame lift and lock first. Then, instead of draping the whole canopy, attach one corner of the fabric, walk to the opposite corner to pull it taut, then attach that corner. Work diagonally. The fabric acts as a stabilizer.
With two people, it’s faster. One person lifts and locks the frame while the other lays out the canopy fabric. The Encore Party Express manual states two installers can assemble their canopy in 30 to 60 minutes. For a standard pop-up, two people can have it staked in under five minutes.
I set up my 10×10 alone for a year before a helper showed up. The solo method adds three minutes but saves the frustration of a flapping canopy fighting you in the wind.
The real time-saver isn’t the extra hands, it’s having the right tent setup tools ready. A mallet and proper stakes cut setup time in half regardless of crew size.
The One Thing Everyone Forgets to Check
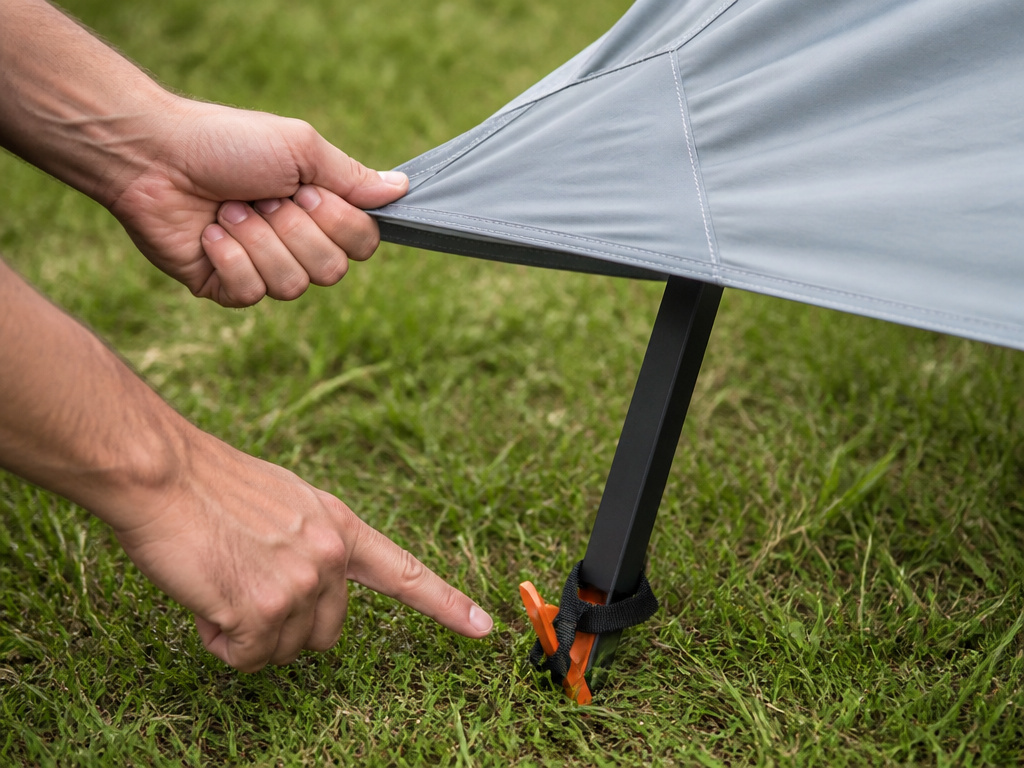
After the canopy is up, stakes are in, and you’re admiring your work, do the pull test. Grab a corner of the fabric and give it a firm tug upward. The entire structure should shift slightly on the stakes, but no leg should lift out of its stake hole.
If a leg lifts, that stake isn’t deep enough or isn’t angled correctly. Pull it out and re-drive it.
Next, look at the canopy fabric. Is it drum-tight, or are there shallow pools forming when you spray it with water? Even a small puddle adds weight. After a few hours, that weight can stretch the fabric permanently. After a rainstorm, it can collapse the frame. The Harbor Freight and Lowe’s manuals both warn against allowing water to pool.
If you’re leaving the canopy up overnight or in variable weather, tilt one leg slightly lower than the others by adjusting its stake. This creates a runoff path. This is a critical step for weatherproof tents and canopies meant for longer-term use.
TL;DR: Do the pull test. Tilt one leg for drainage. Your future self will thank you.
Frequently Asked Questions
How long does it take to set up a canopy tent?
With practice and proper tools, a 10×10 pop-up canopy takes about 5 minutes for one person. The first time might take 15 minutes as you figure out the leg lock mechanism. Two people can often do it in under 3 minutes.
Can you set up a canopy tent by yourself?
Yes. The sequence is key: unfold the frame on flat ground, lift and lock the corners, then attach the canopy fabric one corner at a time, working diagonally to keep it taut. Having your own metal stakes and a mallet makes solo setup far easier.
What is the most common mistake when setting up a canopy?
Not staking it down immediately. People assume the frame’s weight is enough, but even a light breeze can get under the fabric and lift the entire structure. Always stake all four legs before you consider the job done.
How do you secure a canopy tent on concrete?
You use weights, not stakes. Place a minimum 20-pound sandbag or water-filled weight bag on each leg’s footplate. For windier conditions, use 40 pounds per leg and strap the weight securely to the frame so it can’t blow away.
Can you leave a canopy tent up overnight?
Manufacturers like Harbor Freight specify these canopies are for temporary use, not long-term shelter. If you leave it up overnight, you must ensure it is adequately secured for expected wind and weather. Remove any accumulated snow or water from the top immediately.
The Bottom Line
Setting up a canopy tent is less about strength and more about paying attention to three things: the audible click of each leg lock, the 45-degree angle of your metal stakes, and the pull test that proves nothing is lifting. The plastic stakes in the box are placeholders. Your real kit is a set of 8-inch steel stakes and a rubber mallet. On sand, swap stakes for screw-in anchors. On concrete, use 20-pound weights per leg. Listen to the frame, trust the stakes, and never assume a calm morning won’t turn windy by noon. That’s how a $100 canopy becomes a projectile.
