
How To Put A Pop Up Tent Away Without The Wet-Tent Mistake
This post contains affiliate links. As an Amazon Associate, we earn from qualifying purchases.
To put a pop-up tent away, you must follow a specific sequence that releases trapped air, respects the frame’s tension, and ensures the tent is bone-dry. The core process is a seven-step fold ending in a secured figure-eight shape, as outlined in OEM manuals like the Clas Ohlson Pop-Up Tent dismantling guide. Packing it wet voids most warranties and guarantees mold within 48 hours.
Most people get this wrong because they fight the tent instead of working with its design. They try to muscle a damp, airtight tent into a bag, which either fails completely or stores a problem for next season. The frame’s built-in tension wants to spring open, your job is to guide that energy into a compact shape, not defeat it.
This guide walks through the exact steps, the tools you don’t need, and the three mistakes that break pop-up tents. We’ll use instructions from actual manufacturer manuals and highlight the consequences of skipping steps.
Key Takeaways
- Dry it first, every time. The 8 FT x 10 FT POP-UP TENT care guide states packing a damp tent causes mildew; this damage is never covered under the standard 30-day warranty.
- Unzip everything before folding. A closed door seals air inside, creating pressure that makes the tent inflate and resist folding. Fully open vents are non-negotiable.
- Identify the elastic-band side. One panel has the shock cord sewn in. That side must face the ground during the entire fold, per the Clas Ohlson manual. Flipping it twists the frame.
- The figure-eight fold is the standard. While some smaller tents use a simple circle, the figure-eight method from official instructions creates the most stable, bag-ready bundle.
- The strap goes on before the bag. Cinching the manufacturer’s strap around the center locks the fold. Trying to bag an unstrapped tent is a guaranteed wrestling match.
Why the “Just Stuff It” Approach Fails
Pop-up tents are not like traditional pole tents. Their frames are continuous, spring-steel rods housed in fabric sleeves under constant tension. This is the same tension that makes them pop open in seconds. When folding, you are temporarily overcoming that stored energy to repackage it.
The Crivit 104999 manual includes a specific caution: the frame is under tension when folded and will always try to return to the tent form. This isn’t a suggestion, it’s a physical property. Force the fold in the wrong direction or with trapped air providing internal pressure, and the steel rods can kink or puncture the fabric sleeve. Once that happens, the tent will not pop up correctly again.
A dry tent is about more than just comfort. Moisture trapped against the coated polyester or polyethylene floor is the primary food source for mold spores. In a dark, airtight bag, a slightly damp floor can grow visible mildew in under two days. That smell never fully leaves.
Before you start: The frame is under significant tension. Keep your fingers clear of the folding joints to avoid pinching. Always perform this task on a clean, dry surface like grass or a tarp, never on abrasive concrete that can scuff the fabric.
The Core 7-Step Folding Sequence
Follow these steps in order. Rushing or skipping ahead is how you spend 20 minutes frustrated on a campground lawn.
Step 1: The Non-Negotiable Dry-Down
Your first task isn’t folding, it’s waiting. If the tent has dew, rain, or condensation inside, wipe the interior with a microfiber towel or a dedicated camping towel. Then, leave the tent fully erected in the sun with all doors open for at least 30 minutes. A breeze helps.
If you’re packing up in the rain, you have a choice: accept that you’ll need to fully dry the tent at home before long-term storage, or use a dedicated waterproof stuff sack for wet gear, never the original bag. Storing a sopping-wet tent in its bag for the drive home is the absolute limit.
Consequence of skipping: Mildew. The Lowe’s care guide for the 8 FT x 10 FT model explicitly states this voids the warranty. The fabric develops permanent stains and a foul, musty odor.
Step 2: Open Every Exit for Air
Unzip the main door completely. Also open any roof vent or rear window. Your goal is to eliminate any sealed air chamber. A common failure mode is leaving the door zipped 90%; the remaining 10% acts as a valve, letting air in during the compression but not out.
Common mistake: Folding with vents closed, the tent becomes an airtight bladder that violently resists compression, often popping back open unexpectedly and risking a finger pinch.
Step 3: Find the Elastic Band Side
Lift the tent slightly and look at the lower third of the side walls. One panel will have a vertical strip of fabric housing the elastic shock cord that connects the frame segments. This is a critical marker.
According to the Clas Ohlson Pop-Up Tent dismantling instructions, this “elastic band side” must be placed against the ground for the entire folding procedure. This aligns the internal frame joints for the correct collapse pattern.
Step 4: The Initial Collapse
Stand facing the side of the tent opposite the elastic band. Place one hand on the fabric at the top of the tent on that side, and your other hand on the corresponding spot directly across from it. Push firmly and evenly inward.
The tent will buckle and collapse into a large, wobbly circle. Don’t fight it if it wants to spin, just guide it flat to the ground. The elastic side should now be on the dirt.
Step 5: Form the Figure-Eight
Here is the heart of the process. Think of the circle as a clock face. Grab the tent fabric at the 12 o’clock position with one hand, and the 6 o’clock position with the other. Lift and fold the circle over onto itself, bringing 12 o’clock to meet 6 o’clock.
You now have two stacked circles, a figure-eight shape. Jiggle it slightly to let the frame segments settle. The entire bundle should be about half the diameter of the original circle.
TL;DR: Collapse the tent into a circle, then fold that circle in half to create a stable, stackable figure-eight. Keep the labeled side down throughout.
Step 6: Secure with the Strap
Locate the nylon strap that came with the tent. It usually has a side-release buckle. Slide the strap under the center of the figure-eight bundle. Wrap it tightly around the entire bundle and fasten the buckle. Pull the strap tight. This tension is what keeps the frame’s energy in check.
If your tent didn’t come with a strap or you lost it, a couple of heavy-duty rubber bands or a length of paracord will work in a pinch. Do not skip this.
Step 7: Bag It, Don’t Stuff It
Hold the bundled tent with the strap facing you. Align this side with the opening of the carry bag. Slide the bundle in smoothly. If it resists, don’t force it. Pull it out, check that the figure-eight is neat and the strap is tight, and try again. The fit should be snug but not a struggle.
| If Your Tent Is… | Use This Fold Method | Why It Works |
|---|---|---|
| A 1–2 person model (like Clas Ohlson) | Figure-Eight | The OEM-specified method for stable, compact storage. |
| A larger 3–4 person canopy | Double Figure-Eight | After the first fold, fold the bundle in half again for bag length. |
| A very small beach sun shelter | Simple Circle | Minimal frame tension allows a single loop secured with its strap. |
What Most Guides Miss: The 3 Failure Triggers
The basic steps work on a dry, calm day. Real camping adds variables. These are the edge cases that turn a simple fold into a puzzle.
1. The Windy-Day Fight
Wind catches the broad side of the tent during the initial collapse, acting like a sail. The solution is to work lower to the ground. Kneel and perform Step 4 with the tent’s base already touching the grass. Use your body as a windbreak.
I packed a cheap pop-up beach shelter in a 15-mph coastal wind. The second it collapsed, a gust caught it and sent it tumbling like a tumbleweed for 30 yards. Now I always weight the edge with my tent camping gear essentials bag before the first fold.
2. The “It Won’t Go in the Bag” Standoff
This means the bundle is still too large. The usual culprit is an incomplete figure-eight fold where the circles are stacked loosely. Unbuckle the strap, re-fold the figure-eight, and compress it firmly with your knees before re-strapping. For larger family tents, you may need to incorporate a second fold, turning the figure-eight into a tight, four-layer stack.
3. The Post-Rain Pack-Up
You have to leave, and the tent is wet. Shake off as much water as possible. When you get home, unpack it immediately. Hang it over a railing, set it up in the garage, or lay the components flat in a well-ventilated space. Do not forget. A wet tent sealed for 72 hours is a ruined tent.
Tools You Don’t Need (And One You Do)
You can overcomplicate this. Here’s what matters.
- No Need: Special folding mats, extra straps, a second person (for standard tents). The tent is its own tool.
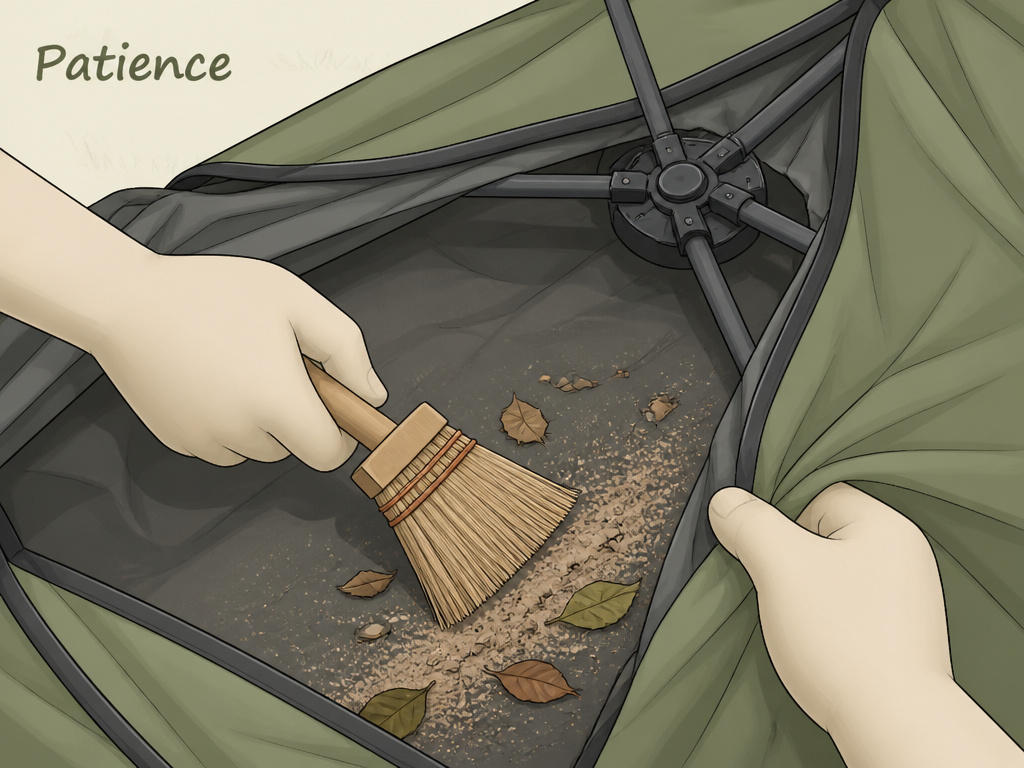
- The Essential Tool: Patience. Rushing leads to forced folds, which lead to broken frames. If it’s not working, pause, step back, and start from Step 1.
- Helpful Add-On: A small brush or whisk to sweep out dirt and leaves before drying. Debris left inside grinds into the fabric during storage.
For long-term care, consider adding a silica gel desiccant packet to your storage bag, especially if you live in a humid climate. It’s one of the simple tent camping accessories that extends fabric life.
Pop-Up Tent Storage: The Right Way for Next Season
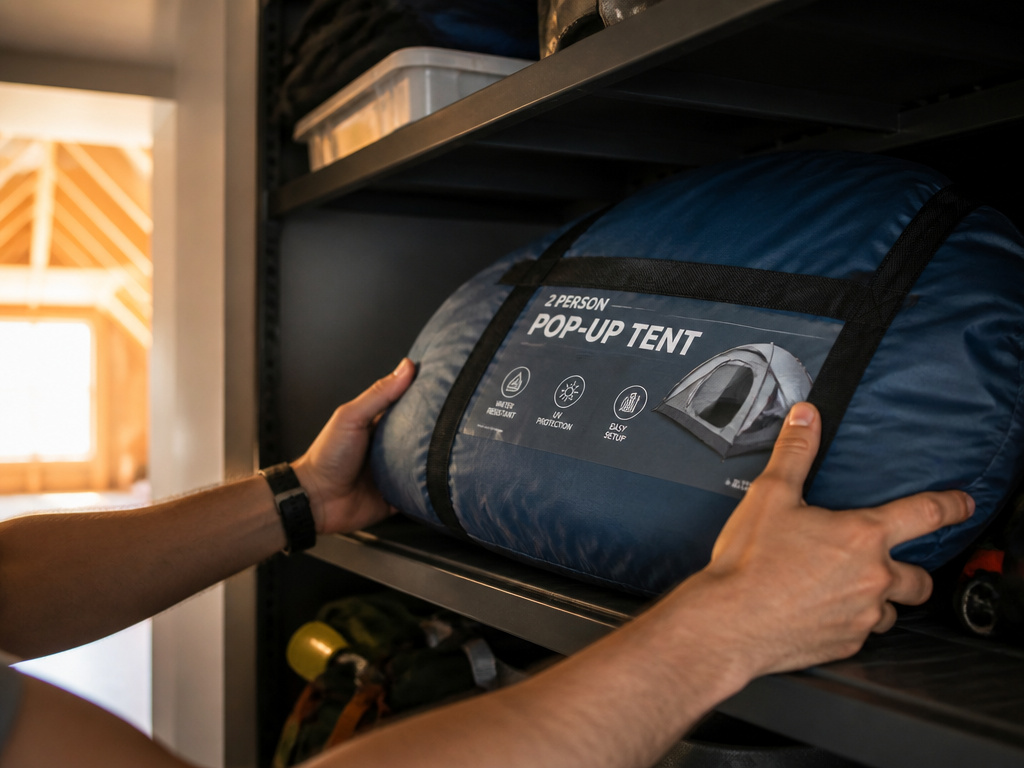
Folding is immediate; storage is long-term. How you store the bagged tent determines its condition next summer.
Never store the tent in a compressed state for months on end. The constant pressure on the spring-steel frames can fatigue the metal, reducing its pop-up power. If you have the space, store the bagged tent lying flat on a shelf, not jammed vertically in a tight closet corner.
Store it in a cool, dry place. Attics and garages are tempting but often suffer extreme temperature swings and humidity. A basement closet or under a bed is superior. This is true for all shelter types, from durable canvas tents to modern polyester models.
| Storage Mistake | Likely Result | Timeline |
|---|---|---|
| Damp tent in sealed bag | Mildew growth on floor & walls | 48–72 hours |
| Bag stored in direct sunlight | Fabric UV degradation, color fading | 1 season |
| Long-term compression in hot attic | Frame fatigue, weak pop-up action | 2–3 seasons |
| Near pesticides or chemicals | Fabric coating breakdown | 1 season |
Frequently Asked Questions
Can you fold a pop-up tent differently if the strap is missing?
Yes, but you must replace the tension. Two sturdy rubber bands or a length of paracord wrapped tightly around the center of the figure-eight will work. Do not try to use the bag itself to provide the compression; you’ll rip the seams.
How do you fold a pop-up tent that won’t pop down?
This usually means trapped air. Ensure every single zipper is fully open. Then, instead of pushing from the sides, get on your knees and gently kneel on the top of the tent to force the air out the open doors, then proceed with the standard collapse.
What’s the warranty on a typical pop-up tent?
Warranties are often very short. For example, the 8 FT x 10 FT POP-UP TENT sold at Lowe’s carries a 30-day limited warranty from the date of purchase. It explicitly does not cover damage from weather, improper storage, or mildew, making correct folding and drying critical.
Are all pop-up tents folded the same way?
Most 1-2 person recreational tents use the figure-eight method. However, larger canopy-style pop-up tents (like 10×10 foot event canopies) often use a different “collapse-and-twist” technique. Always check your specific model’s manual, like the best pop-up tents for the beach often have simpler, single-fold instructions.
Can leaving a pop-up tent set up for weeks damage it?
Yes, primarily from UV exposure. The fabric and coatings degrade in direct sunlight. Furthermore, wind can cause constant abrasion at stress points. For a semi-permanent setup, consider a more robust shelter from our best stand-up tents reviews.
Before You Go
Putting a pop-up tent away correctly boils down to three rules: dry it completely, respect the frame’s tension by following the figure-eight fold, and secure it before bagging. The process feels awkward the first time, it’s meant to. By the third time, it’s a 60-second rhythm.
The stakes are a tent that works for years versus one that molds or breaks after a season. Whether you’re packing a simple affordable tent under $100 or a feature-rich quality tent under $200, the folding discipline is the same. Store it dry, store it flat, and you’ll never be that person struggling angrily while everyone else is already on the road.
