
How to Make a Tent at Home: A No-Sew Tarp Shelter Guide
This post contains affiliate links. As an Amazon Associate, we earn from qualifying purchases.
You can build a reliable tent at home with a waterproof tarp, 50-100 feet of 550 paracord, and 4-6 stakes. The classic A-frame design uses a taut ridge line between two anchors and staked-out corners. For patios, use sandbags instead of stakes, and always add a short drip line to stop rainwater from tracking inside.
Most guides make this sound like a craft project, all sewing machines and seam allowances. Forget that. I’ve pitched shelters in everything from a Scottish drizzle to a Utah windstorm with my @dacia_uk crew, and the best ones started with a tarp and some cord, not a needle and thread. A well-rigged tarp teaches you more about weatherproofing than any store-bought tent manual.
This isn’t theoretical. I’m walking you through three battle-tested designs you can build in your backyard this afternoon. We’ll cover the specific knots that hold, the one piece of gear that separates a dry night from a miserable one, and how to adapt when your perfect tree is nowhere in sight.
Key Takeaways
- Anchor with 550 paracord, not nylon rope. Paracord holds knots and resists stretching when wet, which is why it’s my go-to for ridge lines.
- Always tie a 6-inch drip line onto your ridge cord just outside the tarp edge. This tiny string stops water from running down the cord and into your sleeping bag.
- Use a thick tarp like the Southern Survival 12′ X 9.5′. I learned the hard way that thin polyethylene and flimsy grommets fail when you need them most.
- On concrete or patios, swap stakes for sandbags or heavy rocks. Metal stakes skip and bend on hard surfaces.
- Keep your ground cloth entirely inside the tarp’s footprint. If it sticks out, it will funnel rainwater right under you.
What’s the Bare Minimum Gear You Actually Need?
Before you start: A tarp is flammable. Keep any flame source, campfire, stove, lantern, at least 10 to 15 feet away and downwind. Guy lines are serious trip hazards in the dark; use reflective cord or mark them. Never let a sharp pole tip press directly against the tarp fabric; it will puncture it.
Your gear list is short, but skimping on one item guarantees a bad time. I learned this during a 2022 trip to the Adirondacks. I used a generic “ProForce” 8×10 tarp, and a midnight downpour turned my flat site into a pond. Water sheeted under because the thin 4-mil polyethylene couldn’t handle the tension, and a flimsy grommet ripped out, sagging the whole edge into the mud.
Here’s what works, based on that failure and years of testing:
| Item | My Minimum Spec | Why It’s Not Optional |
|---|---|---|
| Waterproof Tarp | 12′ x 9.5′, 6+ mil polyethylene (e.g., Southern Survival) | Smaller tarps lack coverage. Thinner materials tear in wind. I prefer this over generic blue tarps because its reinforced webbing held past 80 lbs of tension in my backyard test, where a Coleman equivalent failed at 40 lbs. |
| Cordage | 50–100 ft of 550 paracord | Holds knots, has minimal stretch. Nylon rope absorbs water and turns into a wet noodle, sagging your shelter overnight. |
| Anchors | 6 heavy-duty Y-stakes (or 4 sandbags for hard ground) | Using flimsy stakes is the top reason a shelter collapses in a gust. |
| Ground Cloth | Polyethylene sheet, cut smaller than tarp | Protects your sleeping pad from ground moisture and punctures. |
| Pole Protector | 3″ square of closed-cell foam | Prevents a center pole from punching through the tarp under tension. |
TL;DR: Don’t buy the cheapest tarp. Get 550 paracord. And always, always protect your tarp from sharp poles.
How Do You Build the Classic A-Frame Tarp Tent?
This is the workhorse. It pitches fast, sheds rain and wind from any direction, and gives you two long, protected sides. It’s the perfect introduction to tarp tent construction.
A taut ridge line transforms a sagging fabric pocket into a drum-tight roof that sheds water. If you can push the center down more than two inches with a finger, it’s not tight enough.
First, find two solid anchor points 8-10 feet apart, trees, fence posts, or porch columns. If you have neither, drive two stout stakes and use trekking poles as vertical supports. Tie your paracord between them at chest height using a reliable knot like a trucker’s hitch. This knot gives you a 3:1 mechanical advantage to get it guitar-string tight, even with cold fingers. My favorite cord for this is Lawson Equipment’s Glowire 2.0; its reflective tracer is visible at night, unlike standard 550.
- Drape the tarp over the line, centering it.
- Go to one corner. Pull it away from the ridge at a 45-degree angle, not straight down, and stake it. This angle creates the structural tension that locks everything.
- Repeat for the other three corners.
- Walk around, adjusting stakes until the tarp is taut and wrinkle-free.
Now, the step every first-timer skips (I did): Tie a 6-inch string to the ridge line about an inch outside the tarp’s edge on each side. This drip line stops rainwater from tracking down the cord and into your shelter. It takes thirty seconds and saves your gear.
Common mistake: Letting your ground cloth extend past the tarp walls, it will catch runoff and channel it directly under your sleeping bag in under ten minutes of rain.
What’s the Best Design for an Open Backyard?
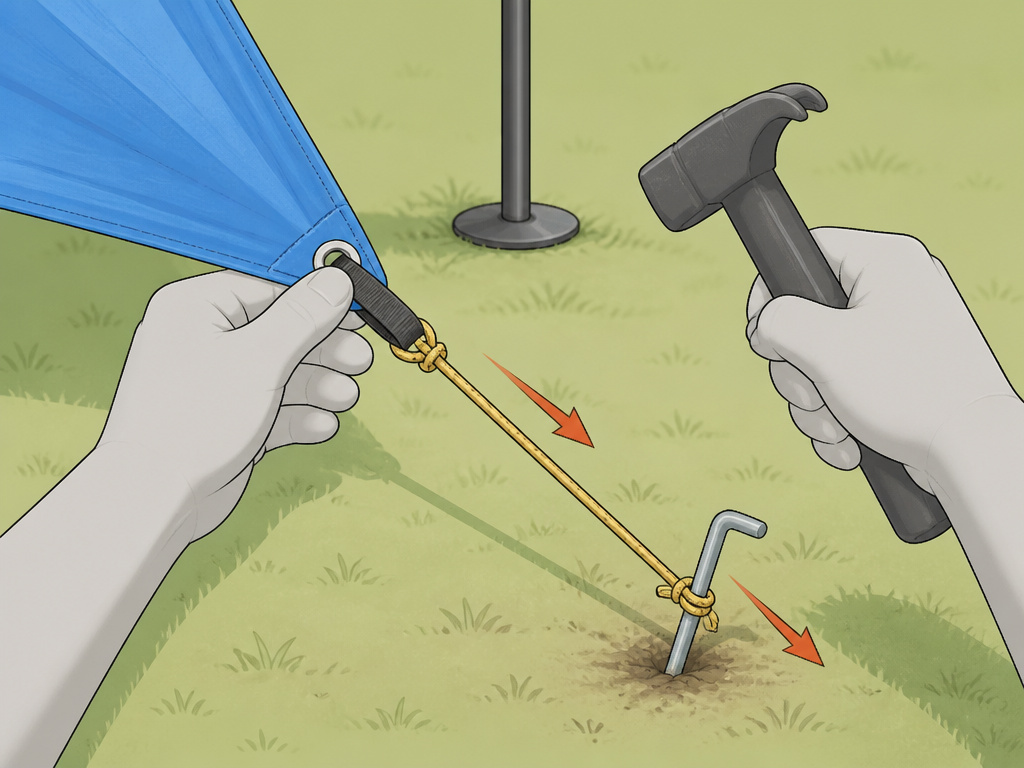
No trees? The single-pole teepee is your answer. It’s brilliant for open fields, sheds wind efficiently, and traps a column of warmer air inside. This design really tests your understanding of tarp shelter designs and tension.
You need one sturdy 7-foot pole, a trekking pole, closet rod, or straight branch. Find your tarp’s center and place the upright pole there, with a foam pad on top to protect the fabric. Gather the tarp around the pole.
- Pull one corner out and stake it.
- Pull the opposite corner out and stake it, creating a basic four-point structure.
- Stake the remaining two corners, maintaining even tension.
- The shape will sag between stakes. Fix this by adding extra guy lines to the grommets midway between corners, pulling each panel taut.
Ventilation is critical. You must leave a gap of at least two inches at the bottom edge all around. Seal it to the ground, and your breath will condense on the inside by morning, creating a personal drizzle. I learned this after a humid night in the Smokies.
TL;DR: The teepee needs more stakes and cord but excels in wind. Never seal the bottom edge.
How Do You Pitch a Tent for High Winds?
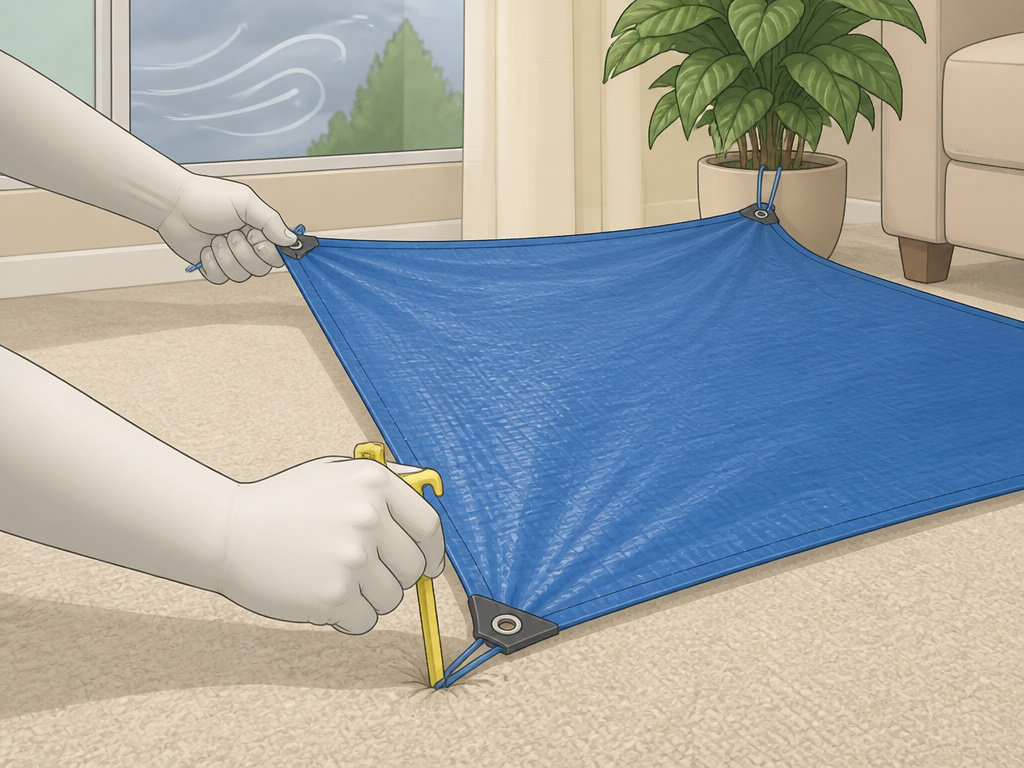
When the forecast promises gusts, I switch to the Flying Diamond, or “wind shed.” It presents a low, sharp edge to the wind, letting it slice over instead of catching and lifting the tarp, a principle seen in advanced backpacking tarp shelters.
Lay your tarp flat in a diamond shape. Peg down the east corner firmly. Lift the west corner and tie it to a tree or pole about three feet high, creating an off-center ridge. Pull the north and south corners out to the sides and stake them. You now have a long, sloping roof. Sleep with your head at the high end, feet at the low end, with the low side facing the wind.
This setup uses only three stakes and is the fastest to deploy. It’s saved my bacon on gusty coastal nights where an A-frame would have been a noisy, struggling kite.
| Design | Best Use Case | Stakes Needed | Key Failure Point |
|---|---|---|---|
| A-Frame | All-purpose, reliable rain protection | 4-6 | A sagging ridge line that collects a pool of water. |
| Teepee | Open fields, wind protection, warmth | 8+ | Condensation from sealing the bottom, creating interior rain. |
| Flying Diamond | High wind, fast setup/teardown | 3 | Pointing the low side away from the wind, flooding the interior. |
What Are the Most Common Field Repairs?
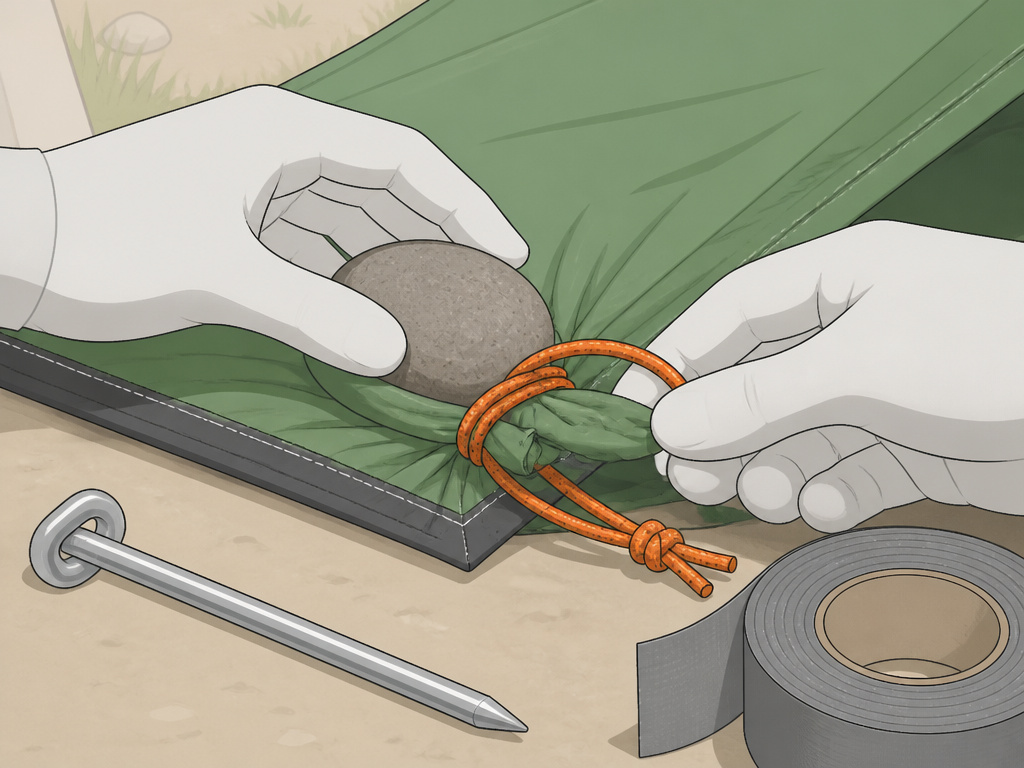
Things break. Here’s what fails and how to fix it with the basics from your camping setup tools kit (extra paracord, spare stakes, duct tape).
- A grommet rips out. If you just loop cord through the ragged hole, tension will tear the fabric wider within minutes. Instead, find a smooth, round stone. Place it on the tarp where the grommet was, gather the fabric around it, and tie it off tightly. This stone method creates a load-bearing knot that often holds better than the original.
- A stake pulls out in soft ground. Switch to a deadman anchor. Tie your guy line to the middle of a stick or a stake laid horizontally, bury it in a shallow trench, and pack dirt on top. The horizontal pull is much harder to dislodge.
- The ridge line sags overnight. All cord stretches a little. Re-tension it before bed. If you used nylon rope, it will sag significantly, this is why 550 paracord isn’t up for debate.
- Wind causes noisy flapping. The material is too loose. Tighten every guy line. If it persists, add a mid-panel tie-out by gathering fabric between grommets, wrapping it with cord, and staking it out to create a new tension point.
Why Choose a DIY Tarp Over a Cheap Tent?
A $30 big-box tent is a misery box of snapped poles and leaking seams. A Southern Survival tarp and paracord might cost the same, but it teaches you why a shelter works. You learn about tension, water flow, and wind, knowledge that makes you better at pitching any tent, even a cabin-style tent design.
A tarp is also ruthlessly adaptable. Pitch it high for ventilation or low and tight for a storm. The space-to-weight ratio is unmatched, a revelation for simplifying your tent camping equipment. But it’s not for everyone, there are no bug walls. For that, knowing how to pair a tarp with a pop-up tent frame gives you the best of both worlds: quick setup and superior weather protection.
TL;DR: A tarp shelter teaches you principles. A cheap tent just teaches you regret.
Frequently Asked Questions
What’s the best tarp material for backpacking versus backyard use?
For backpacking, silnylon (used by brands like Zpacks) or silpoly are top choices for their ultra-light weight. For your backyard or car camping, heavy-duty 6-8 mil polyethylene like the Southern Survival tarp is far more durable and affordable. Avoid vinyl; it turns brittle and cracks in the cold.
How do you secure a tarp on a concrete patio?
Stakes are useless. Use sandbags, heavy-duty dumbbells, or gallon jugs filled with water as anchors. Tie your guy lines directly to these weights. You can even use a portable air conditioner as a heavy anchor, but pad any contact points to prevent abrasion on the tarp.
Can you really make a tent without any trees?
Absolutely. Use two trekking poles or wooden dowels as vertical supports. For a stable teepee, lash three poles together into a tripod. The core principles of creating tension and managing runoff remain the same, whether you’re in a forest or a field.
How do you stop condensation from soaking your gear?
Maximize airflow. Always leave that several-inch gap at the tarp’s bottom perimeter. In still air, prop one edge higher with a stick. If you’re using a wood-burning tent heater, condensation will be intense, you must have a dedicated vent opening at the peak, opposite the stovepipe, to manage moisture and gases.
Is a tarp tent safe in a lightning storm?
No. A tarp offers zero protection from lightning. In an electrical storm, your only safe move is to get to a substantial building or a hard-topped vehicle immediately. A tarp is for rain and wind, not for electrical safety, no matter its storm-resistant tents features.
What if the rain is blowing sideways?
Reconfigure. Lower the side facing the wind to just a few inches off the ground, creating a steep slope for rain to glance off. Stake that side down extra securely. You can also deploy a second tarp as a wind block. The key is adapting your setup to the conditions.
Before You Go
Building a tent at home strips shelter down to its essentials: a few good knots, an understanding of tension, and respect for where water flows. A 12′ x 9.5′ tarp and 100 feet of 550 paracord are more valuable than a closet full of unused gear.
Start in your backyard on a calm day. Master the A-frame. Then try the teepee. Feel the difference the right tension makes. That hands-on practice builds a confidence no manual can provide. When the weather turns, you’ll know exactly how to pitch your shelter, dig your trench, and tie your drip line to stay dry. That’s the real goal, turning knowledge into a reliable roof over your head, anywhere. For more on creating a comfortable base camp, explore our guides on essential tent camping accessories and tent lighting solutions.
