
How to Fix a Tent Zipper: A Real-World Repair Guide
This post contains affiliate links. As an Amazon Associate, we earn from qualifying purchases.
To repair a tent zipper, first stop pulling and diagnose the failure: a jam needs debris removal and dry lube, a separating slider needs precise tightening with pliers, and a detached slider requires re-threading. The critical, often-missed step is identifying the exact zipper size and generation, a #5C slider won’t fit a #5CN track, and forcing it will wreck the teeth.
On my 2022 Wind River Range trip, I panicked when my Big Agnes Copper Spur HV UL2 fly zipper jammed at dusk. I blasted it with WD-40 from my bike chain kit. The solvent weakened the nylon #5C teeth, and the residual oil trapped granite dust, grinding a permanent flat spot. I spent the next three nights using a FixnZip, which taught me to always pack dry silicone.
This guide walks you through the fixes that actually work, straight from the repair manuals of brands like Big Agnes and Hilleberg. You’ll learn how to identify your zipper, what to pack for trailside emergencies, and when to admit defeat and send it to a pro.
Key Takeaways
- Forget WD-40. Use only a dry silicone lubricant on tent zippers. Wet lubes like WD-40 or olive oil attract dirt, creating an abrasive paste that grinds teeth down fast.
- Zipper size is a code. A YKK #5C slider is not compatible with a newer #5CN track. Installing the wrong one guarantees failure.
- A clean, well-lubricated coil zipper can last five years. Regular dry brushing and a seasonal dab of dry lube is your best insurance policy.
- Manufacturers can mail you parts on trail. Brands like Big Agnes will ship replacement sliders to a trail town post office if you provide 7–10 days’ notice.
- Damaged teeth mean game over. If the nylon teeth are cracked or missing, no slider fix will work. The entire zipper tape must be replaced.
What’s Actually Wrong With Your Tent Zipper?
Zipper failures follow predictable patterns. The wrong diagnosis turns a simple fix into a ruined tent door. Your first move is always the same: stop yanking.
A zipper slider on a coil zipper, used in non-sandy alpine environments and cleaned regularly, may last up to five years before needing replacement.
Let’s break down the three most common failures. I’ll show you how to spot them and what tools you’ll need before you start.
Before you start: Working with pliers or a seam ripper near thin tent fabric risks punctures or tears. Always place a piece of cardboard or a folded bandana behind the work area. Using the wrong lubricant can permanently clog and degrade the zipper mechanism, shortening its life from years to months.
Is the Slider Stuck in One Spot?
You can wiggle it back and forth, but it won’t travel past a certain point. This is a classic jam.
The cause is almost always a single bent tooth or a grain of sand lodged in the slider’s channel. Forcefully pulling bends the delicate nylon coil further, making the jam permanent.
Here’s how I fixed a jam on my friend’s REI Half Dome after a sandy beach trip:
1. I held the tent fabric taut and used my phone’s flashlight to spot the problem: a single, kinked tooth about halfway up.
2. Using the rounded corner of my Thermarest repair patch (a plastic spork or credit card works), I gently nudged the tooth back into alignment with its neighbors.
3. I brushed the entire track with a dry toothbrush to dislodge any other grit.
4. A tiny drop of Gear Aid Zipper Cleaner & Lubricant on the teeth, a few gentle slides of the slider, and it was smooth.
TL;DR: A jammed slider means a bent tooth or debris. Realign with a blunt plastic tool, apply dry lube, and work it gently.
Does the Zipper Open as Soon as You Zip It?
The slider moves, but the teeth don’t stay closed behind it. This is a separation issue.
The slider’s internal channel has become too wide from stress or a hard pull. It’s no longer squeezing the teeth together tightly enough to mesh. This is a precision fix.
Here’s my method, refined after cracking a slider on an old Marmot tent:
1. Move the slider to the very top of the zipper, where the tracks meet.
2. Using needle-nose pliers (my Leatherman Style PS is perfect), look at the slider from the top. You’ll see two small metal plates forming the channel.
3. Crucial tip from a NEMO repair tech: Squeeze the plates from the sides, not the top and bottom, to avoid cracking the Zamak casing. Aim for a half-millimeter adjustment.
4. Test after each micro-adjustment. You’re listening for that satisfying shhh-click of teeth meshing cleanly. Stop as soon as it zips.
Has the Slider Come Completely Off the Track?
The slider is in your hand, and the zipper tape ends are flapping. This usually happens when the metal end clip fails or pops off.
Re-threading is the solution, but you must access the end of the zipper. Most tent zippers are “closed-end,” sewn into a seam.
Following the Hilleberg repair guide, here’s the careful process:
1. Inspect first. Make sure the slider isn’t cracked and the teeth are straight.
2. Open the seam, but only just enough. Use a seam ripper to undo the stitching at the very bottom of the zipper tape. If you rip more than 1.5cm, you’ll weaken the seam’s waterproofing. I mark my limit with a silver Sharpie.
3. Slide off the small metal end cap.
4. Thread both sides of the zipper tape into the slider, starting at the now-open end. This is fiddly; patience is key.
5. Slowly pull the slider up, ensuring the teeth mesh correctly. If they don’t, the slider is on backwards or the teeth are misaligned.
6. Re-secure the end. Replace the metal clip if you have it. For a field fix, punch two small holes in the zipper tape and thread a zip-tie through them as a stop.
| Symptom | Likely Cause | Immediate Action | Tool You Need |
|---|---|---|---|
| Slider won’t move past a point | Bent tooth or debris (sand, thread) | Stop pulling. Inspect tracks. | Blunt plastic tool, dry brush, dry silicone lubricant |
| Zipper separates after closing | Worn/distorted slider channel | Move slider to top, test mesh. | Needle-nose pliers, steady hands |
| Slider detached from tape | Failed/missing end stop | Retrieve slider, find tape ends. | Seam ripper, strong tape or zip-tie |
How Do You Find the Exact Right Replacement Slider?
You can’t just buy a “#5 tent zipper slider.” Using the wrong size or, more critically, the wrong generation will fail immediately. This is where DIY repairs stall.
Zipper sizes (#3, #4.5, #5, #8) refer to the approximate width of the closed teeth in millimeters. A #3 is common for bug netting; a #5 or #8 handles a tent fly door’s tension.
The devil is in the generation code. A #5C is an older style. A #5CN or #5NO is newer, with a slightly different tooth profile. They are not cross-compatible.
Common mistake: Ordering a generic #5 slider online, a #5C slider will not properly engage the teeth on a #5CN track. It will feel like it’s on, but it will skip and separate under tension, often within a dozen uses.
Identifying Your Zipper
- Check the manufacturer’s site first. Big Agnes has a DIY repair portal. Find the small rectangular white tag sewn into your tent’s body seam, it has codes like “T,” “J,” or “Y” followed by numbers. This tells them the exact YKK slider you need.
- Measure. No tag? Use calipers to measure the width of the closed teeth. #3 is ~3mm, #5 is ~5mm.
- Examine the old slider. Look for any stamped numbers or letters.
Big Agnes and others will sell you the exact OEM slider. For a thru-hiker, they can mail it to a post office ahead on your trail. This foresight is as vital as packing the right tent camping essentials for your climate.
What’s Your Emergency Fix When You’re Miles From Help?
Okay, but what if this happens miles from your car? Let’s talk trail fixes, because your zipper will fail on night three of a seven-day trip, probably when the mosquitoes are thickest.
The FixnZip screw-on slider is your savior here. It’s a universal device that clamps onto the zipper tracks from the outside, no threading required.
I’ve used it on a closed-end tent zipper in a rainstorm. Here’s how:
1. Loosen the FixnZip’s thumbscrew all the way.
2. Slide both sides of the zipper track into the device’s channel. This is the trickiest part, go slow.
3. Tighten the thumbscrew firmly.
4. Work the FixnZip up and down. You’ll likely need to loosen or tighten the screw a few times until it moves smoothly but still meshes the teeth. A quarter-turn makes a big difference.
It’s a salvage solution. It adds bulk and isn’t sleek, but it will keep the weather out for the rest of your hike. Once home, you can do a proper repair with the correct OEM part.
Your repair kit should mirror the philosophy behind choosing reliable camping tools and gear: prepared for the likely, not just the ideal. Mine always has:
* A FixnZip slider
* A 3-foot roll of Gear Aid Tenacious Tape (clear, 3-inch wide)
* A pre-waxed dental floss container with a needle tucked inside (the wax helps punch through seam sealant)
* A mini tube of dry silicone lubricant
When Is a Zipper Beyond DIY Repair?
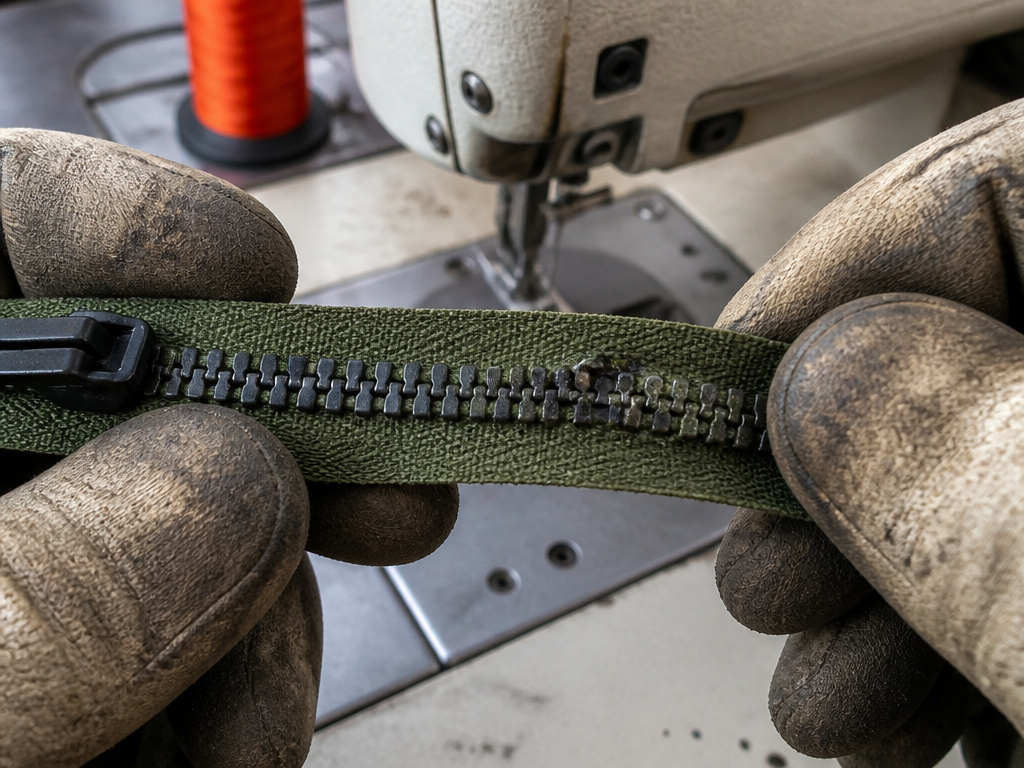
DIY has limits. If the nylon teeth themselves are cracked, melted, or have chunks missing, no slider adjustment will work. The teeth are part of the tape.
Repairing this means cutting out the old zipper tape and sewing in a new one, a job for a heavy-duty machine and skilled hands.
If the zipper teeth are visibly damaged, Big Agnes states they may not be able to guarantee a repair, and a full zipper replacement (which they do not offer) would be necessary.
Your Repair Options
| Repair Path | Typical Cost | Turnaround Time | Best For |
|---|---|---|---|
| Manufacturer Service (e.g., NEMO Equipment) | ~$20 per zipper/door + shipping | Up to 3 weeks | Tents under warranty or where OEM parts are critical |
| Local Gear Repair Shop | $25-$50 per zipper | 1-2 weeks | Older tents, faster service, supporting local businesses |
| DIY Full Replacement | Cost of zipper tape (~$15) + your time | A weekend | Those with advanced sewing skills and a heavy-duty machine |
Before you commit, weigh the repair cost against the tent’s value. For a premium, storm-ready model like many storm-proof tent models, a $40 repair is wise. For an old budget tent under $100, it might be time to invest in a newer affordable family tent.
How Can You Make Your Tent Zipper Last Five Years?
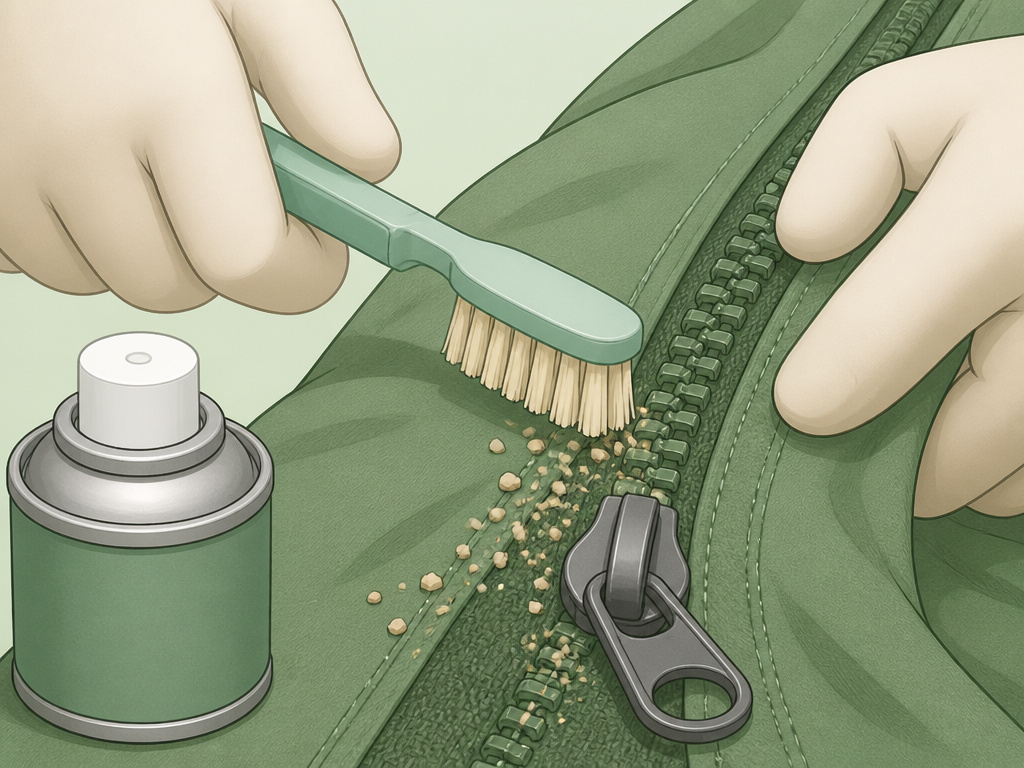
Proactive care beats any repair. A well-maintained coil zipper can easily last half a decade.
Your maintenance ritual should be simple and consistent:
* Dry-brush after every trip. Before packing your tent away, run a soft-bristled toothbrush along the zipper teeth. This removes abrasive sand and grit that cause wear. This simple step is as non-negotiable as checking the seams on tents for heavy rain.
* Lubricate sparingly and correctly. Once or twice a season, apply a tiny amount of dry silicone lubricant directly to the teeth. Work the slider back and forth to distribute it. Never use wax-based lubes on coil zippers, they gum up.
* Operate with care. Always hold the fabric close to the zipper base when pulling. This reduces lateral stress on the teeth.
* Store it loose. Never store your tent with the zipper partially closed under tension. Zip it fully to relieve pressure on the slider.
This routine extends the life of all your gear, from the zipper on your durable tent materials to the mechanisms on your portable camping lanterns.
Frequently Asked Questions
What’s the best lubricant for a tent zipper?
Use only a dry silicone spray or paste made for zippers, like Gear Aid’s product. SectionHiker explicitly warns, “Never use a wet lube such as olive oil, bacon fat, or WD-40 on your zipper. It will attract dirt, making things worse rather than better. Much worse.”
How do I know if my tent uses a #3 or a #5 zipper?
Check the manufacturer’s support site with your model number. For example, Big Agnes specifies YKK #3 zippers for many of their tent models. If that fails, measure the width of the closed teeth in millimeters. #3 is about 3mm wide, #5 is about 5mm.
My zipper works but is very stiff. What’s wrong?
This is almost always a lubrication issue, often compounded by dirt. Clean the teeth thoroughly with a dry brush first. Then apply a small amount of dry silicone lubricant directly to the teeth and work the slider back and forth a dozen times to distribute it.
Is it worth sending my tent to the manufacturer for a zipper repair?
For a high-end tent, absolutely. Companies like NEMO Equipment offer this service with a turnaround of up to three weeks. For a mid-range tent, a local gear repair shop is often faster and similarly priced. It’s worth it if the tent otherwise has life left.
What’s the difference between a coil zipper and a tooth zipper?
Coil zippers (standard on modern tents) use a continuous spiral of nylon. They’re lightweight, flexible, and a single bent “tooth” can often be realigned. Tooth zippers (often metal) use individual molded pieces. They’re very strong but if one tooth breaks, the whole zipper often fails. Most backpacking tents use coil zippers.
The Bottom Line
A broken zipper doesn’t have to spell disaster. Diagnose first: is it jammed, separating, or detached? Match your fix to the problem, using the right tools, a blunt plastic pick, needle-nose pliers, or a seam ripper. The real secret is sourcing the correct slider size and generation; this is the difference between a permanent fix and a frustrating waste of time and money.
For your pack, always carry a FixnZip and some strong tape. For your routine, make dry-brushing your zipper as habitual as airing out your tent. That five-minute ritual can add years to your shelter’s life, letting you focus on the trail ahead, not the gear behind you.
