
How To Repair Tent Pole | Fix Broken Segments & Shock Cord
This post contains affiliate links. As an Amazon Associate, we earn from qualifying purchases.
To repair a tent pole, you match the break type to the fix: a field splint for immediate use, or a permanent replacement segment ordered from the manufacturer. The process requires disassembling the pole, restringing the shock cord, and securing the repair with the right materials for your pole type.
Most people think a broken pole means a dead tent. They panic. They pack up and drive home.
The reality is simpler. You can fix almost any pole break with the kit that came with your tent or a common hardware store item. This guide covers the two real paths: the quick field fix that gets you through the night, and the permanent repair you do at home. It also explains why poles break where they do and how to stop it from happening again.
Key Takeaways
- The Big Agnes 6-inch metal repair splint included with most tents is for aluminum poles. Using it on carbon fiber can crack the material further.
- Ordering a replacement segment requires measuring the taper and outside diameter of the broken piece, not just its length.
- Cascade Designs stocks pole segments for tent models up to 10 years old, and sells a specific Syclone Ferrule Kit for their carbon poles.
- A shock cord repair for a 3-person tent might need two of Big Agnes’s 25-foot kits.
- Poles most commonly crack or flare out near the ferrule because the female segment wasn’t fully seated during assembly.
Diagnose Your Break: Splint or Replace?
Look at the break. Is it a clean snap in the middle of a segment, or is it a jagged crack right next to the metal ferrule that connects two pieces? The location decides your next move.
A clean break in the middle is a splint candidate. The metal sleeve slides over the break and is taped securely. It’s a strong, temporary fix.
A crack or flare at the ferrule is a different problem. The Cascade Designs repair shop notes this is a common failure point, often because the segment wasn’t pushed all the way onto the hub during setup. A splint here is awkward and weak. The permanent fix is to order a new segment from the manufacturer.
A pole segment breaks, cracks, or flares out near the end primarily due to the female side of the pole segment not being fully inserted onto the ferrule or hub. This creates a stress point that fails under lateral pressure, a common observation in professional repair logs.
TL;DR: Middle breaks get splinted. Ferrule breaks need segment replacement.
The 6-Step Emergency Splint (When You’re In the Field)
This is the fix you do with wind howling and rain starting. It uses the repair sleeve that should be in your tent bag. If you lost it, a cut-up aluminum soda can works in a pinch.
- Find the break and clean the area. Wipe away dirt and moisture. Dry tape won’t stick to a wet pole.
- Slide the metal sleeve over the break. Center it so at least two inches of sleeve extend past the fracture on each side. If the break is at the very end of a segment, this fix is unreliable.
- Begin wrapping with duct tape. Start an inch beyond the sleeve and spiral tightly towards the center. Overlap each wrap by half the tape’s width. The goal is a tight, even bind that compresses the sleeve onto the pole.
- Cover the entire sleeve. Go past the other end by an inch. Apply at least two full layers of tape. Skipping this leaves the sleeve edges exposed; the first time the pole flexes, those sharp edges will cut through the inner layer of tape and the sleeve will slip.
- Reassemble the pole. Gently feed the repaired section back into the adjacent segments. Don’t force it. If the tape buildup is too thick, it won’t fit. You wrapped too much.
- Test it before pitching. Hold the pole at each end and apply gradual, downward pressure. Listen for any new cracking. Look for bending specifically at the taped section. If it holds, you’re good for the night.
The soda-can method follows the same steps but requires more finesse. You cut a rectangular patch from the can, roll it into a tight cylinder around the break, and tape it aggressively. It’s fiddly. Your hands will get cut if you’re not careful. But it works. I’ve seen a lightweight tarp shelter supported by a soda-can splint through a windy night.
Common mistake: Using the included aluminum splint on a carbon fiber pole — the different flex rates mean the stiff aluminum sleeve concentrates stress, and the carbon will spider-crack around the break within a few flex cycles.
| Pole Material | Best Splint Material | Risk of Mismatch |
|---|---|---|
| Aluminum Alloy (DAC) | Steel or aluminum repair sleeve | Low – compatible flex |
| Carbon Fiber (Syclone) | Manufacturer’s carbon ferrule kit | High – causes cracking |
| Fiberglass | Aluminum sleeve with thick padding | Medium – can shear if overtightened |
The Permanent Fix: Replacing a Broken Segment
When you’re home with time and tools, replacing the broken piece is the right call. This is also your only option for ferrule breaks or if you want the pole to be as good as new. Brands like Vaude, Big Agnes, and Cascade Designs all sell segments.
First, identify your pole. Is it a standard DAC aluminum pole, or a proprietary type like a Cascade Designs Syclone Carbon Pole? The repair kits are not cross-compatible. The Syclone kit is for glued ferrules only.
To order a replacement segment, you need two precise measurements. This is where most orders go wrong. Grab a caliper or a precise ruler.
1. Outside Diameter (OD): Measure the thickest part of the broken segment.
2. Taper: Measure the diameter again at the narrow end of the segment. The difference between these two numbers is the taper.
Email these specs, along with your tent model and a photo, to the manufacturer’s support. Cascade Designs keeps segments for models up to a decade old. For general camping preparedness, reviewing an essential tent camping gear list reminds you what spare parts to carry.
How to Install the New Segment
You’re also replacing the shock cord while you’re in there. It’s likely old and stretched.
| Tool | Purpose | If You Skip It |
|---|---|---|
| Small adjustable wrench | Removing pressed end caps | You’ll mar the cap with pliers and may not get it off |
| Utility knife | Cutting old shock cord | Frayed cord jams inside segments |
| Round file & flat file | Deburring cut segment ends (Vaude method) | Sharp edges chafe and cut the new shock cord |
| Lighter | Sealing ends of new shock cord | The cord unravels and knots fail |
- Disassemble the entire pole. Remove the end cap. If it’s pressed on, you might need to gently pry with a flat-head screwdriver. Cut the old shock cord and pull it out.
- Slide all segments off in order. Lay them out left to right on a towel. Put a small piece of painter’s tape on each with a number. This order is critical for proper pole flex.
- Prepare the new segment. If you’re cutting a longer segment to size (as Vaude’s guide details), use a fine-tooth saw. After cutting, use the round file to smooth the inner edge and the flat file to remove burrs from the outside. A rough edge is a shock-cord killer.
- Thread the new shock cord. Use 3/32 inch diameter cord. Tie a stopper knot (a double overhand works) at one end. Feed the cord through all segments in the correct order, including the new one.
- Re-tension and cap. Pull the cord taut so all segments are snug but not compressed. Tie another double knot at the other end, trim the excess, and melt the end with a lighter to prevent fraying. Press the end cap back on.
For a large family car camp tent, this process might require an extra set of hands to keep tension while you tie the final knot.
What About the Shock Cord?
The bungee cord inside your poles wears out. It gets stretched, sun-rotted, and brittle. A failed shock cord makes setting up a tent a frustrating segment-by-segment puzzle.
Big Agnes provides a clear spec: their repair kit contains 25 feet of cord, enough for all 1- and 2-person tents. A 3-person model might need two kits. Four-person or larger tents will definitely require two kits. Don’t guess. Measure the old cord as you remove it, then add a foot for knotting.
When restringing, the cord must be tight enough to pull segments together but not so tight that it prevents them from flexing. A good test: when fully assembled, the pole should have a very slight give when you push on the shock cord loop at the end. No slack, but no banjo-string tension either.
I prefer the double overhand knot to the standard square knot for shock cord. The shock cord’s slick sheath makes square knots slip over time, especially in cold weather. The double overhand bites into itself and hasn’t failed me once, even on a storm-resistant tent in Montana winds.
Aluminum vs. Carbon Fiber: A Critical Difference
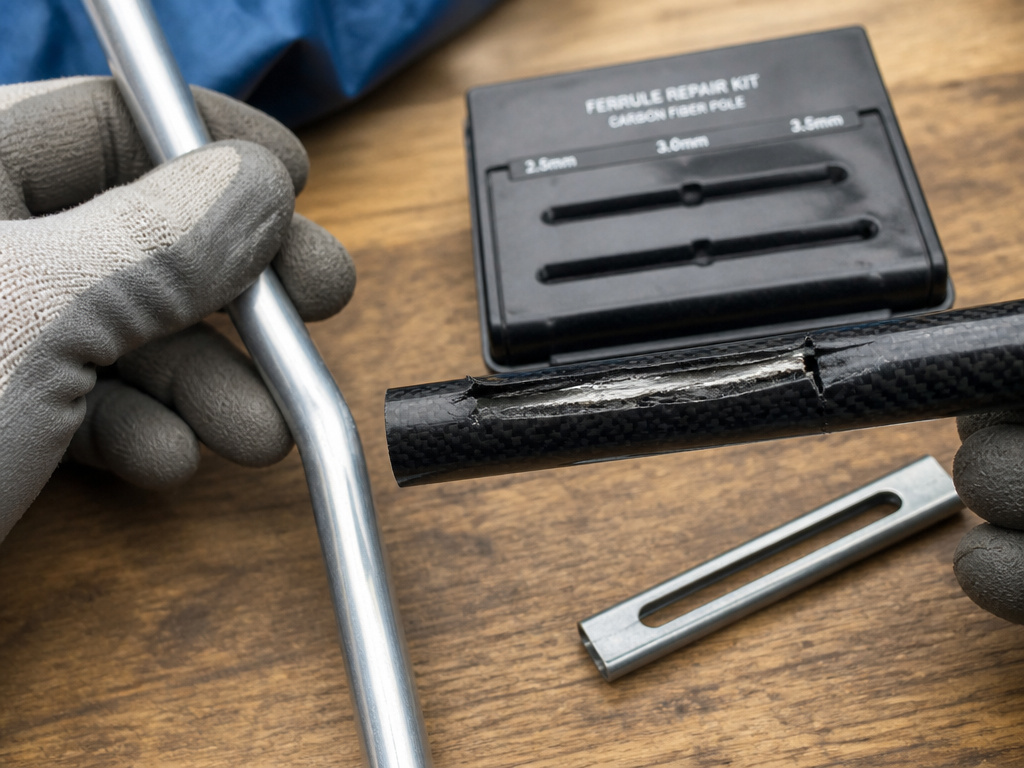
Not all poles are created equal, and the repair changes completely.
DAC Aluminum Poles are the industry standard. They bend before they snap. A bent pole can often be straightened carefully. A broken one takes a splint easily. The metal sleeves are designed for this material. When looking at upgrades or mid-range tent options, the pole set is a key durability factor.
Carbon Fiber Poles, like the Cascade Designs Syclone, are lightweight and stiff. They don’t bend—they crack or shatter. The ferrules are often glued, not pressed. Cascade Designs sells a specific Syclone Tent Pole Ferrule Kit for field repair of a slipped or missing ferrule. This kit does not work on DAC aluminum. Using a standard metal splint on carbon fiber is a great way to turn a crack into a full disintegration.
The choice between a durable canvas tent with heavy poles and a lightweight model with carbon poles often comes down to how repairable you need your gear to be in remote locations.
When a Repair Isn’t Worth It
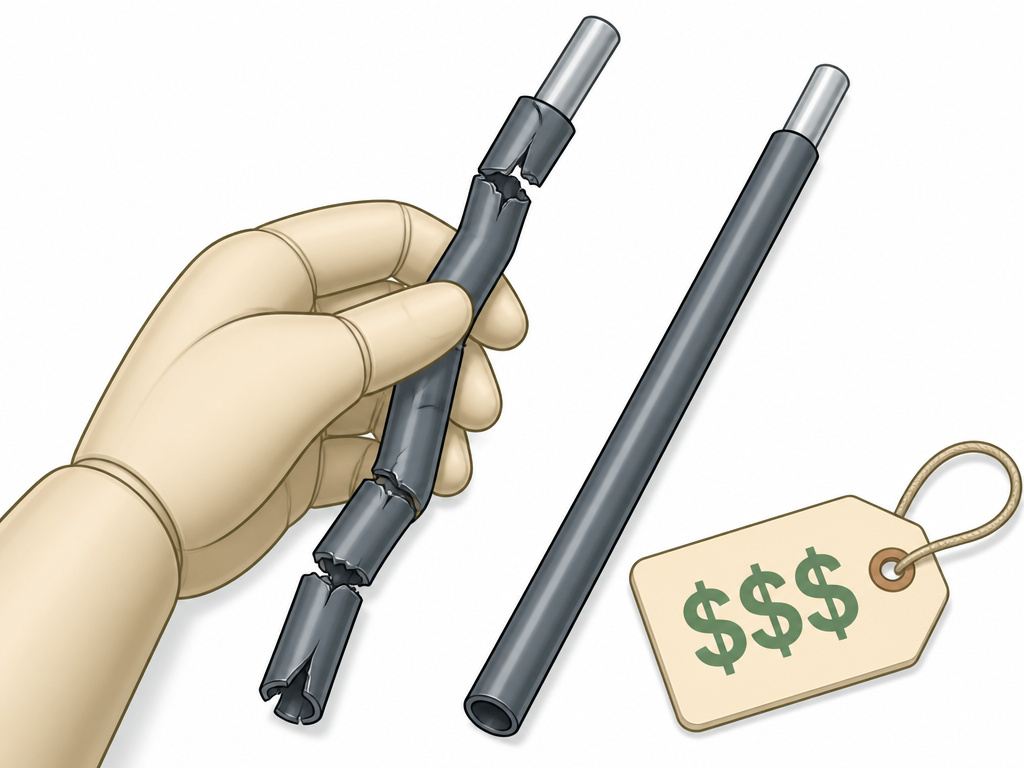
Sometimes, you’re throwing good money after bad. Consider a full pole set replacement if:
* Multiple segments are broken on the same pole.
* The pole is bent in several places, creating a permanent wobble.
* Your tent is old and the manufacturer no longer stocks parts.
* You’re looking at the repair cost and it’s over half the price of a new budget-friendly tent.
For a single, clean break on a pole from a current model, repair is always more economical and sustainable.
Frequently Asked Questions
Can I use a tent pole splint on a fiberglass pole?
Yes, but pad it. Wrap the broken fiberglass pole with a layer of cloth tape before sliding the aluminum sleeve on. Fiberglass is more brittle and can shear if the metal sleeve bites in directly. Tighten the outer tape firmly, but don’t crush it.
How tight should the shock cord be?
The cord should pull all segments together snugly with no gaps, but you should still be able to bend the assembled pole into its arch shape without extreme force. If the pole fights you, the cord is too tight. If segments slide apart easily, it’s too loose.
My pole isn’t broken, but it’s bent. Can I fix it?
Maybe. For a slight bend in an aluminum pole, you can sometimes straighten it by rolling it on a flat, hard surface while applying gentle pressure. Do not bend it back with your hands—this creates a weak kink. For a severe bend, the metal is fatigued and will likely break if straightened. Replacement is safer.
Do I need special tools to replace a segment?
Basic tools suffice: a sharp knife, a small file, and pliers for end caps. For cutting a new segment to length, a fine-tooth hacksaw or a tubing cutter gives the cleanest edge. A well-stocked set of portable camping tools usually has what you need.
Will a repaired pole be as strong as new?
properly replaced segment is just as strong. A field splint creates a stiff point, making the pole slightly less flexible. It’s stronger in direct compression at the break but more prone to failing at the edges of the splint under repeated flexing. Trust it for the trip, but replace it properly at home.
Before You Go
A broken pole is a hassle, not a catastrophe. Keep the manufacturer’s repair sleeve with your tent. Know if your poles are aluminum or carbon fiber. Practice disassembling a pole at home once, so you’re not figuring it out in a downpour.
The goal is to get back under the stars. A splint does that tonight. A replacement segment does it for the next hundred nights. Measure twice, order once, and always tape over the ends of a fresh shock cord knot. Your tent will thank you.
