How To Fold A Name Tent
This post contains affiliate links. As an Amazon Associate, we earn from qualifying purchases.
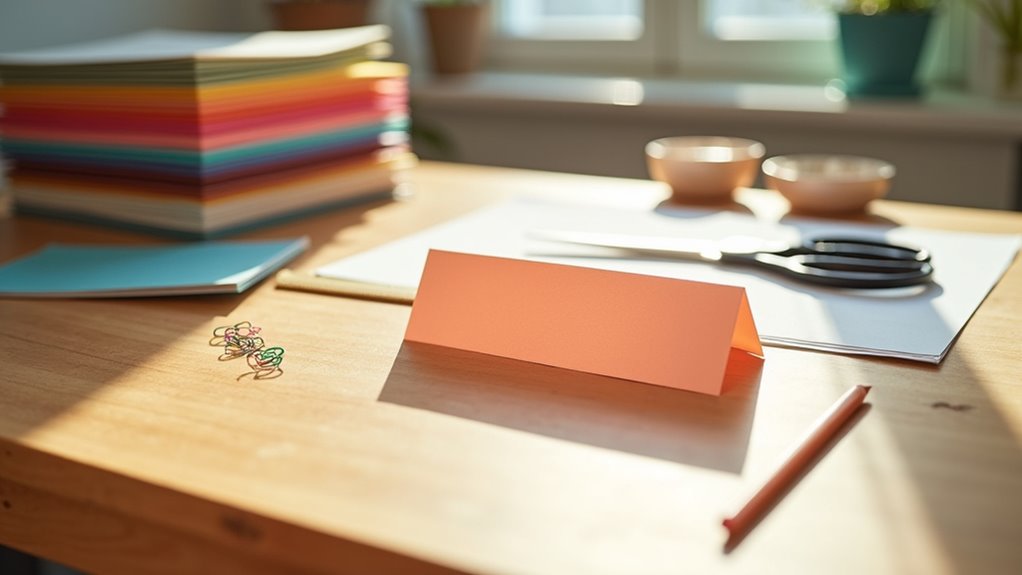
To fold a name tent, begin with colored card stock and fold the paper to create a stable, tent-like shape that can stand on its own. This simple folding technique ensures your name tent is visible and professional-looking. Further steps and tips for personalization are provided below for those who want to enhance their name tent display.
Start by measuring and cutting the card stock to your desired size. Place the paper horizontally and fold it in half lengthwise, creasing firmly before unfolding. Next, fold each side inward to meet the center crease, creating sharp folds that form the tent shape. Secure the folds with tape or glue to keep the tent stable. For easy readability, write names boldly with a Sharpie and add simple designs or personal details as desired. Experiment with variations to improve the appearance and functionality of your name tent.
Essential Facts in 30 Seconds
- Cut card stock to the desired size with straight edges.
- Fold paper in half horizontally and unfold to create a crease.
- Fold each side toward the center crease to form a triangle shape.
- Secure folds with tape or glue for stability.
- Add clear, bold lettering and optional simple decorations.
Materials and Preparation
Effective name tents need a few simple materials and some prep. Use card stock because it holds up well and stands firm. Colored card stock makes names easier to see in notebooks or on desks. Use Sharpies or permanent markers for bright, clear writing that lasts.
Print or write names before folding. Score fold lines lightly to fold cleanly. Cut tabs if your design needs them; they help tents stay steady. Fold the card stock into halves or thirds to make the tent shape. Make sure edges line up for balance.
Write first names large and clear. Keep extra info small and tidy. This way, name tents look neat and professional.
Simple steps. Big impact.
Basic Folding Techniques
Fold the paper into three equal sections lengthwise. Make each fold sharp and neat.
This shape forms a strong triangle. It keeps the name tent steady on any flat surface.
The tri-fold design works well because it balances weight evenly. This simple method makes your name tent easy to see and hard to fall.
Try it for clear, stable displays.
Tri-Fold Structure Explained
Understanding the tri-fold structure helps build strong name tents. The tri-fold has three equal panels. These panels fold to make a triangle. This shape makes the tent stable and useful.
Here is how the panels work:
| Panel | Description | Placement |
|---|---|---|
| Left Panel | Shows extra information | Folds inward toward center |
| Center Panel | Shows main information | Faces forward after folding |
| Right Panel | Holds pictures or designs | Folds inward toward center |
Fold the side panels along scored lines. Use thick paper like heavy cardstock. Thick paper keeps the tent firm during events. This simple design offers many benefits and uses.
Ensuring Stability Techniques
Crafting a stable name tent requires simple but effective steps. Use heavy cardstock to make it sturdy. Score fold lines gently for neat, sharp creases. Cut tabs evenly so they fit tightly when folded. Additionally, proper measurements ensure the tent has the right dimensions for stability.
Mountain folds create strong edges and help the tent stand well. Align edges carefully to keep balance. For added durability, consider using card stock to ensure the tent maintains its shape throughout the event. Laminate the tent to add stiffness, especially in changing weather. Add guylines or small weights outdoors to stop it from moving. Press tabs softly to check if they hold; push them back if loose. These easy tips keep your name tent steady and useful all day.
Step-by-Step Folding Process
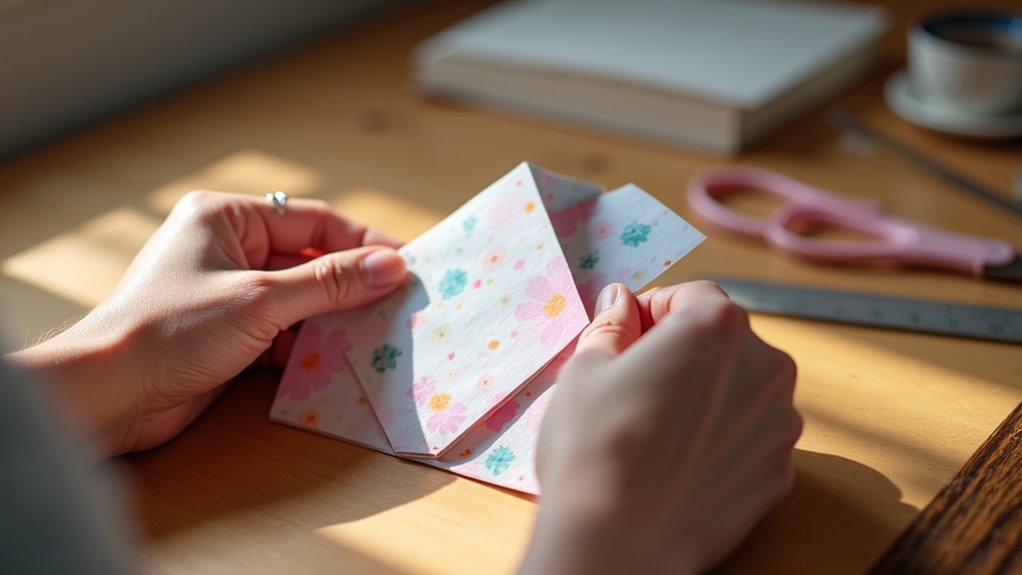
Folding a name tent takes careful steps for a strong, neat result. Use thick card stock that’s rectangular. Score the paper lightly along the dashed lines.
Fold the paper into three equal parts lengthwise. Make mountain folds along the scored lines to shape a triangle. Additionally, ensure that the standard size is maintained for consistency across all tents.
Fold the side tabs inward to lock the tent. Push the bottom edges together to form a one-inch base. This base helps the tent stand upright.
Insert the tabs into each other in an alternating way. This keeps the tent steady and stops it from falling.
Stand the tent up. Adjust the folds and tabs to balance it. This hands-on process makes folding fun and creative. Your name tent will look good and stand firm. Additionally, ensure the name tents are ready for display at the event to enhance the personalized atmosphere.
Writing and Decorating
Use bold letters on your name tent for easy reading.
Bright colors make your tent look fun and show who you are.
Add small words about your hobbies or hometown. This helps others learn about you and remember your name tent.
Simple and clear designs work best.
Make your name tent stand out in the room.
Choosing Bold Lettering
Bold lettering makes your name tent easy to see and nice to look at.
Pick a font that fits your event. Bubble letters look fun. Block letters are clear and strong. Use a bold font for your name. Use a simple font for extra words.
Keep letters spaced evenly for easy reading. Make letters big enough to fill the tent but not touch the edges. Use colors that stand out, like black on white.
Use stencils to get sharp, clean edges. This way, your name tent grabs attention and looks great anywhere.
Adding Colorful Decorations
Make your name tent stand out with bright and colorful decorations. Use bold markers or pens to trace letters and borders. Metallic or neon colors add extra sparkle and match your color theme. Add fun stickers and Washi tape for a personal touch. Place decorations carefully so the name stays clear and easy to read. You can also incorporate a table tent layout to ensure your design fits well within the space. Additionally, remember that a professional-looking layout can enhance the overall appeal of your name tent.
Try these decoration ideas:
| Decorative Elements | Ideas for Implementation |
|---|---|
| Stickers | Stars, animals, event themes |
| Washi Tape | Borders, stripes, simple patterns |
| Hand-drawn Illustrations | Basic shapes or small designs |
These tips help your name tent look lively and neat. Simple, bright colors catch the eye fast. Stickers and tape add fun without clutter. Your name will shine clearly for everyone to see.
Including Additional Information
Write your full name clearly on the front of your name tent.
Put your job title or group below your name.
Divide the back into four sections. Use these sections to share facts about yourself. Include hobbies, skills, or fun facts. This helps others start conversations with you.
Use neat handwriting or printed labels. Add simple drawings to make it look nice.
Keep the text easy to read. Your name tent should help people know you and want to talk to you.
Variations and Customization
Folding a name tent can be simple and creative. Use scoring along dashed lines or mountain folds to keep it neat and steady. Cutting small slits helps tabs fit together without glue. This makes assembly quick and easy.
Check the table for ideas to customize your name tents:
| Technique/Customization | Description |
|---|---|
| Fold into thirds | Makes a strong triangular shape |
| Color coding | Groups people by colors |
| Themed images | Adds event-related pictures |
| Quadrant division | Useful for icebreaker games |
| Durable materials | Card stock keeps the shape firm |
These methods help your name tents stand out and work well at any event. Simple changes can make a big difference.
Practical Tips for Use

Name tents need to be strong and easy to see. Use thick cardstock so they last long.
Fold the paper into thirds and score the edges for a clean look. Don’t use glue to secure the base; fold it so it stands well. Make the base about one inch wide to keep balance.
Write names big and clear for easy reading from afar. Add hobbies or group roles on the sides to make them personal.
Keep finished tents in folders to stop damage. Using name tents often helps everyone remember names and feel connected. This makes group work smoother and fun.
Frequently Asked Questions
What Size Paper Is Best for Name Tents?
The best paper sizes for name tents are 11″ x 4¼” and 4″ x 6″. These sizes make names easy to read. They also keep the tent stable on tables. Guests can see names clearly from a distance. Using these sizes helps name tents look neat and professional. Too big or too small paper can cause problems. Too big may flop over, too small may be hard to read. Stick to these sizes for the best results.
Can I Print Directly on the Cardstock?
You can print directly on cardstock with ease. Use the right type of cardstock and printer settings. Set your printer to handle thick paper for clear, sharp prints. This method works well for invitations, cards, and crafts. Printing on cardstock saves time and looks professional. Always test a small piece first to avoid wasting material. Your designs will stand out with vibrant colors and crisp lines.
How Do I Clean the Name Tent After Use?
Clean your name tent gently with a damp cloth. Wipe off any dirt or stains carefully. Let it dry fully before storing. This stops mildew and keeps it in good shape. Avoid harsh chemicals to protect the surface. Regular cleaning helps your name tent last longer. Simple care makes a big difference.
Are There Digital Templates Available for Download?
Digital templates offer a huge variety of choices online. Editable name tent templates make events easy to organize. Many sites provide free and paid options. Customizing these templates takes only minutes. Clear instructions help you add names and designs. Perfect for parties, meetings, or classrooms. Save time and look professional at the same time. Digital templates bring creativity to your fingertips.
How Many Name Tents Can I Make From One Sheet?
One sheet of paper can make two to four name tents. Thick cardstock makes fewer tents because it is heavy. Thin paper allows cutting more tents from one sheet. You can fold paper in half or thirds to form tents. Designs with bigger letters need more space and fewer tents. Simple designs save paper and make more tents. Always plan your cuts before starting to avoid waste.
Conclusion
Folding a name tent well creates neat, professional displays for any event. Use name tents at weddings, conferences, or parties to keep things organized. Personal touches make name tents more welcoming and special. Add colors, drawings, or stickers to make your tent stand out. A clear, bold name helps guests find their seats quickly. Simple designs work best for easy reading. Practice folding your name tent to make it perfect every time. Enjoy making your event look great with these easy steps!