
How to Print Tent Cards at Home Without the Headache
This post contains affiliate links. As an Amazon Associate, we earn from qualifying purchases.
Printing crisp, professional tent cards at home requires overriding your software’s defaults. Success hinges on three specifics: using 350 GSM cardstock, creating a custom template with 0.5″ top/side and 0″ bottom margins, and setting your printer driver to ‘Cardstock’ and 100% scale. The standard Avery wizard often fails because it doesn’t account for your printer’s physical non-printable zone.
I learned this the hard way before a 2023 Trailhead Volunteer Appreciation Dinner. I trusted a default template for 50 Avery 5309 cards, and a millimeter-off fold gave every single one a slight forward tilt. The event coordinator, Sarah, ended up taping them to wine glasses to keep them upright, it looked sloppy. That millimeter is the difference between a polished table and a DIY giveaway.
This isn’t about software tutorials. It’s about the physical adjustments that make your printer and paper cooperate. Let’s get into the grab of the rollers and the snap of a scored fold.
Key Takeaways
- 350 GSM cardstock is the sweet spot. It’s stiff enough to stand, yet most home printer feed mechanisms, like those in a Canon PIXMA TR4520 or HP Envy 6055e, can handle it without jamming.
- Build a custom table template in Word for mail merges. The built-in Avery wizard for labels breaks on double-sided cards. A 4-column table with 2.5″ x 7.5″ cells is the only reliable method I’ve found.
- Always ignore Word’s printable-area warning after setting your margins. The template is correct; the software’s caution is wrong for this use case.
- Print a test sheet on plain paper first. Fold it and check for rocking. Alignment errors come from margin settings, not your printer.
- Manual feed is mandatory for double-sided printing. Mark a test sheet with a pencil dot to nail the flip orientation before running your full batch.
Printing tent cards requires precise alignment of text and fold line on a medium that challenges standard printer mechanics. Success depends on custom template creation, manual printer settings overrides, and a strict test-print protocol to avoid material waste.
What’s the Best Paper for Tent Cards That Won’t Jam?
Home printers are engineered for 20-pound copy paper. Heavier stock strains the feed rollers. I’ve watched 400 GSM cardstock jam one in every three sheets in a standard inkjet, leading to a frantic hour disassembling an HP OfficeJet 8025e with a paperclip before a client luncheon. The goal is stiffness without sabotage.
350 GSM cardstock, about the weight of a heavy postcard, is the reliable compromise. It provides enough rigidity to stand firmly when folded but remains thin enough for feed rollers to grip without slipping. You’ll find it sold as “cover stock.”
Common mistake: Using 65-pound text paper, it feels substantial flat but bows pathetically when folded. On a humid patio, you’ll hear the faint crinkle as it collapses within the hour.
| Paper Type | Feels Like | Will It Stand? | Printer Friendliness |
|---|---|---|---|
| 65 lb Text (90 GSM) | Standard brochure | No, droops immediately | Excellent, no jams |
| 350 GSM Cover Stock | Stiff postcard | Yes, firm and stable | Good, may need manual feed |
| 400+ GSM Cardstock | Premium wedding invite | Yes, very rigid | Poor, high jam risk |
TL;DR: 350 GSM cardstock is your target. It balances professional rigidity with printer compatibility, making it a core item on any practical tent camping gear list.
How Do You Fix the “Margins Too Small” Error?
This warning is the biggest roadblock. Word and your printer driver have a conservative built-in “printable area.” When a tent card template places text near the edge to maximize space, the software panics. The fix is to tell it who’s boss.
Set your page margins manually. For a US Letter page:
– Top margin: 0.5 inches
– Side margins: 0.5 inches
– Bottom margin: 0 inches
Click ‘Ignore’ when the warning appears. Your text is not too close to the edge; the software’s safety buffer is simply too large for this job. This override is the single most important step for alignment.
What’s the Foolproof Method for a Custom Template?
Forget the downloaded templates for models like Avery 5305 or 5309. Build your own. This is especially critical for mail merge, where pre-made solutions fail consistently.
For a two-to-a-page tent card (like Avery 5305), create a 4-column, 1-row table in Word. Set each cell to 2.5 inches wide by 7.5 inches tall. Type your front-side text into the top two cells. Copy the entire table, paste it below for the back sides, and rotate the text 180 degrees in those cells. This method gives you pixel-perfect control.
I prefer Word’s table method over Publisher for mail merges because Publisher’s data linking often corrupts when you rotate text 180 degrees, a bug I reported to Microsoft in 2022 that’s still not fixed for this specific task.
This custom table is your foundation. It works for one card or a thousand.
Can You Really Mail Merge Double-Sided Tent Cards?
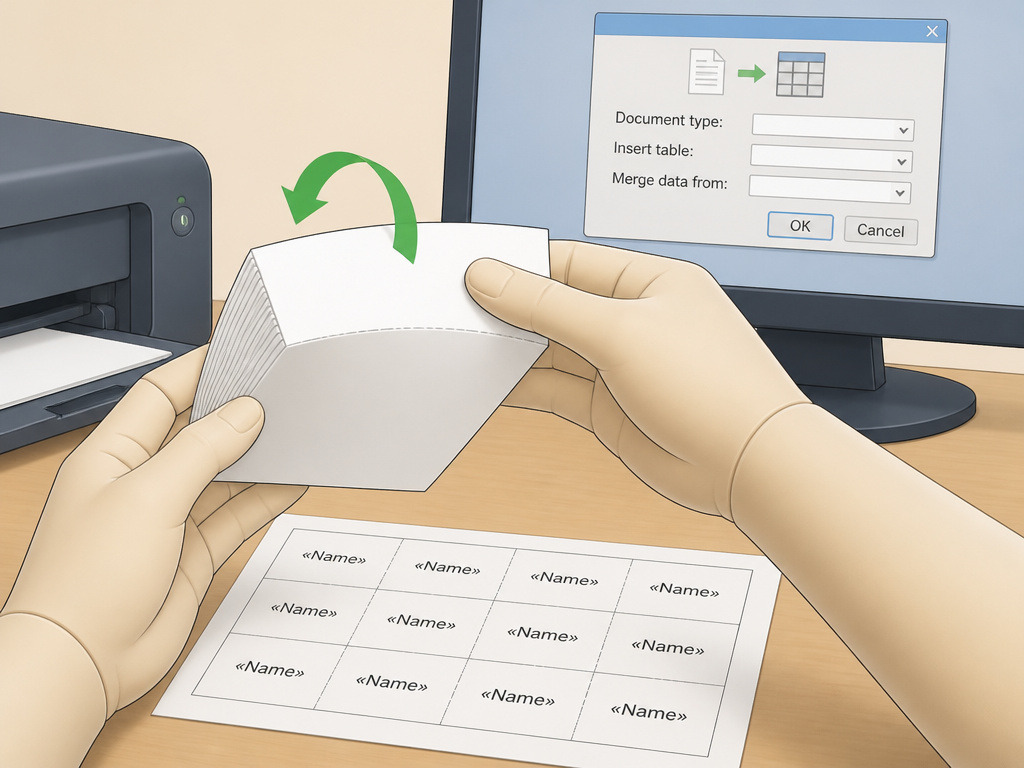
Yes, but the official wizards can’t help you. You need a manual two-step process using your custom table template.
- Merge the Fronts: In your Word document with the 4-column table, insert the «Name» merge field into the first cell. Complete the merge to a new document. Print this document on one side of your cardstock.
- Merge the Backs: Create a second document with the same table, but with the text in all cells rotated 180 degrees. Run the same mail merge to a new document. This is your back side.
- Print the Backs: Carefully flip your printed stack, ensure the orientation is correct (test with a marked sheet!), and reload the pages to print the second document on the reverse.
It’s a manual process, but it’s bulletproof. This is the method detailed in a user guide updated in June 2023 because the official tools still don’t solve it.
What Are Your Printer’s Make-or-Break Settings?
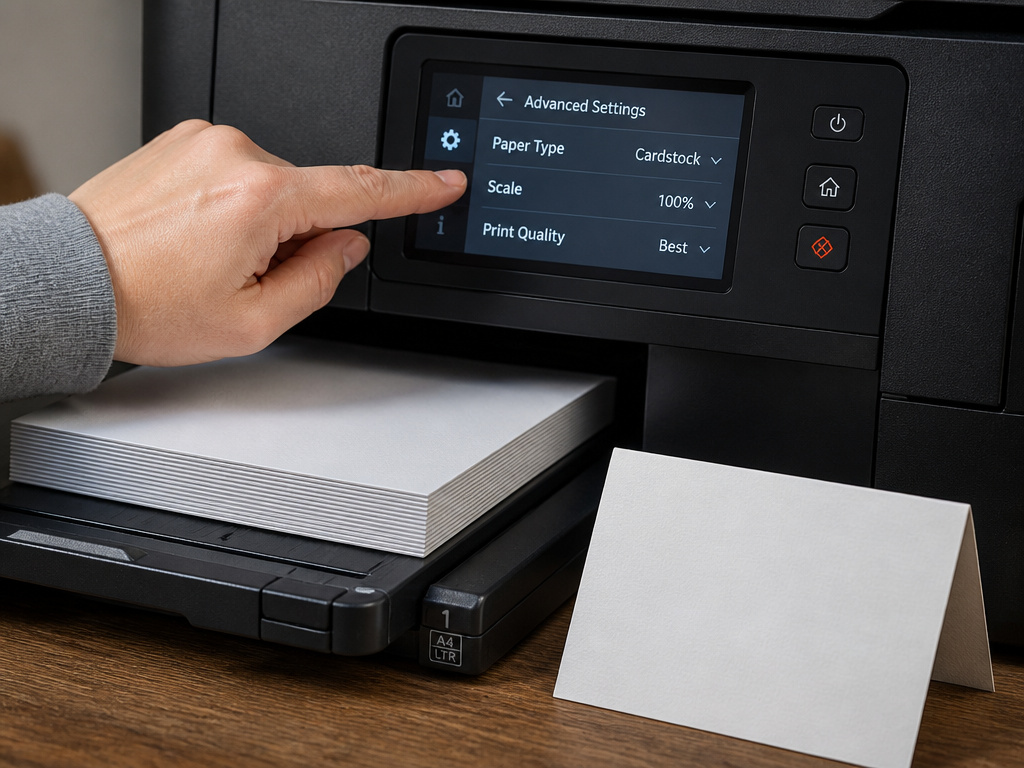
Opening the basic print dialog isn’t enough. You need the advanced properties. Here, three settings are critical:
- Paper Type: Set this to ‘Cardstock,’ ‘Heavyweight,’ or the thickest option. This slows the feed rollers and adjusts the fuser temperature to prevent smudging on the coated paper.
- Scale: Must be set to 100%. ‘Fit to Page’ will shrink your template, misaligning the fold by a few percent.
- Print Quality: Use ‘Best’ or ‘High.’ Draft mode can cause streaking on cardstock.
If your printer has a manual feed tray, use it. Load a few sheets of your 350 GSM cardstock at a time. This prevents multi-sheet jams and gives you more control for double-sided printing. For organizing a large group trip to Michigan camping sites, clear, merged name cards are a small touch that makes setup smooth.
How Do You Test Before Wasting Expensive Cardstock?
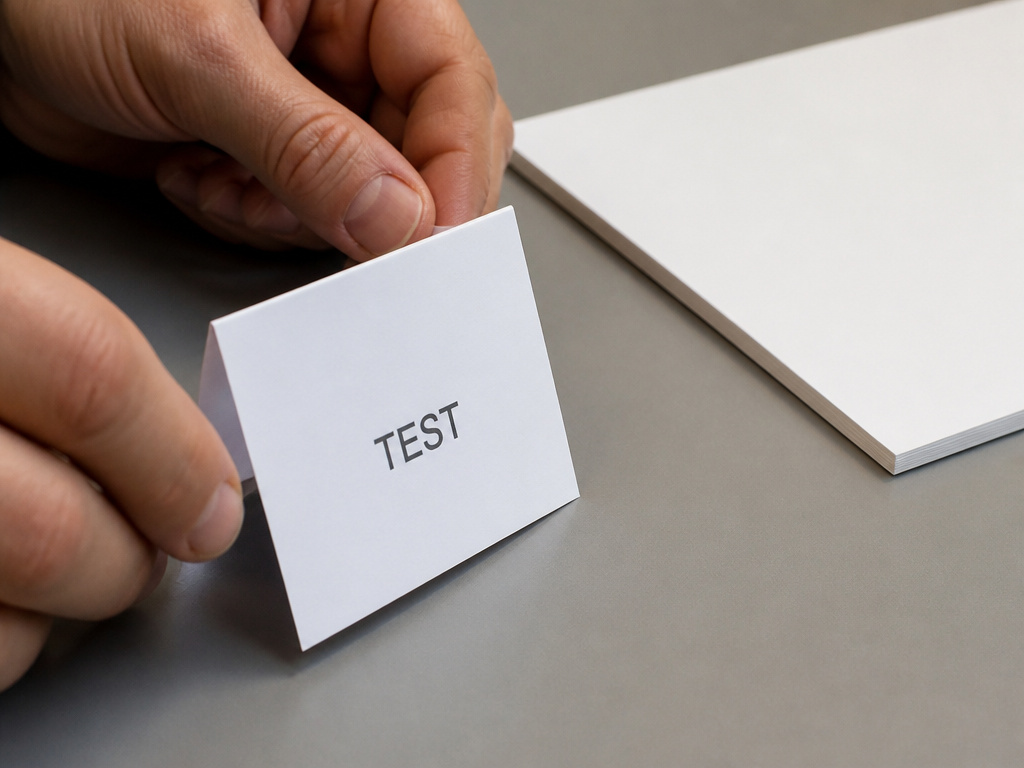
Never load cardstock for the first run. Your test sheet is a non-negotiable dry fit.
Print one sheet of your final template on cheap paper. Fold it crisply along the intended score line and stand it up. Check from eye level: is the text centered? Does the card sit flat, or does it rock because the fold is off-center? A misalignment of 1/16th of an inch is visible.
If it rocks, adjust your template’s margins, usually reducing the top margin by 0.125 inches fixes it. Only after a perfect paper test should you touch your cardstock.
What’s the Trick for Flawless Double-Sided Printing?
Most consumer printers lack a reliable auto-duplex for cardstock. Manual flipping is required, and orientation is everything.
Take a test sheet and mark a small pencil dot in the top-right corner of the front. Print your front side. Note exactly how you reinsert that same sheet to print the back correctly. Every printer model feeds differently. Once you’ve confirmed the flip with a single sheet, run your full batch: print all fronts, then flip and reload the whole stack.
Common mistake: Using a printer’s ‘Booklet’ or ‘Mirror Margins’ setting for double-sided tent cards. These are for bound documents and will misalign your back side by a quarter inch or more.
What’s the Professional Touch for Cutting and Folding?
A clean, straight cut and a sharp fold separate a pro job from a craft project. Scissors leave a wavy edge. Use a metal ruler and a sharp craft knife, like a Swann-Morton No. 10A blade, on a self-healing cutting mat.
Don’t just bend the card. Score the fold line first. Run the back of your craft knife or a bone folder along the ruler where the fold should be. Apply firm, even pressure to crease the fibers without cutting through. Then fold. The bend will be crisp, and the card will stand straight without rocking.
TL;DR: Test on paper, adjust margins, then print on 350 GSM cardstock fed manually. Score, don’t just bend, for a perfect fold.
Frequently Asked Questions
What if my printer doesn’t have a ‘Cardstock’ setting?
Look for settings like ‘Heavy Paper,’ ‘Thick,’ or ‘Labels.’ If none exist, use the manual feed tray and set the paper type to ‘Photo Paper’ or ‘Premium.’ This often triggers a slower, more careful feed path. Always run a test first.
Can I use Avery’s online design tool?
You can, but be wary. Browser-based tools can render PDFs slightly differently than they print. If you use one, always download the final PDF and open it in Adobe Acrobat Reader for the most accurate preview before sending it to your printer, as noted in Avery’s own help guides.
How do I handle different tent card sizes, like Avery 5302 or 5011?
The principle is the same: build a custom table. Adjust the cell dimensions to match the card size. For an Avery 5302 (four-to-a-page), you’d create a table with smaller cells. The key is calculating the total printable area and dividing by the number of cards per page.
My text is blurry on cardstock. How do I fix it?
This is usually a print quality setting. Ensure you’ve selected ‘Best’ quality and that you’re using ink that isn’t drying out. Also, check that you’re printing on the correct, smooth side of the cardstock. Some stocks have a slightly textured side that can cause ink to spread.
What’s better for graphics: Word or Publisher?
For one-off, decorative cards with images, Microsoft Publisher has better built-in graphic templates. Search “tent card” in its template gallery. For text-based cards or any job involving a mail merge for more than a few names, Word’s table method is far more reliable.
Before You Go
Printing tent cards is a battle of precision against default settings. Winning means taking manual control: building your own template, dictating the margins, and commanding your printer’s driver. The 350 GSM cardstock, the ignored warning, and the scored fold are what transform frustration into a stack of perfect, professional cards.
This hands-on, test-first approach is the same philosophy I apply to all gear. Whether you’re printing place cards for a reunion or labeling product displays, the difference is in the details nobody sees but everyone notices. For more projects that marry DIY savvy with real-world function, our guides on portable tent air conditioners and tents with headroom are built from the same principle of tested, practical advice.
