
Where to Buy a Tent: A Real Camper’s Retailer Guide
This post contains affiliate links. As an Amazon Associate, we earn from qualifying purchases.
You can buy a tent from dozens of places, but the right source depends on whether you need expert fitting for a serious backpacking shelter, a budget-friendly car-camping model, or a custom-built solution for extreme conditions.
My first “real” tent purchase was a disaster. I walked into a big-box store, dazzled by a shiny photo of a “4-person” dome, and handed over my cash. That tent saw exactly one Adirondacks weekend. A persistent drizzle turned into a downpour, and by midnight, a cold seep was coming through the floor. I spent the rest of the trip in my car, vowing to never trust a glossy picture again. The problem wasn’t the weather; it was buying from a place that couldn’t tell me what “3,000mm HH” meant for a damp forest floor.
Let’s cut through the noise. I’ve pitched tents from REI’s demo lawn to government surplus lots. This isn’t just a list of stores, it’s a map to the right retailer for your actual camping life, complete with the technical details they’ll either explain or ignore.
Key Takeaways
- Retailer expertise is your first line of defense. A specialist will ask about trip length and weather; a mass merchant shows you price and star ratings.
- Tent capacity is a lie. A “4-person” tent fits two adults and their gear comfortably. Always size up.
- Hydrostatic Head (HH) is your waterproofing guarantee. Demand at least 3,000mm for the floor and 1,500mm for the rainfly.
- A brand-specific footprint is non-negotiable. A generic tarp creates a water channel under your tent, a mistake I’ve made so you don’t have to.
- Your budget dictates material engineering. Under $150 gets you simple durability; over $400 pays for weight savings and storm-ready design.
Outdoor specialty retailers provide detailed, filterable catalogs organized by activity, capacity, and brand. Their product specifications include verified owner feedback, precise weight data, and often video setup guides, serving as a primary resource for informed purchasing decisions.
Which Tent Retailer Tier Are You Actually In?
You’re probably in Tier 2. Most first-time buyers are, because Google prioritizes Amazon and Walmart listings. The trap isn’t price, it’s buying a 68D polyester Coleman for a backpacking trip because the ‘4-person’ filter matched your car-camping search. The right tier aligns service with your need for advice and support.
The Specialists: REI, Backcountry & Expert Fitting
This is where you go when the cost of being wrong is a miserable, wet night. The staff here have usually pitched the tents they sell. They’ll probe your plans: “Is this for humid Appalachian Trail summers or dry, windy Rockies weekends?” Their return policies, like REI’s famed one-year guarantee, are your safety net. This is the place for a major investment, like the The North Face Wawona 6 with its massive vestibule, or a precision backpacking tool like the Big Agnes Copper Spur. You pay full MSRP, but you’re buying expertise and a curated selection of the best-reviewed models.
TL;DR: Choose this tier for any tent over $300, especially for backpacking or family camping where fit and function are critical.
The Mass Merchants: Amazon, Walmart & The Research-It-Yourself Zone
The draw is vast selection and competitive pricing. You can find a Coleman Instant Tent for under $50 or snag a deal on a known model. The filtering is basic, often just price and stars, and reviews are a minefield of backyard testers. I once watched a “5-star” video review for a tent that praised its “great ventilation” while showing it pitched without the rainfly in full sun. Support is transactional; returns are possible but lack the no-questions-asked grace of a specialist. This tier is perfect for a well-researched car-camping purchase, like the gems in our roundup of budget tents under $100.
TL;DR: Use this tier for cost-conscious, infrequent car camping where you’ve already done your homework on specific models.
The Specialists & Surplus: Custom Builds and Military-Grade Gear
This tier exists for needs off-the-shelf can’t meet. It includes cottage makers who hand-build ultralight shelters and official channels like the U.S. Defense Logistics Agency. The DLA’s Tents, Shelters, and Base Camp Components procurement page isn’t a storefront, but it’s the source spec for expedition-grade durability. Custom orders from small makers require deep commitment, often a 50% non-refundable deposit once material cutting begins. You get a perfect fit for a unique purpose, but you sacrifice flexibility and pay a premium for it.
How Big Should Your Tent Really Be?
Manufacturer capacity ratings describe a sardine can scenario: the maximum number of sleeping pads touching the walls. Real camping involves people, bags, and a pile of gear that shouldn’t sleep with you. For a couple, a so-called tents for couples is a cloth coffin. You need a 4-person tent. A family of four needs a 6-person tent. It’s that simple.
Peak height is a similar trick. A dome might be 77 inches tall in the very center, but the usable space where you can actually stand upright is a tiny circle. If headroom matters, look for cabin-style tents with near-vertical walls, a feature highlighted in some best two-person models designed for comfort.
Common mistake: Trusting the person-count alone, you’ll end up storing expensive gear outside, and changing clothes becomes a comedy of elbows and muttered apologies.
The solution is to ignore the “person” count and look at the floor dimensions in square feet. Then, subtract about 25% for gear. What’s left is your true sleeping space.
| Stated Capacity | Comfortable Sleeping Capacity | Recommended Minimum Floor Area |
|---|---|---|
| 2-Person | 1 Person + Gear | 30–35 sq ft |
| 4-Person | 2 Persons + Gear | 50–60 sq ft |
| 6-Person | 4 Persons + Gear | 80–90 sq ft |
What Do Those Technical Specs Actually Mean?
Marketing copy loves “weatherproof” and “durable.” The spec sheet tells the truth. Ignore it, and you buy a sunshade that fails in a drizzle. What if you ignore the HH rating? I did, on a 2018 Kelty Trail Logic. A persistent Oregon mist at 40°F created enough pressure to weep through the 1200mm fly within an hour; the condensation was indistinguishable from a leak, forcing an early retreat.
Hydrostatic Head (HH) is your waterproofing number. It’s the height of a water column (in millimeters) the fabric can hold before leaking.
* Tent Floor: Needs at least 3,000mm HH. Your body weight presses the floor into wet ground, creating high pressure.
* Rainfly: Needs at least 1,500mm HH, with 2,000mm+ preferred for all-season use. It faces rain pressure, not body weight.
Denier (D) indicates fabric thickness. Denier, ever notice how it’s touted like thread count? Higher must be better, right? Not exactly. For a floor, yes. But for a rainfly? A 10D silicone-treated nylon (like on my Zpacks Duplex) can be stronger pound-for-pound than a 40D polyester. I learned that after returning a heavier tent thinking I’d upgraded.
* Budget Floors: Often 68D+. Heavy, bulky, but durable against abrasion.
* Backpacking Floors: Can be 15D–20D. Light but fragile; a footprint is essential. For these ultralight two-person tents, it’s a required purchase.
Season Rating is about conditions, not calendar dates.
1. 3-Season: Handles rain and wind, with ample mesh for ventilation. This covers 95% of most camping.
2. 4-Season: Built with stronger poles, less mesh, and steep roofs to shed snow. Heavier, pricier, and a sauna in summer. Buying one for 3-season use is a classic, expensive error.
How Does Your Budget Translate to Performance?
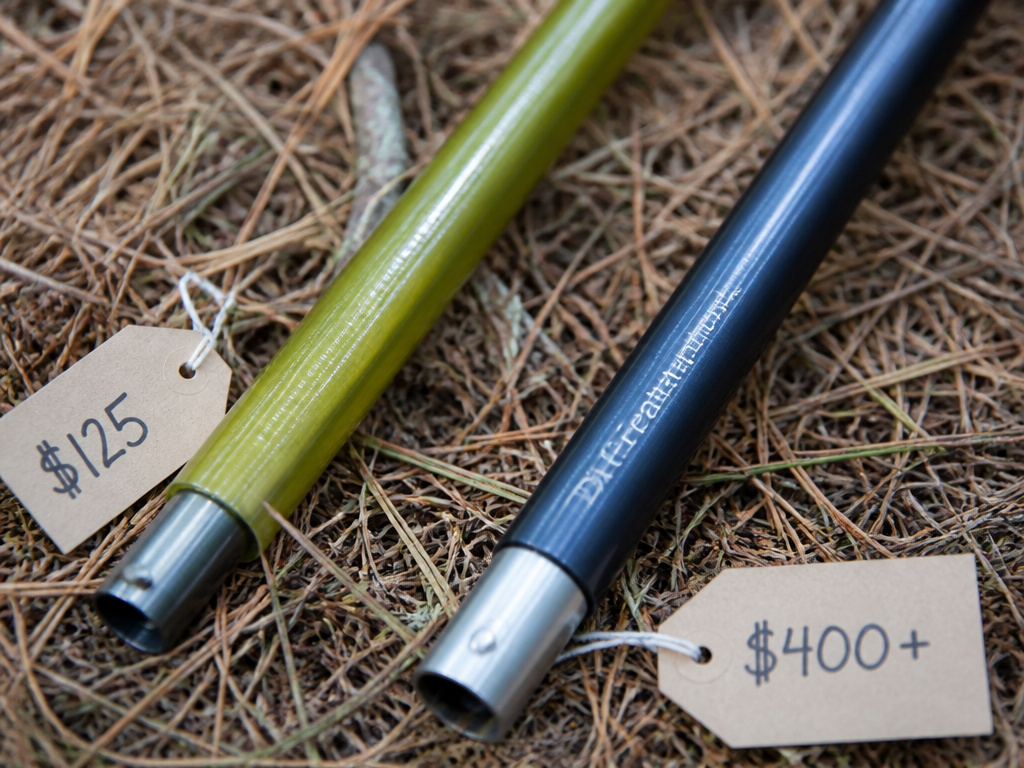
The price tag isn’t just for fabric and poles; it’s for engineering, quality control, and the warranty behind it. A $250 tent isn’t twice as good as a $125 tent, it’s engineered for a different type of user and a higher performance threshold.
Let’s talk about the feel. Budget tents (under $150) like the Coleman Instant series use heavier polyester and fiberglass poles. They work for a few fair-weather weekends a year, but ventilation is often poor. Mid-range ($150–$400) introduces better materials: aluminum poles, higher HH ratings, and thoughtful touches like gear lofts. The REI Co-op Marmot Tungsten (around $249) lives here, representing the sweet spot for reliable car camping. Premium ($400+) is where engineering focuses on weight savings and storm performance, using premium alloys and technical fabrics. A Big Agnes Copper Spur HV UL2 costs this much because shaving ounces while maintaining strength is expensive, a key consideration in our backpacking shelters for two guide.
| Price Bracket | Primary User | Typical Materials & Trade-offs |
|---|---|---|
| Under $150 | Occasional Car Camper | Polyester fabric, fiberglass poles. Sacrifices ventilation and long-term waterproofing. |
| $150 – $400 | Frequent Car Camper | Nylon blends, aluminum poles. Balances durability, features, and value. |
| $400 – $600 | Dedicated Backpacker | High-tech nylons, premium aluminum. Prioritizes low weight and stormworthiness. |
| $600+ | Ultralight/Expedition | Specialty composites, minimalist design. Maximum performance for minimum weight. |
What’s the One Thing That Ruins a Perfect Tent?
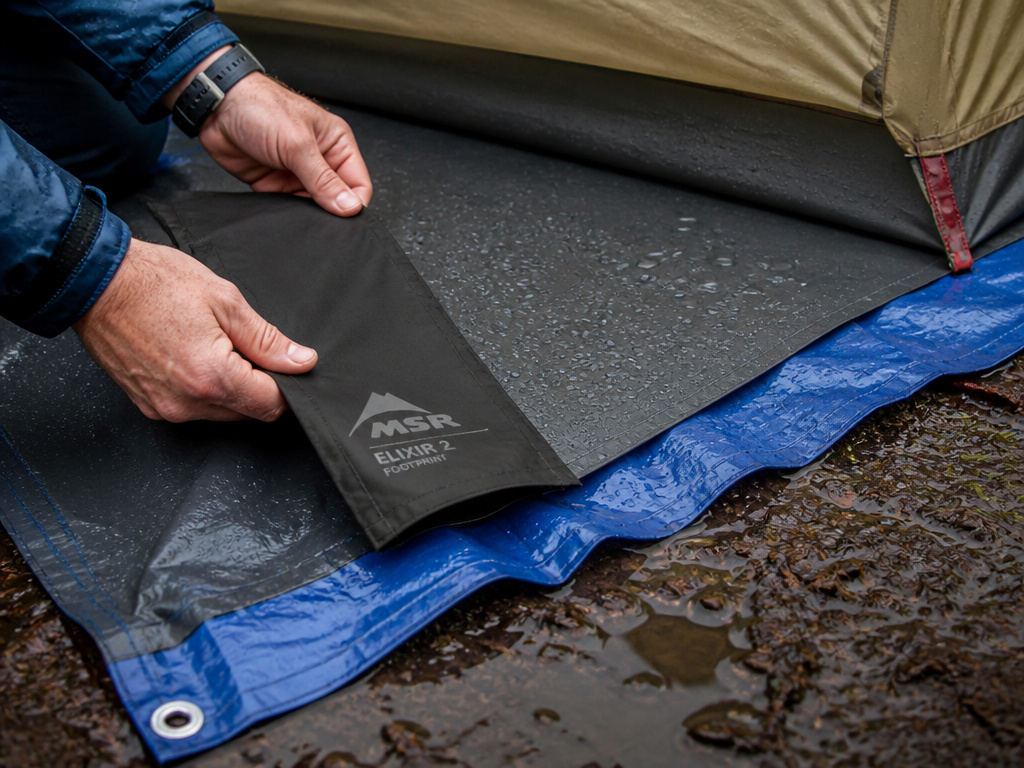
You can buy the perfect tent. You can understand every spec. One wrong accessory choice undoes it all: the footprint. On my first solo trip, I used a generic poly tarp cut too large for my Big Agnes Fly Creek. A midnight downpour channeled water under the tent, and the 15D floor’s 3000mm HH rating failed under the pressure. I woke up in a puddle. Now, I only use brand-specific footprints; their precise cut and reinforced panels have kept me dry for seasons.
Common mistake: Using a generic tarp as a footprint, if it extends beyond the tent floor, it creates a water-collection trough that channels rain directly underneath, soaking the floor from below in under an hour of heavy rain.
Always buy the brand-made footprint. It’s cut slightly smaller than the floor, so water runs off its edges onto the ground. This is non-negotiable for any floor under 40D.
The other silent failure? Not enough stakes. Most tents ship with a bare-minimum set. For a storm-worthy pitch using all guy-out points, you need extras. I pack six MSR Groundhog Mini stakes for corners and four Vargo Titanium Shepherds for guylines, the weight is negligible, but the hold in loose soil is transformative. This twenty-dollar kit turns a wobbly dome into a fortress.
Should You Rent or Buy Your Tent?
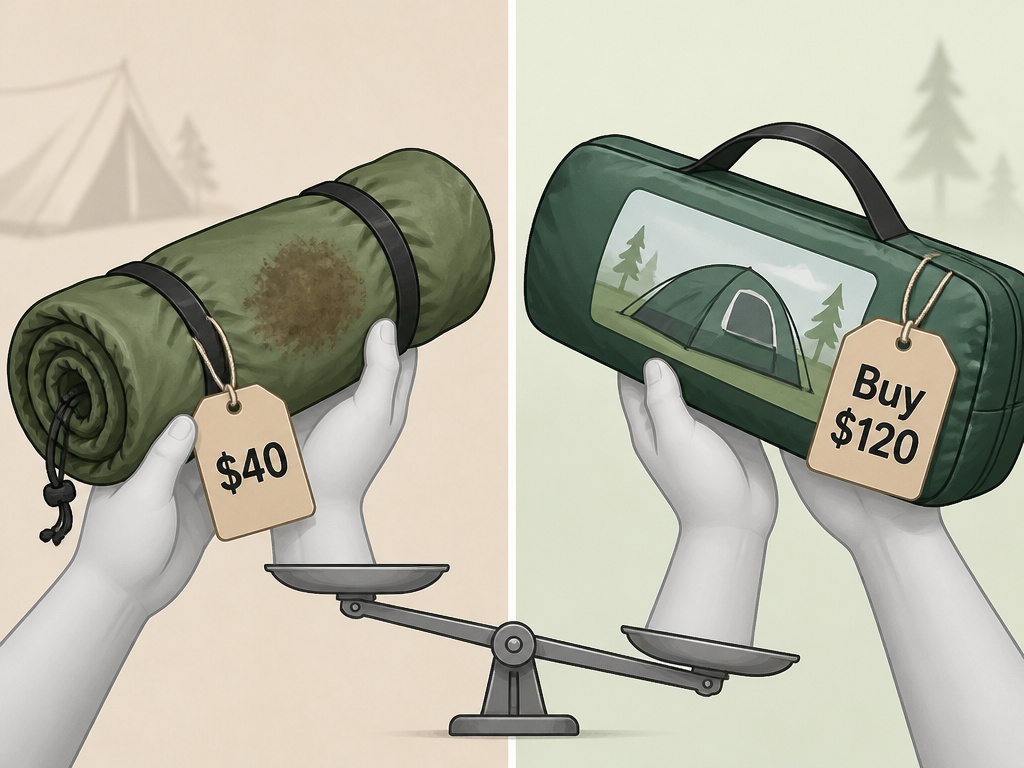
Let’s talk renting. It smells like bleach and disappointment, every rental tent I’ve picked up had that distinct, over-cleaned odor and at least one mystery stain. But the math? Surprising. At $40-$50 per weekend, three rentals cost you $120-$150. For that, you could own a decent entry-level tent forever, learn its quirks, and have it ready for spontaneous trips.
Renting makes sense in three narrow scenarios:
1. Testing a style: Trying backpacking before committing to a lightweight 2-person shelter.
2. Unusual needs: Requiring a massive cabin tent for a one-off family reunion.
3. Travel logistics: Flying to a destination where transporting your gear is costly or impractical.
Buying wins if you see more than three camping nights in your future. For the solo adventurer, owning a reliable solo camping tent is a cornerstone of independence. You control its history, its cleanliness, and its readiness.
Frequently Asked Questions
Can I buy a tent directly from the manufacturer?
Sometimes, but it’s often not the best path. Major brands like The North Face sell through retailers like REI to ensure you get fitting advice and support. You might find closeouts on their sites, but selection and price are usually better at a retailer. Small, direct-to-consumer brands are the exception.
Are used tents worth the risk?
They can be a fantastic value if you inspect ruthlessly. Set it up, check for pinholes by holding the fly to the sun, and ensure all poles are present with intact shock cord. Most critically, simulate rain with a hose. A used high-quality tent is a smarter buy than a new low-quality one.
What’s the real difference between instant and standard tents?
Instant tents have pre-attached poles that pop open in a minute. They’re heavier, bulkier, and less stable in wind, but unbeatable for fair-weather car-camping convenience. Standard tents, with separate pole segments, offer better stability, lighter weight, and more design options for serious conditions.
Do I need a 4-season tent for winter?
Only if you’re camping in snow or sustained, windy sub-freezing temps. A 4-season tent has stronger poles and less mesh to retain heat. For cold, dry winter camping, a sturdy 3-season tent with a full-coverage fly is sufficient, and far more versatile for the rest of the year.
How important is a vestibule?
Critical. It’s your mudroom for boots, wet packs, and cooking gear. A tent without one, or with a tiny vestibule, forces you to cram gear inside or leave it exposed. For two-person backpacking shelters, a dual-vestibule design is a luxury that eliminates arguments over whose wet gear goes where.
The Bottom Line
Stop shopping for a fictional camping life. Be honest: are you a car camper needing space, a backpacker counting ounces, or a once-a-year renter? That answer points you to the right retailer, specialist, mass merchant, or rental platform.
Remember the three non-negotiable specs: a 3,000mm HH floor, a capacity rating two people above your headcount, and the brand-specific footprint. Buy extra stakes. And please, pitch it in your backyard before the trip. Your tent is more than a purchase; it’s your shelter from the storm. Getting it right turns that receipt into an investment that pays off for hundreds of quiet nights under the stars.
