How Do You Build A Tent
This post contains affiliate links. As an Amazon Associate, we earn from qualifying purchases.
Building a tent involves selecting a suitable site, assembling the poles, staking the tent securely, and attaching the rain fly properly. These key steps ensure your tent is stable and weather-resistant. Further explanation and detailed instructions will follow later in the article for those interested in a deeper understanding.
Essential Facts in 30 Seconds
- Select a flat, clean site at least 200 feet from water to pitch your tent.
- Organize and assemble tent parts like poles and fittings before setup.
- Insert poles into sleeves forming an “X” shape and secure with pins and rings.
- Anchor the tent with appropriate stakes or weights and tighten guy lines for stability.
- Attach the rain fly snugly over the tent and check for gaps to ensure waterproofing.
Selecting and Preparing the Tent Site
Set up your tent on flat ground for a steady and comfy sleep. Avoid low spots that hold water. Water can flood your tent and make things wet.
Pick hard surfaces like rock or gravel. They keep your tent stable and protect nature. Additionally, ensure that the area is debris-free ground to further enhance your tent’s stability and comfort.
Clear sticks, rocks, and trash from your site. They can hurt your tent or cause pain. Always remember to avoid low areas where water could collect during rain.
Stay at least 200 feet away from water. This keeps water clean and stops animals from being scared.
Watch out for dead trees or branches above. They might fall and cause harm.
Find a place with some shade. Shade keeps your tent cool and safe from sun damage. Follow these steps for a safe, comfy camping spot. Your adventure will be better for it.
Laying Out Tent Components
Lay out your tent parts carefully. Sort each piece by type and count. Check corner fittings, spreader pipes, and hip rafters. Make sure they fit your tent model. This prevents tension problems later. Use a checklist to count poles, stakes, and fittings.
Place corner fittings and spreader pipes to form the tent’s frame. Self-adhesive one-way door tents can also be used to enhance privacy in a tent while allowing light. Match this frame to the tent’s footprint. Put hip rafters inside the frame, pointing toward the center. This is where the crown piece sits. Arrange all frame parts using the layout guide. Keep proper spacing between parts.
Don’t drag the fabric. It can tear or wear out. Ensure you have a flat, dry area for setting up your tent to avoid complications during installation.
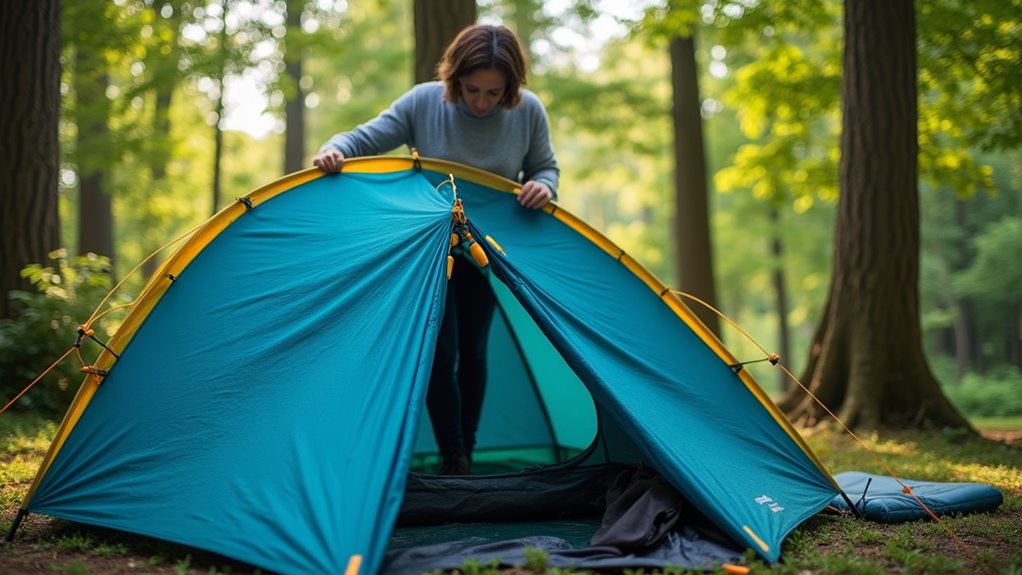
Spread the tent top over the frame outline. Make sure all sections line up well. With parts organized and ready, start assembling your tent. This method saves time and avoids confusion.
Assembling and Inserting Tent Poles
Assemble your tent poles for strong support and easy setup. Identify your poles first. Fiberglass poles with shock cords help you build fast. Steel or aluminum poles stand strong in wind. Lay poles by size. Match them to tent sleeves or clips.
Push poles all the way inside the sleeves. Make sure they cross in an “X” for better strength. To ensure a stable structure, insert poles into designated sleeves gently to avoid tearing fabric or seams. Use the pin and ring system to connect poles. Insert the pin at one end, bend the pole, and hook it to the ring. Do this for all corners.
Check connections; they should hold tight but not force too hard. Raise the center poles last. Adjust poles for even height and tension. This keeps your tent steady and ready for use. Remember to inspect poles for cracks to ensure their durability during your camping trip.
Securing the Tent to the Ground
After setting up your tent poles, secure the tent to the ground for safety.
Match your stakes to the soil. Use long, thick stakes in loose or sandy soil to avoid slipping. Hard surfaces like concrete need heavy weights such as sandbags. Stakes won’t work there. Additionally, using stronger pegs is recommended for hard ground to ensure stability. Rocky ground calls for the “big rock little rock” trick. Place a stick between two rocks to hold the tent. In snow, bury a log or rock sideways. This method, called a deadman anchor, holds the tent firmly. Additionally, selecting the right tent stakes based on terrain is crucial for optimal stability.
Tighten your tent by pulling the guy lines. This keeps the tent steady in wind. Strong anchors and tight lines stop the tent from moving.
Secure your tent well for a safe and comfortable camp.
Installing the Rain Fly and Final Adjustments
Install the rain fly carefully to keep your tent dry and cozy. Match the rain fly’s shape and holes with the tent’s frame. Make sure the front door of the rain fly lines up with the tent’s entrance.
Pull the rain fly over the tent, fitting it tightly over the poles. Use velcro straps or clips to hold it firmly so wind won’t move it. Attach guy lines to the rain fly’s points. Stake these lines at an angle to keep them tight.
Tighten each line little by little to stop sagging and water from pooling. Check that the rain fly covers the tent edges well to guide water away. Pour water on it or spray to test. Fix any gaps to block rain perfectly. A properly installed rain fly reduces condensation build-up inside the tent, enhancing your camping experience. Additionally, an effective rain fly can also improve wind protection for your tent.
Frequently Asked Questions
How Do I Choose the Right Tent Size for My Group?
Pick a tent size based on how many people will sleep inside. Add two extra spots for gear and comfort. For example, a tent for four people fits six better. This space helps avoid crowding and keeps gear dry. Choose tents with clear capacity labels. Check the floor area and headroom too. Bigger tents cost more but offer better comfort. Make sure everyone has space to sleep and store bags. This way, camping stays fun and cozy for all.
What Tools Do I Need for Tent Assembly?
Tent assembly causes 80% of camping problems. You need simple tools like stakes, a mallet, measuring tape, and a pole horse. Stakes hold the tent firm in the ground. A mallet helps push stakes without damage. Measuring tape ensures correct pole placement. A pole horse keeps poles steady while building the tent. Using these tools makes setup quick and easy. Camping becomes fun with a well-built tent.
How Can I Avoid Condensation Inside the Tent?
Keep air moving inside the tent by opening doors and vents. This helps stop water drops from forming on the tent walls. Store wet clothes and shoes outside the tent. Cooking inside creates steam and adds to dampness. Dry your gear before bringing it inside. Use a small fan or a mesh window for better airflow. These steps cut down on moisture and keep you dry.
Is It Safe to Camp in Windy Conditions?
Winds stronger than 30 mph can break your tent. Use strong stakes to hold your tent tight. Set up camp near trees or hills to block the wind. Avoid open fields or hilltops where wind hits hard. Check the weather before camping to stay safe. Strong wind can cause damage and risk your safety. Stay alert and prepare well for windy days.
What Should I Do if It Rains While Camping?
Rain during camping? Stay dry with rain gear. Use a tarp for extra shelter. Keep your things in waterproof bags. Play games or read books to pass time. Rain does not ruin fun. Stay safe and enjoy the outdoors.
Conclusion
Building a tent is easier than you think. Pick a flat, dry spot free of rocks and sticks. Lay out your tent parts: poles, fabric, and stakes. Connect the poles and slide them through the tent sleeves or clips. Push the poles upright to give the tent shape. Use stakes to fix the tent corners firmly to the ground. Pull the rain fly over the tent for extra rain protection. Make sure it fits snugly and ties down tight. Practice setting up your tent a few times before camping. This builds skill and speeds up the process. A well-built tent keeps you safe and dry during your trip. Gather your gear, try these steps, and enjoy your camping adventure!