How To Construct A Tent
This post contains affiliate links. As an Amazon Associate, we earn from qualifying purchases.
To construct a tent, select a flat, dry area and set up the tent by assembling poles, securing the fabric, and staking it firmly to the ground. After raising the tent and tightening guylines, attach the rain fly for added weather protection. Further details on choosing the site, assembling components correctly, and maintenance tips will be provided in the following sections.
Essential Facts in 30 Seconds
- Select a flat, dry spot free of hazards for setting up the tent.
- Assemble poles carefully, checking for any damage.
- Attach the tent fabric to poles and stake corners securely.
- Fit the rain fly snugly, ensuring ventilation and door alignment.
- Dismantle, clean, and store the tent properly after use.
Site Selection and Preparation
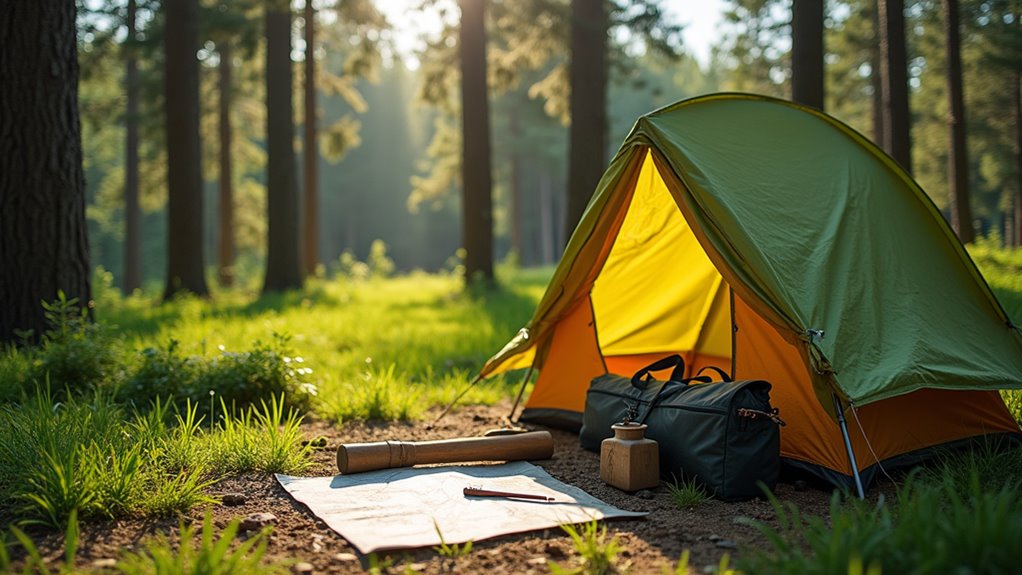
Selecting the right campsite matters for a great outdoor trip.
Pick a spot easy for all to reach, especially for those with physical limits. Find flat ground to stay safe. Avoid low areas that flood or places with dead branches overhead. Camp only in designated spots to protect nature. Stay away from water edges to help animals and plants.
Pay attention to shade and wind to stay comfortable. Clear rocks and sticks before setting your tent. Put a tarp under the tent to keep water out. Place your tent head uphill on slopes for better sleep. Remember to look for natural windbreaks to enhance your tent’s protection from strong winds. Additionally, check for hazards like falling branches that could pose a risk to your safety while camping.
Keep food sealed and away from animals. Watch for bears and other wildlife to stay safe.
Tent Footprint and Tent Body Layout
A strong tent footprint protects your tent and keeps you comfortable. Measure your tent floor first. The footprint should match this size closely. Avoid extra material that can catch water or dirt.
Lay the tent on the footprint cloth. Trace the outline with a permanent marker for accuracy. Leave a small margin for full coverage.
Use tough materials like Tyvek or ripstop nylon. These fabrics resist water and wear well. Cut extra pieces for vestibules if needed. A well-fitted footprint enhances tent integrity by preventing leaks and punctures.
Place the footprint under the tent. Make sure it fits tight and doesn’t stick out. A footprint that’s too big can collect water.
Check your footprint often for damage. Clean it to keep it working well. A good footprint helps your tent last longer and keeps your camping dry and safe. Additionally, using a footprint can prolong the life of the tent floor, ensuring that it remains clean and functional for many camping trips.
Pole Assembly and Insertion
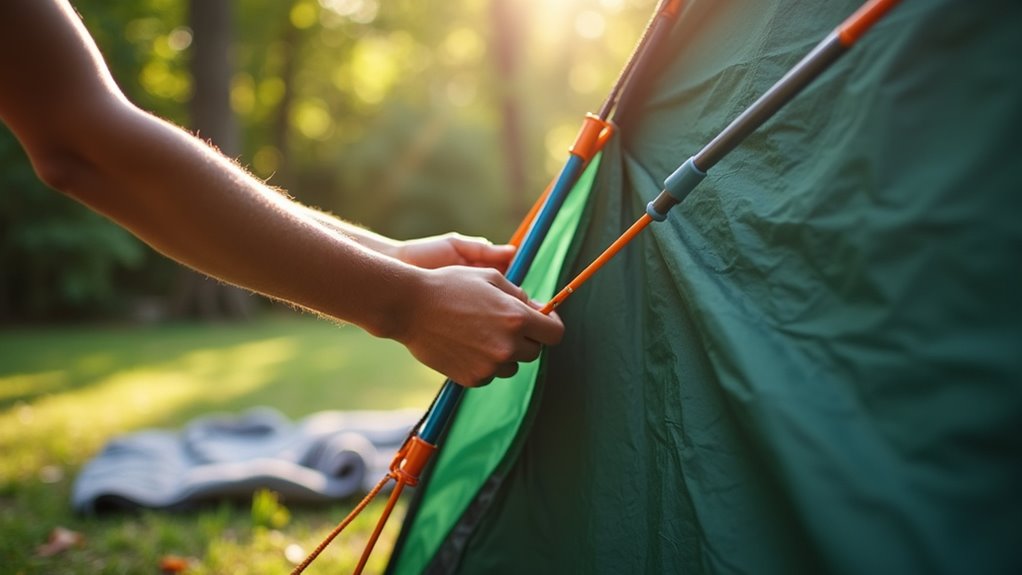
Identify each tent pole by size and type before assembly. Poles come in different kinds: corner, center, and side poles. Materials include fiberglass and aluminum. Check all poles for damage, especially shock-corded ones. Make sure all segments fit well and align properly. Lay poles flat near the tent footprint for easy reach. Group corner poles separate from center poles to keep things organized. Ensure regular maintenance of your poles to prolong their lifespan.
Unfold shock-corded poles carefully, connecting each segment firmly. Insert pinned ends into pin and ring sets at tent corners. Slowly bend poles to create the right tension shape. Avoid forcing poles to prevent damage to poles or tent fabric. Proper surface preparation is essential for ensuring the longevity of your tent’s frame.
Place plywood under pole bases to stabilize them on soft ground. This method helps build a strong and secure tent frame.
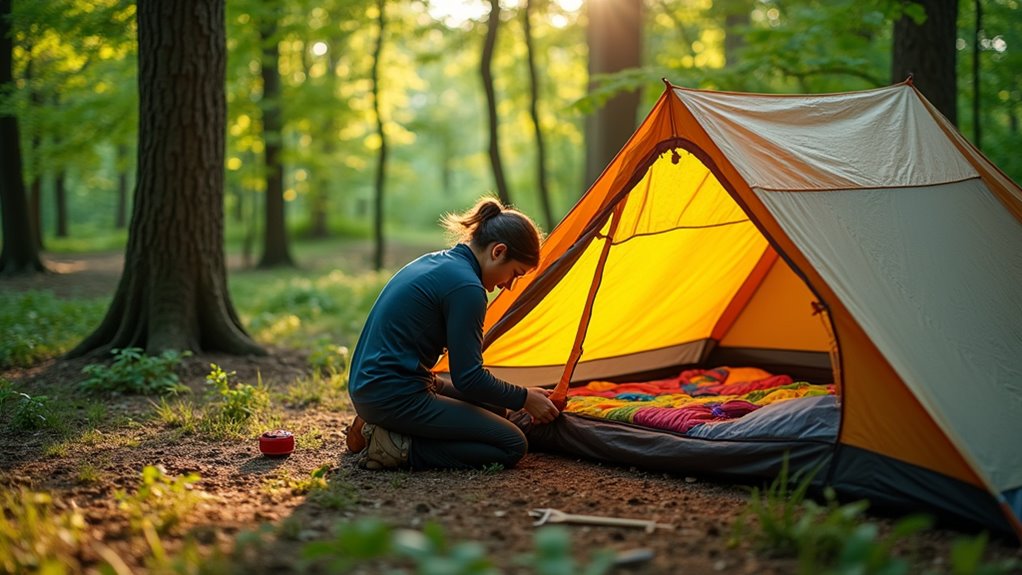
Raising and Securing the Tent
Assemble the poles first. Raise the tent and make sure it stands strong. Stake down one corner to start. Face the door in the best direction. Press the stakes firmly into the ground. Use your hand or a flat rock for help. Pull the tent fabric tight with each stake. Adjust if you find rocks or roots beneath.
Move around the tent, staking each corner next. Keep the tension even all around. Use metal stakes for hard ground. Use plastic stakes for soft soil. Push stakes deep to stop them from coming loose. Tie out extra points with guylines for more strength, as proper tension can enhance stability. Anchor these away from the tent’s base.
Check guylines often and tighten as needed. Look over each stake and pole once done. Make sure everything stays firm and safe. Proper usage enhances overall camping experience your tent is now ready to protect you.
Installing the Rain Fly
Start by placing the rain fly over the tent. Match the rain fly’s doors with the tent’s doors.
Attach the rain fly to the poles using clips or Velcro strips. Make sure it stays tight to keep out rain and wind. A tent designed for wet conditions should have a waterproof rating of at least 1,500 mm to ensure optimal protection.
Leave small gaps for air to flow. This reduces moisture inside the tent and keeps you dry and comfortable. A well-installed rain fly can lower condensation by up to 50%. Additionally, a rain fly acts as a protective layer during sudden storms, ensuring your tent remains dry and secure. Simple steps make your camping experience better.
Aligning Rain Fly Properly
Align the rain fly carefully to keep your tent dry in bad weather.
Find the front side of the rain fly. It has many grommets spaced about 18 inches apart.
Place the rain fly gently over the tent. Make sure the grommets match the tent’s poles or hooks.
Check the awning part. It should cover the door but not block it.
Smooth out wrinkles to stop water from collecting. Water runs off better this way.
Look and feel the rain fly to confirm it covers the tent and awning fully. A well-fitted rain fly protects you from rain and wind.
Securing With Fasteners
Align the rain fly carefully over your tent. Attach the buckles on the rain fly to the tent body. Make sure the corner webbing is loose before fastening. This step helps avoid tearing the fabric. Stake the vestibules tightly to keep the tent stable. Pull the webbing evenly to stop sagging.
Use these fasteners and techniques for strong hold:
| Fastener Types | Fastening Techniques |
|---|---|
| Buckles | Fasten tightly for a secure fit |
| Webbing | Pull evenly for steady tension |
| Guy-lines | Tie with bowline or clove hitch |
| Velcro Loops | Wrap around poles to hold firm |
Check all connections again. Make sure the rain fly stays tight. This keeps wind and rain out. Your tent stays dry and safe.
Ensuring Ventilation Gaps
Proper ventilation gaps keep your tent dry and comfortable during rain. Good airflow lowers humidity and stops condensation inside.
Match the rain fly’s vents with your tent’s doors and mesh windows. This step boosts airflow and cuts dampness. Use guy lines to pull the rain fly away from the tent walls. This creates space for air to move freely. Keep the rain fly at a 45-degree angle for strong support.
Make sure the rain fly doesn’t touch any mesh areas. Leave mesh screens open under the rain fly. This helps air flow through your tent all night.
Proper ventilation stops mold and mildew from growing. It makes your camping trip more enjoyable and healthy.
Additional Considerations and Tips
Set up your tent on clean, flat ground free from rocks and plants. Clear the area to avoid damage to the tent fabric. Check for underground cables or pipes to prevent accidents.
Follow local building and fire safety rules, especially when using heaters or stoves. Use tents made with flame-resistant fabric to reduce fire risk. Place fire extinguishers nearby for larger tents. Mark exit paths with bright signs that stay lit and keep paths clear.
Secure your tent well using stakes or weights based on the soil type. Keep guy wires tight and high enough to avoid tripping. Do a final safety check before starting your event to ensure everything is ready.
Frequently Asked Questions
How Do I Choose the Right Tent Size for My Group?
Pick a tent that fits your group size well. Pick one that holds two people more than your group. This gives extra space for comfort. Think about gear and bags too. A tent for four suits a group of two or three. Space matters for a good night’s sleep. Bigger tents weigh more. Balance size with how much you can carry. Check tent dimensions to know the real space. Some tents say “3-person” but feel tight with three adults. Extra room helps if weather turns bad. Choose wisely for fun and rest outdoors.
What Should I Do if It Rains During Setup?
Rain during setup? Stay calm and act fast. Put on rain gear to stay dry. Find a tree or something tall for shelter. Set up the tent quickly under this cover. Then, attach the rainfly tightly to keep water out. This method protects your gear and keeps you warm. Staying prepared helps you avoid wet clothes and cold nights. Simple steps make a big difference in bad weather.
How Can I Prevent Condensation Inside the Tent?
Condensation forms when warm air meets cold surfaces inside your tent. Keep air moving by opening doors a little and setting vents right. Store wet clothes and shoes outside the tent to stop extra moisture. Avoid cooking inside because it adds steam and makes the tent wet. Use a ground tarp to keep dampness from the floor. These steps cut down moisture and keep your tent dry and comfy.
Are There Specific Tents for Different Weather Conditions?
Tents come in types made for different weather. Four-season tents use strong, weather-proof materials. They protect you in snow, wind, and rain. Three-season tents are lighter and best for spring, summer, and fall. They keep you dry and cool in mild weather. Pick a tent that fits the weather where you camp. This choice makes your trip safer and more comfortable.
How Do I Pack My Tent for Transport?
Think of your tent like packing a small bag. Fold all parts carefully to save space. Roll the tent fabric tightly to keep it neat. Use a strong, waterproof bag for carrying. This method protects your tent and makes travel easy. Keeping your gear organized helps you start your trip fast. Simple steps like these make camping less stressful.
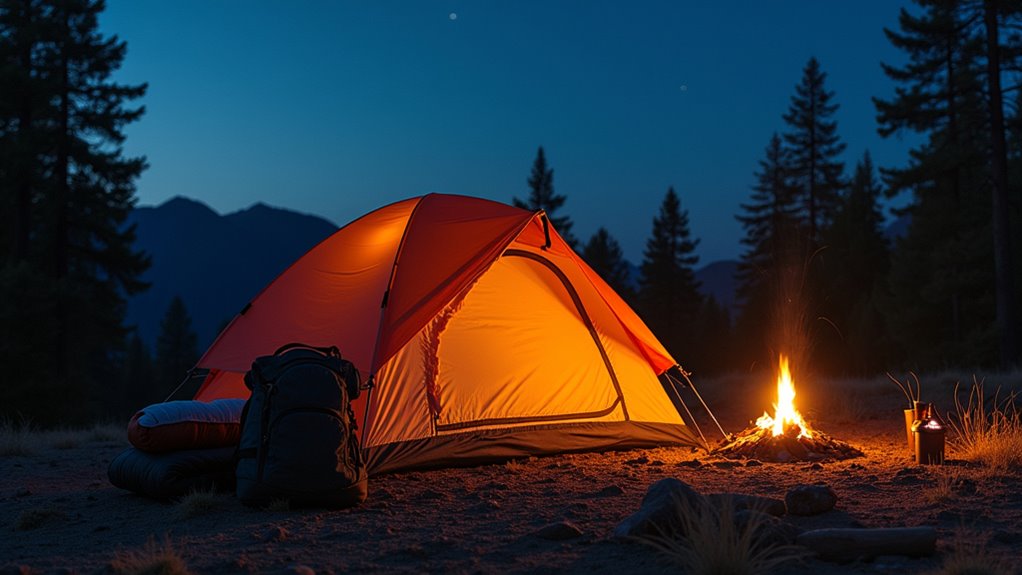
Conclusion
Stand back and admire your work. Your tent looks strong and ready. Stakes hold firm in the ground. The rain fly fits tight and protects you. A good tent keeps you safe from wind and rain. It also gives you a cozy place to rest. Your campsite is now ready for fun and adventure. Enjoy every moment under the open sky. Memories made here will last forever.