How To Set Up Beach Tent
This post contains affiliate links. As an Amazon Associate, we earn from qualifying purchases.
Setting up a beach tent involves selecting a durable, lightweight fabric like ripstop nylon, assembling the frame by securely connecting the poles, and anchoring it firmly with sandbags and stakes. Tightening the guy lines will help keep the tent stable in windy conditions. Further details on each step and tips for maintenance are provided below for those seeking a more thorough guide.
Essential Facts in 30 Seconds
- Choose a lightweight, durable beach tent with sun protection and sufficient space.
- Assemble the tent frame securely, ensuring all parts are tightly connected.
- Anchor the tent using sandbags and drive stakes at a 45° angle for stability.
- Adjust guy lines regularly to maintain tension and stability.
- Clean, dry, and inspect the tent after use for damage.
Choosing the Right Beach Tent
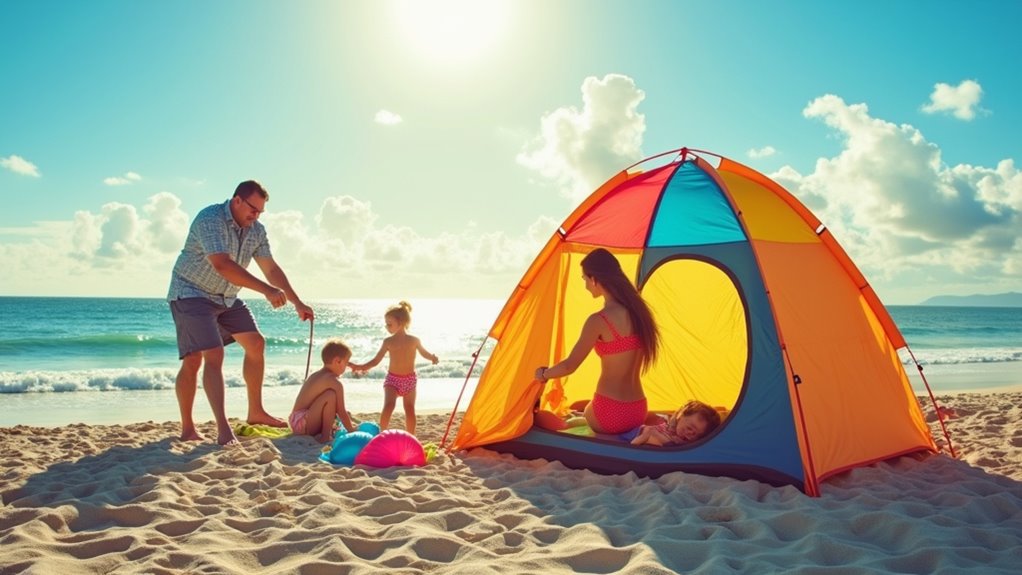
Pick a beach tent that fits your needs well. Check the tent fabric first. Ripstop nylon and polyester protect against the sun and last long.
Think about the style next. Traditional canopies are strong and give lots of shade. Pop-up tents set up fast and are easy to carry. Hybrid tents offer a mix of both. It’s essential to ensure that your chosen tent complies with local regulations to avoid any issues.
Size matters. Make sure the tent fits your group comfortably. Look for strong features like sand pockets or anchor bags. These keep the tent steady in wind.
Consider the weight too. Choose a tent light enough to carry easily. The right tent provides essential protection from the elements, ensuring a fun and safe beach experience.
The right tent keeps you safe, cool, and comfortable. It makes your beach day better.
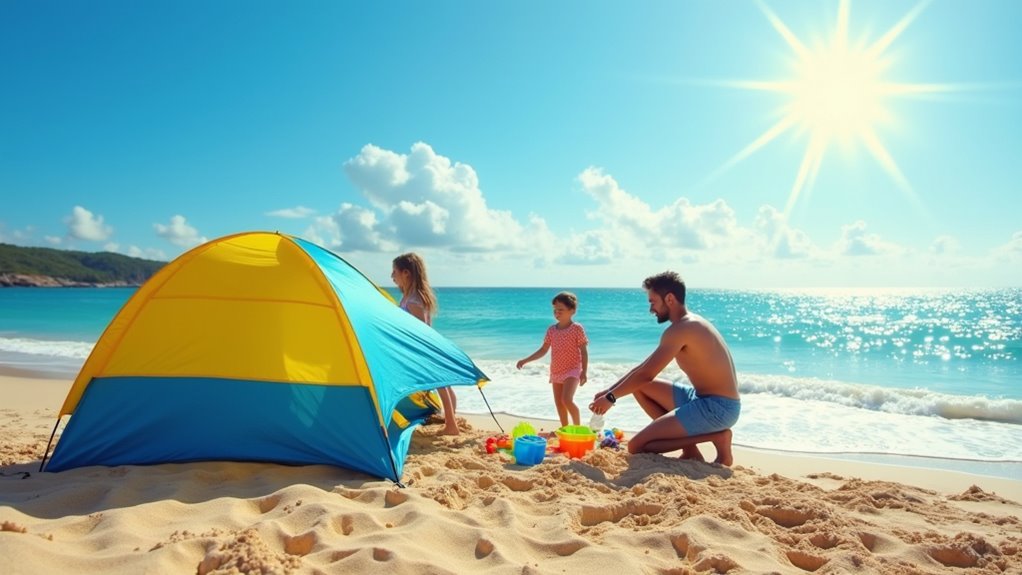
Setting Up the Tent Frame
Setting up the tent frame builds the base for your beach shelter. Start by gathering all frame parts: poles, connectors, locks, and anchors. Sort these by size and shape to make assembly easier. Check poles for damage or bends to ensure strong support. Learn how the locking parts work—buttons, latches, or clips. It’s important to disassemble the poles properly to maintain their integrity.
Next, join the poles by pushing ends into connectors and locking them in place. Shape the frame as a rectangle, dome, or square. Make sure every joint clicks tightly. Lift the frame carefully, keeping it balanced. Use bungee cords to add extra strength.
Additionally, ensure all connections fit snugly to maintain stability during setup. Adjust pole angles slowly to avoid bending. Confirm the frame stands straight before adding the tent fabric.
Anchoring and Securing the Tent
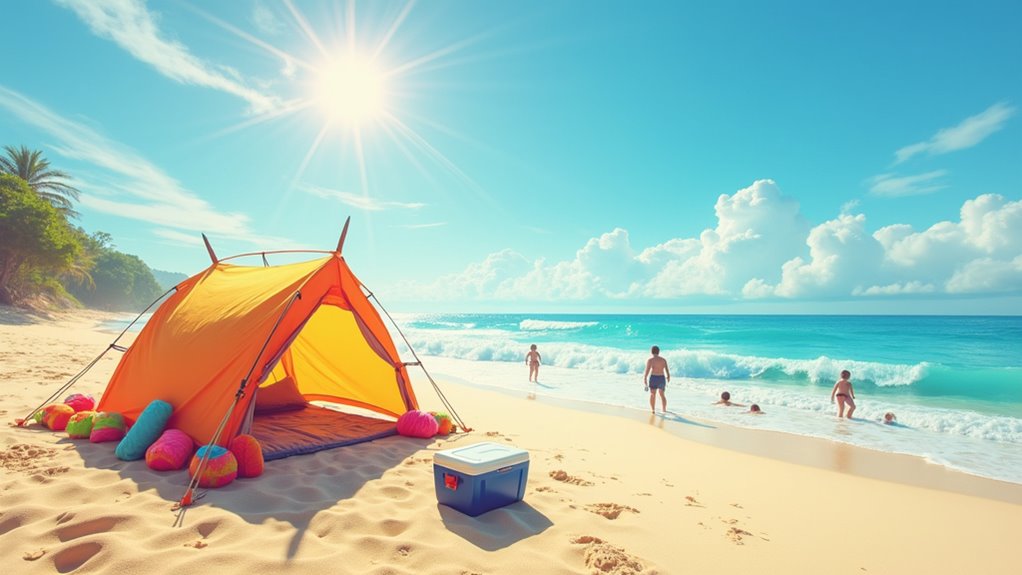
Proper stake placement keeps your beach tent steady.
Use sandbags at the corners. They add strong weight to hold the tent down.
Tighten the guy lines well. This spreads the force evenly and stops the tent from moving in the wind.
Strong anchors mean a safer, more stable tent.
Proper Stake Placement Techniques
Keep your beach tent steady with strong stakes. Drive stakes at a 45° angle away from the tent. This angle holds best in sand and wind. Use longer stakes to stop them from pulling out.
Follow these tips for strong stake placement:
| Stake Technique | What to Do |
|---|---|
| Angle Placement | Push stakes in at a 45° angle. |
| Diagonal Positioning | Line pegs up with the tent’s seams. |
| Guy Line Tension | Make a “V” shape to spread tension. |
| Deadman Anchoring | Dig holes to find harder sand below. |
| Use of Durable Materials | Pick strong stakes for long use. |
Strong stakes keep your tent safe from wind and waves. Try these simple steps for better hold.
Utilizing Sandbags Effectively
Use sandbags to keep your beach tent steady in strong winds. Choose strong bags made from nylon or canvas. Fill each bag with about 20 pounds of wet sand or small stones.
Place bags at each corner of the tent or where the ropes pull tight. Push bags firmly into the sand to stop them from moving. Tie the tops with Velcro or string to keep sand inside.
Change bag spots if the wind shifts or the ground is uneven. This simple trick secures your tent without harming the beach.
Tensioning Guy Lines Properly
Tensioning guy lines keeps your beach tent strong and steady.
Find the guy out loops on your tent first. Attach cords like ultralight reflective lines or the ones given. Use strong knots such as a bowline for a fixed loop or two half hitches for adjustable tension.
Push pegs into the sand at a 45° angle. Space pegs well to avoid tripping.
Start with loose lines, then tighten them slowly. Keep tension even to protect the tent fabric. Properly tensioning guy ropes can greatly enhance your tent’s stability in windy conditions.
Check the guy lines often, especially if the weather changes. This helps your tent stay secure and safe.
Enhancing Ventilation and Comfort
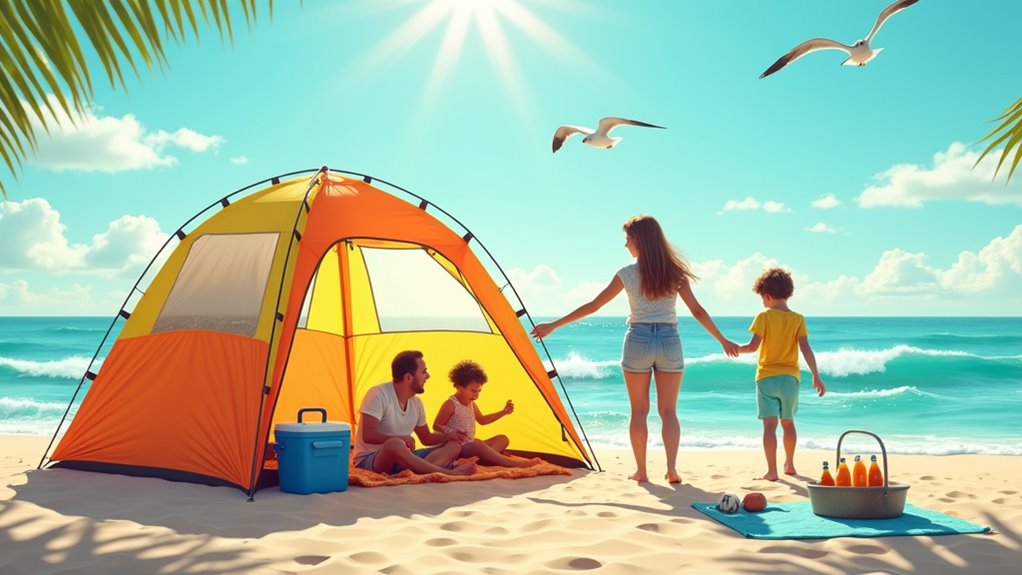
Improve ventilation and comfort in your beach tent by placing mesh windows opposite each other. This setup creates nice airflow and keeps air moving.
Use lightweight organizers to store your items neatly. They also let air pass through, so your tent stays fresh.
Add portable fans or reflective tarps to keep cool during hot days. These tools lower the temperature and make your tent more comfortable.
Fresh air and cool shade make beach time better. Simple steps bring big changes.
Cross-Ventilation Techniques
Setting up a beach tent with good cross-ventilation boosts comfort. Cross breeze techniques help air move through the tent, keeping it cool and fresh.
| Feature | Benefits | Ventilation Materials |
|---|---|---|
| Large openings | Let air flow and stop stuffiness | Breathable tent fabric |
| Mesh windows and roll-up doors | Keep bugs out while letting air in | Hydrophobic coatings |
| Adjustable vent flaps | Control how much air comes in | Reflective tarps |
Face your tent toward the wind to catch natural breezes. Keep all openings open and clear. Battery-powered fans can help move air on hot days. Setting up near water also brings cooler, fresh air. This makes your beach tent time much better and more fun.
Privacy and Storage Solutions
A great beach tent keeps you cool and private. Use zippered fronts and long side panels to block views. Fabrics with high UPF protect your skin and add privacy.
Inside pockets hold small things like keys or phones. Detachable pouches help keep your space neat. Mesh compartments lift items off the sand to keep them dry.
Heavy sandbags keep the tent steady and can store stuff too. Adjustable vents let air flow while keeping your space private.
Enjoy your beach day with comfort and order.
Additional Cooling Options
Enjoy a day at the beach with better tent ventilation. Add mesh panels or extra vents to increase airflow. These let moisture escape and keep bugs out.
Face your tent toward the wind to catch natural breezes. Place doors across from each other for cross ventilation. Use battery-powered fans, like the O2COOL Portable Fan, near openings. This helps move air inside.
Cover your tent with reflective tarps to reduce heat. Hang wet towels or ice packs inside for extra coolness.
Combine these tips with good beach shade for the best comfort. Smart ventilation and cooling tools make your beach tent experience great.
Packing Up and Folding the Tent
Packing your beach tent quickly makes leaving easier.
First, shake out all sand and dirt from inside and outside. Take out any loose items. Empty sand anchors and unhook poles linked by bungee cords. This helps the tent fold flat.
Stand facing the tent’s open side. Fold one side down flat. Fold the other side over it. Lay the tent on its side and pull the fabric tight. This pushes out air pockets.
Press the middle gently to form a figure-eight shape. Grab one loop and fold it over the other. Use the flexible poles to guide the tent into a small circle. Folding the tent in a figure-eight shape helps create a compact form.
Wrap the tent with elastic bands or straps to keep it tight. Smooth out any wrinkles. Place the folded tent into its bag.
Also, ensure the tent is unfastened before collapsing to make the process smoother.
Pack all parts together so nothing gets lost. This saves time and hassle for your next beach day.
Tips for Longevity and Safety
Guarantee your beach tent lasts many sunny days by focusing on care and safety. Set it up on flat, dry ground. This stops water from collecting and keeps poles strong.
Place a footprint under the tent to protect the floor from holes. After each trip, wash off sand and salt with mild soap and warm water. Dry the tent fully before packing to avoid mold.
Check the frame and parts often. Tighten loose screws and swap broken pieces. Secure the tent well using stakes and ropes to hold it during wind.
Spray fabric with water repellent after cleaning to make it last longer. Keep shoes outside to keep the inside clean and safe. Taking time to prepare the ground reduces potential hazards that could damage the tent floor.
These steps help your tent stay strong and ready for fun beach days.
Frequently Asked Questions
Can I Use a Beach Tent in Windy Conditions?
Beach tents can stand strong in windy weather. Pick tents made with tough fabric and sturdy poles. Ventilation holes help wind pass through, stopping the tent from flipping. Use strong stakes or sandbags to hold the tent down. Check local wind speeds; tents handle winds up to about 20 mph well. Stay safe. If wind gets too strong, pack up your tent quickly.
How Do I Clean My Beach Tent After Use?
Shake your beach tent to remove loose sand. Clean spots with a soft cloth and mild soap. Use hand washing for deep cleaning. Rinse zippers with fresh water after each trip. Let the tent dry completely before storing it. This care keeps your tent strong and ready for many beach days. Simple steps extend its life and protect its fabric.
What Should I Do if My Tent Gets Damaged?
A torn tent needs quick action. Small holes fix well with sticky tape made for tents. Bigger rips require sewing to keep the tent strong. Carry a repair kit on trips. It saves your shelter and your trip. A strong tent keeps rain and bugs out. Stay safe and dry by fixing damage fast.
Is a Beach Umbrella Better Than a Beach Tent?
Beach umbrellas are easy to carry and set up fast. They weigh little and fit in a bag. But they can fall in strong wind and don’t cover much space. Beach tents protect from UV rays better. They give shade for more people and block wind. Tents take time to build and can be heavy. For quick shade, umbrellas work well. For comfort and safety from sun, tents are best. Choose based on your needs and beach time.
Can I Set up a Beach Tent Alone?
Setting up a beach tent alone is easy and fun. Many tents today come with simple designs. You can do it quickly by following clear steps. Most people manage in less than 10 minutes. You will have shade and a cool spot by the sea. Enjoy your day without help from others.
Conclusion
Setting up a beach tent is simple and quick. Pick a tent that fits your needs and space. Find a flat spot on the sand to place your tent. Use strong stakes or sand anchors to keep it steady. Tighten all ropes and straps for extra support. Check the tent’s fabric and poles before use to avoid damage. A well-secured tent blocks wind and sun, making your beach day more fun. Follow these steps to enjoy many relaxing hours under your tent by the sea.