How Do You Pitch A Tent
This post contains affiliate links. As an Amazon Associate, we earn from qualifying purchases.
Pitching a tent involves selecting a flat, dry campsite, laying down a protective footprint, assembling and attaching the poles securely, and staking the tent with guylines tightened for stability. This process ensures a safe and comfortable shelter during your camping trip. Further details on each step and tips for optimal setup will be provided later in the article for those interested in a deeper understanding.
Essential Facts in 30 Seconds
- Select a flat, safe campsite away from hazards and flooding risks.
- Place a footprint under the tent to protect from moisture.
- Assemble poles carefully, checking for damage.
- Insert poles into sleeves or clips, forming an “X” shape for stability.
- Secure poles, adjust guylines, and stake the tent firmly.
Choosing the Right Campsite
Find flat ground for your tent. This helps you sleep well. Avoid low spots. Rain can cause floods there. Stay away from dead trees. They can fall and hurt you. Use bushes as windbreaks. They protect you from strong wind. Additionally, ensure enough space for the tent with breathing room around it to prevent overcrowding. A good campsite should also provide adequate ventilation to keep the air fresh inside your tent.
Check how easy it’s to reach your site. This is important if you have special needs.
Find water and restrooms nearby. These add comfort without losing privacy. Look for fire pits or picnic tables. These make your stay better.
A good campsite means a happy camping trip.
Plan well and enjoy nature safely.
Tent Footprint and Layout
Using a footprint protects your tent floor from damage. It keeps dirt, water, and sharp rocks away. Footprints usually come in strong materials like nylon, polyester, or polyurethane. These fabrics last long and resist tears. Additionally, a footprint prolongs the lifespan of your tent by providing essential protection against wear and tear. Choosing the right ground cover material can enhance comfort and prevent damage to the tent floor.
Pick a flat, clean spot for your footprint. Place the shiny side up to block water. Make the footprint a bit smaller than the tent floor. This stops water from collecting under your tent.
Use stakes or loops to hold the corners tight. This setup keeps your tent steady and makes camping more comfortable. Setting it up is quick and easy.
Assembling the Tent Poles
Lay out your tent footprint first.
Grab shock-corded poles next. These poles connect with elastic cords, making assembly easier. Unfold each pole section. Click the sections together firmly. Make sure to check for cracks in the poles to ensure your tent stands strong. After checking, you’re ready to insert the poles into the tent sleeves or clips. Additionally, ensure that the tent body is positioned correctly before inserting the poles to avoid complications during setup.
Types of Tent Poles
Tent poles hold up your shelter and affect how steady it is.
Steel poles are very strong and good for big tents. They weigh a lot, so they’re hard to carry.
Fiberglass poles are light and cheap but break easily.
Aluminum poles last long and are light, making them great for many trips. Additionally, they are often used with lightweight nylon tents to enhance overall portability.
Carbon fiber poles are the strongest and lightest but cost more.
Inflatable and composite poles are new and easy to set up but expensive.
Think about pole weight and how you’ll carry them before buying. Additionally, understanding fabric properties can enhance your overall camping experience.
Assembling Pole Segments
Lay out all tent pole segments flat. Match their lengths carefully. Find the internal shock cord inside each segment. Slide one pole segment’s ferrule fully into the next. The shock cord pulls the segments tight. Check that all parts fit snugly, with no gaps. Properly assembled tent assembly components contribute to the overall stability of your tent.
In addition, securing the tent at the corners helps ensure its stability during setup. Know the different types of pole segments for your tent. Align ferrules properly for a strong connection. Look for any damage before starting assembly. Follow the instructions from the tent maker for best results. Doing this step right makes your tent stable and strong.
Proper Pole Handling
Assemble the pole segments tightly. Find the pole sleeves on your tent fabric. Slide the poles diagonally through the sleeves. This forms an “X” shape in the middle. Large tents need center poles aligned well. This keeps poles steady. Lean poles inward first to loosen fabric. Then lift poles slowly.
| Tip | Importance |
|---|---|
| Secure corner poles | Keeps tent steady |
| Use guy ropes | Stops tent from leaning |
| Stake down tent | Prevents wind damage |
Attaching Poles to the Tent

Attach tent poles carefully for strong support.
First, check poles for cracks or bends.
Start by putting one pole end into a tent corner grommet. Then, bend the pole gently to fit the other end into the opposite grommet or pin and ring.
Use clips or sleeves to fasten poles to the tent fabric.
Make sure the poles form an “X” shape for good stability.
This setup keeps your tent steady and safe in wind.
Securing the Tent
Securing your tent well keeps it steady and safe in all weather. Drive tent stakes into the ground at a 45-degree angle for strong hold.
On rocky or frozen ground, bury sticks or logs as deadman anchors. Tighten guy lines slowly. Use knots like the tautline hitch to adjust tension easily.
Tie a rock or stick to the guy line end to stop slipping. Place rocks in front of stakes to hold them better. Attach your tent to nearby trees or rocks to add support.
Check all anchors and lines before bad weather to keep your tent secure. A well-secured tent lasts longer and protects you better.
Final Checks and Adjustments

Check your campsite for sharp rocks, low branches, and insect nests before night.
Position your tent to catch breezes and block wind and rain.
These small steps boost comfort and keep you safe while camping.
Stay alert and prepared for a great night outdoors.
Campsite Hazard Inspection
A thorough campsite hazard inspection ensures safety and comfort during your stay. This check finds risks early and follows safety rules.
Start by scanning the site for dangers. Watch for broken glass, dead branches, or ant hills. Search for tripping hazards like holes or uneven ground. Clear loose debris and unstable items from the tent area. Check fire safety tools, such as fire extinguishers, to ensure they work.
Inspect sanitation facilities. Make sure latrines are clean and easy to reach. Confirm first-aid kits and communication devices are ready for emergencies.
Taking these steps helps keep everyone safe. Enjoy the outdoors with peace of mind.
Tent Orientation Optimization
Position your tent with the narrowest side facing the wind. This reduces wind resistance and keeps the tent stable.
Point vestibule doors away from the wind. This helps stop rain and dirt from coming inside.
Angle vents away from strong wind. This lets fresh air in without letting gusts blow inside.
Tighten guylines on the wind side. Strong winds need a stable tent.
Pull the fly tight on all corners. This keeps rain out and the tent dry.
Check inside for damp spots. Change the tent’s direction if needed.
Make sure all stakes hold the tent firmly. Match the footprint to the tent’s layout. This stops water from pooling under your tent.
These steps protect you from bad weather and make your tent comfortable.
Frequently Asked Questions
What Type of Tent Is Best for Camping?
The best tent depends on your camping style. Backpackers need lightweight tents that are easy to carry. Families want big tents with lots of space and strong materials. These tents keep everyone comfortable and safe. Check the tent’s weight, size, and weather resistance before buying. Good tents last many trips and protect you from rain and wind. Choose one that fits your trip and makes camping fun.
How Do I Clean My Tent After Use?
Clean your tent after every trip to keep it safe and strong. Use mild soap and a soft sponge to wash dirt and stains. Rinse the tent well with clean water. Let the tent dry fully in the sun or open air. Store the tent loosely in a cool, dry place. Avoid tight bags to stop mold and smell. Clean tents last longer and stay ready for your next adventure.
Can I Pitch a Tent on Sand?
Pitching a tent on sand works well with the right steps. Sand can shift easily, so use strong anchors like sand stakes. Tighten guylines to keep the tent stable in wind. Firm the sand by pressing it down before setting up. This stops the tent from moving or falling. Sand tents need extra care but can be comfortable and safe.
What Should I Do if It Rains While Camping?
Rain during camping calls for quick action. Wear your raincoat and boots to stay dry. Set up a tarp above your tent for extra shelter. Check the ground; dig small trenches to guide water away. Keep your bags and clothes inside waterproof bags or plastic covers. Use a groundsheet under your tent to stop moisture from seeping in. Move your sleeping spot to higher ground if water pools near you. Stay calm and enjoy the sound of rain—it can be peaceful. Being prepared makes camping in rain safe and fun.
How Do I Pack My Tent for Travel?
Packing your tent for travel means keeping it clean, dry, and neat. Start by shaking off dirt and letting it dry fully. Fold it carefully to avoid wrinkles and damage. Keep all stakes and poles together in one bag to prevent loss. Use a sturdy, waterproof bag to protect your tent from rain and dirt. Roll the tent tightly to save space and make it easier to carry. A well-packed tent stays safe and ready for your next adventure.
Conclusion
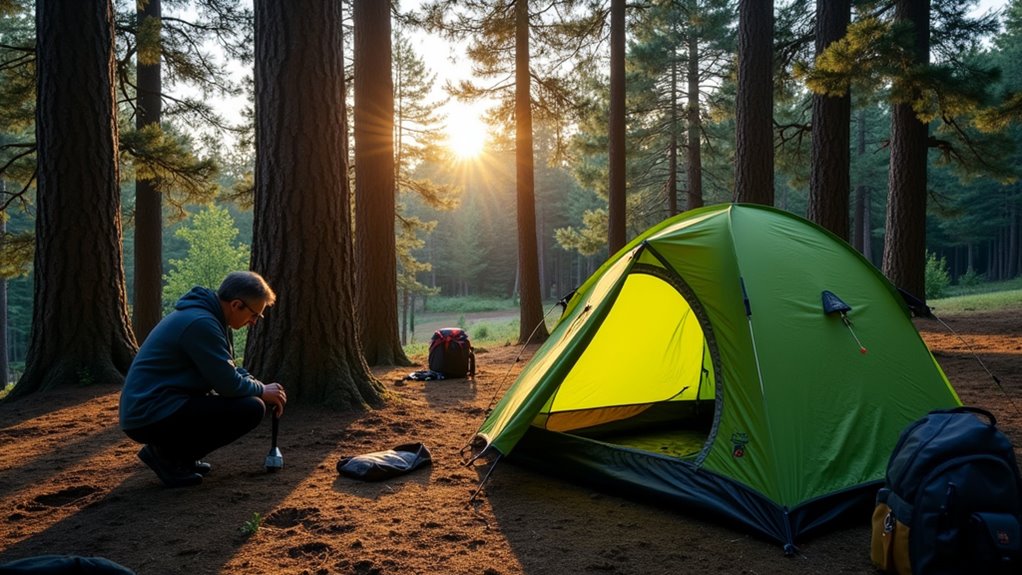
You have pitched your tent well. Now, enjoy the fresh outdoor air. Tall trees surround you. Leaves make soft sounds in the breeze. Secure tent ropes and stakes keep it strong against wind and rain. A firm tent means a safe, dry place to rest. Take a moment to look around. The quiet woods invite you to relax. Night brings stars bright above. Trails nearby wait for your steps. Campfires warm and bring stories. Your adventure starts here, under open skies.
