How To Take Down A Tent
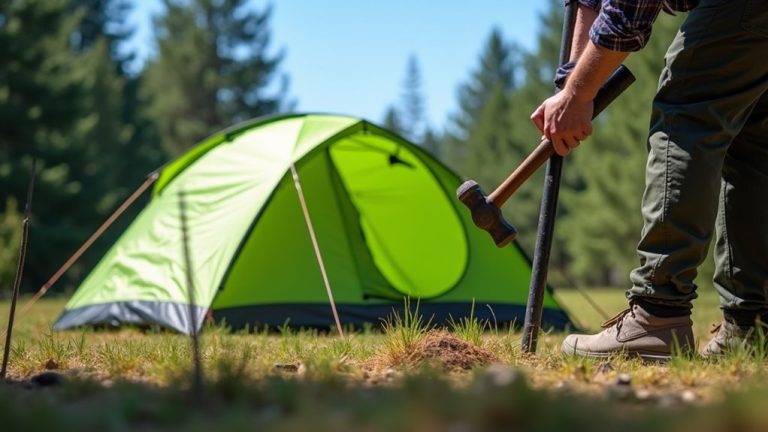
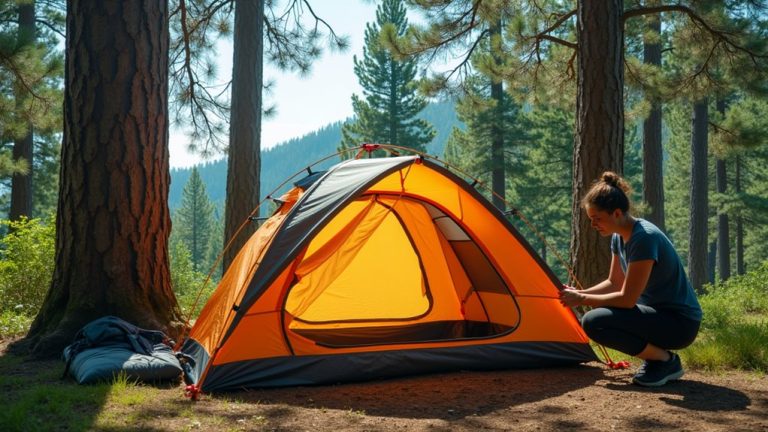
Take down a tent by first clearing out everything inside. Throw away any trash and check the tent for damage. Unclip the rainfly carefully. Take out the poles one at a time. Avoid catching the tent fabric with the poles. Pull out all stakes from the ground to prevent tripping. Fold the tent fabric neatly. Roll it up tightly and secure it with straps. Store the tent in a cool, dry place. Check it often for mold or damp spots. Proper care helps the tent last longer and stay clean. Packing well saves time next camping trip.