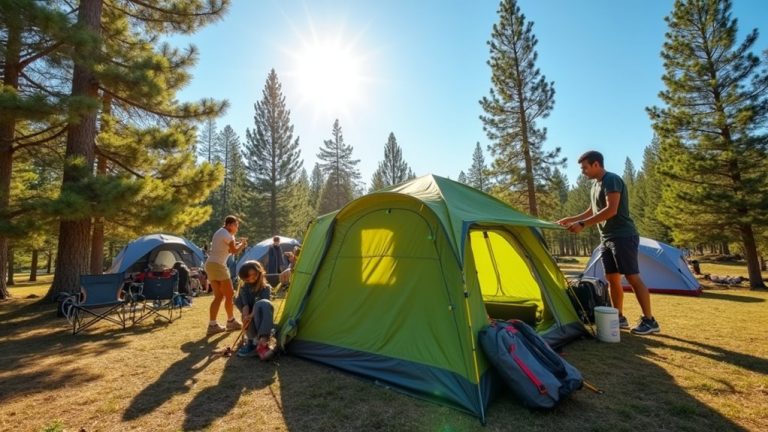
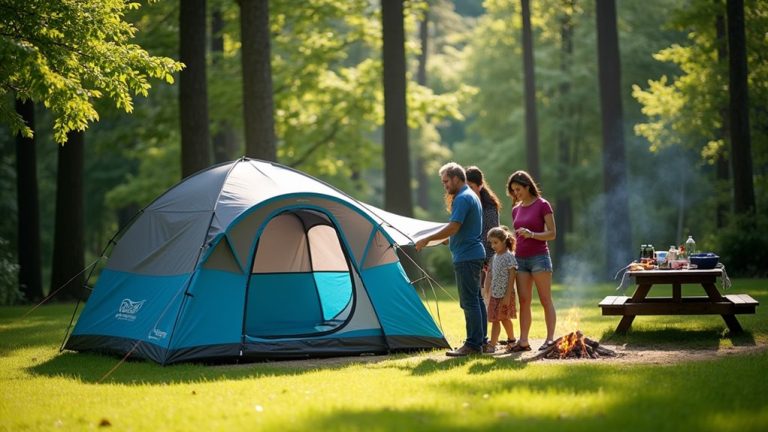
Author: Chloé Bourgeois

Hi, I’m Chloé – a tent-obsessed hiker, trail-lover, and outdoor staycation junkie. I started this site to help people like you find honest, real-world reviews of tents that actually hold up in the wild (and not just in a showroom). I’ve pitched more tents than I can count — through rain, wind, and those perfect golden-hour evenings — and I’m here to share what works, what doesn’t, and what’s worth your money. When I’m not testing gear, you’ll find me chasing trails with my @dacia_uk Adventure crew, layering up in my favorite pieces from @acaioutdoorwear, or planning my next AllTrails adventure. Thanks for stopping by — hope you find your perfect shelter under the stars.
  • How To Make Table Tents In Word

    Make table tents in Word by setting your page to Portrait. Set margins to 0.5 inches for space. Insert a table with two columns and one row. Make each cell about 2 inches wide and 3 inches tall. Center the text inside each cell. Use Text Boxes for extra details or decoration. For many tents, use Mail Merge with a table of four columns. Print your tents on thick cardstock for strength. Cut carefully along the edges for a clean look. These steps help your tents look neat and professional. Simple and clear designs catch the eye well.

  • How To Make Slumber Party Tents

    Make slumber party tents with simple materials. Use twin flat sheets, cotton canvas, or sheer fabric. Build A-frame tent frames from 1×2 boards and dowels for strength. Drape fabric over the frame and fasten it with ties or staples. Plan about 45 minutes to 2 hours for setting up each tent. Space tents about 3 feet by 6 feet apart for comfort. Keep safety in mind—no open flames near tents and mark clear exits. Try different fabrics and colors to create fun designs. Enjoy a cozy and safe sleepover experience!

  • How To Make Name Tents

    Make name tents using strong materials like cardstock or thick fabric. Fold the paper into three equal parts and press the edges to make sharp folds. Write the name in big, clear letters in the middle section. Add pictures related to seasons or hobbies to make it personal. Keep the bottom fold about one inch wide so it stands well. Place tents on desks where everyone can see them easily. Use them every day to help people learn and remember names better. Simple steps, big help!

  • How To Make Homemade Tent

    Making a homemade tent requires strong materials like nylon or polyester. These fabrics are light and keep water out. Use a tape measure to get the right sizes. Cut wood or metal for a frame. An A-frame or wall tent design works well. Cut fabric panels to fit your frame carefully. Strengthen seams by sewing and adding tape. Use stakes to hold the tent down firmly. Make sure the tent stays tight and does not move. This way, your tent stays safe in wind or rain. Try different materials and designs to find what suits you best.

  • How To Make A Tent With Blankets

    Making a tent with blankets is simple and fun. Use big blankets or sheets. Find strong furniture like chairs or sofas to hold the blankets up. Place two chairs back-to-back for a stable frame. Throw blankets over the chairs and tuck edges under furniture legs or use ropes to keep them tight. Cover the sides with extra blankets for privacy. Set the tent on flat ground to avoid falls. Keep open flames far away to stay safe. Leave space around the tent for walking. This setup creates a cozy, strong tent perfect for play or rest. Try adding pillows or fairy lights inside for extra comfort and fun.

  • How To Make A Tent Waterproof

    Seal all tent seams carefully using tape or liquid sealant. Make sure the sealant fills every stitch hole. Clean tent areas that lost their urethane coating. Apply a tent sealant that matches your tent’s material. Spread a new layer of durable water repellent (DWR) if water stops beading on the surface. Wash your tent gently with mild soap before starting. For canvas tents, try waxing to add extra water resistance. These steps keep your tent dry and protect your gear well. Stay dry and enjoy your outdoor adventures!

  • How To Make A Tent Warmer

    Make your tent warmer by adding insulation on the floor. Use a footprint, foam pads, or reflective foil. Cover the tent walls and roof with mylar blankets or thick fabrics. These trap heat inside. Seal any holes with seam sealer to stop cold air. Place a tarp under the tent to keep moisture away. Safe heaters, like propane ones made for tents, add extra warmth. These simple steps can make your camping cozy and comfortable. Warm tents mean better sleep and a happier trip. Try these tips to enjoy cold nights outdoors.

  • How To Make A Tent In Dayz

    Making a tent in DayZ needs some important materials. Collect long sticks, short sticks, rope, and a tarp or leather. Use four long sticks and some rope to craft a shelter kit. Pick a hidden spot near water for building. Use long sticks to form the frame and short sticks for walls. Cover the shelter with the tarp or leather for protection. Keep your tent strong by checking and fixing it often. A solid tent keeps you safe from weather and enemies. Stay prepared to survive longer in the game.

  • How To Make A Tent At Home

    Start by picking strong, light materials. Use ripstop nylon for the tent fabric. Aluminum tubes work well for the frame. Build the frame by joining poles tightly. This keeps the tent steady. Next, waterproof the fabric to keep rain out. Tie the fabric to the frame with tough cords. Find a flat spot to set up the tent. Push stakes into the ground at a 45-degree angle. This holds the tent firm. Add pockets inside for storing small items. Make sure air can flow inside the tent. Good ventilation stops moisture and keeps you cool. This simple method helps you build a reliable tent at home.

  • How To Make A Tent

    Pick a flat, level spot away from water and bugs. Gather a nylon tent body, strong poles, and sturdy stakes. Connect the poles using connectors and push pins for a firm frame. Spread the tent body on the ground and raise it carefully. Align the poles and smooth out any wrinkles. Push the stakes into the ground at a 45-degree angle. Make sure stakes go deep to hold the tent steady. Small steps like these make camping easy and fun.

  • How To Make A Table Tent In Word

    Make a table tent in Word by setting the page to landscape. Set the margins to 0.25 inches on all sides. Insert a table with one row and two columns. Each cell should be 3.75 inches tall and 1.83 inches wide. Add text boxes inside each cell for names or titles. Use a large font size, about 150 pt, and center the text. Rotate the text in each cell to make it readable from both sides. Print the tent on thick paper for a sturdy feel. Fold the paper down the middle to create the tent shape. This method creates clear, professional-looking table tents quickly.

  • How To Make A Table Tent In Canva

    Start by visiting Canva.com or opening the app. Type “Table Tent” in the search bar to see many templates. Pick one that fits your style. Change the text to match your message. Add images from the media library to make it eye-catching. Use bright colors that stand out. Select fonts easy to read from across the room. Check your design carefully. Export your file as a PDF for printing. Choose high-quality settings to keep images sharp. This way, your table tent will look clear and professional. Simple steps make a big difference in your design.